How To Build A Telescope?
Building a telescope can be a rewarding and educational experience, allowing you to explore the night sky with a device you crafted yourself. Whether you're an amateur astronomer or a DIY enthusiast, constructing a telescope from scratch can deepen your understanding of optics and astronomy. This article will guide you through the process, from understanding the basic principles to assembling your telescope and making your first observations.
Understanding the Basics
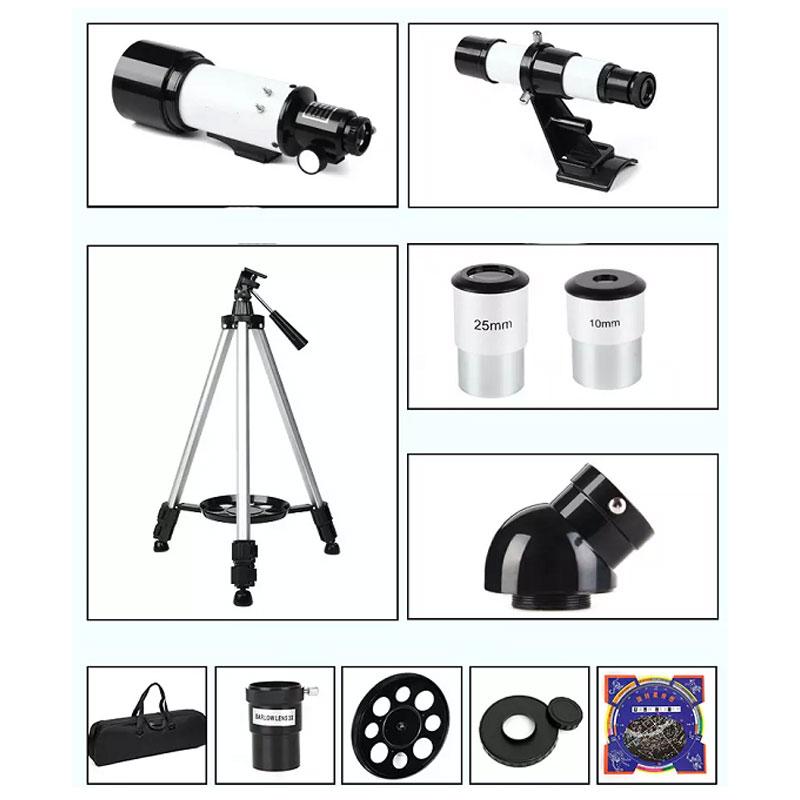
Before diving into the construction process, it's essential to understand the basic principles of how a telescope works. Telescopes are optical instruments that gather and magnify light from distant objects, making them appear closer and more detailed. There are two main types of telescopes: refracting telescopes (refractors) and reflecting telescopes (reflectors).
1. Refracting Telescopes: These use lenses to bend (refract) light. The primary lens, called the objective lens, gathers light and focuses it to a point. The eyepiece lens then magnifies this focused light for viewing.
2. Reflecting Telescopes: These use mirrors to reflect light. The primary mirror gathers light and reflects it to a focal point. A secondary mirror then directs this light to the eyepiece for magnification.
For this guide, we will focus on building a simple reflecting telescope, as it is generally easier and more cost-effective for beginners.
Materials and Tools Needed
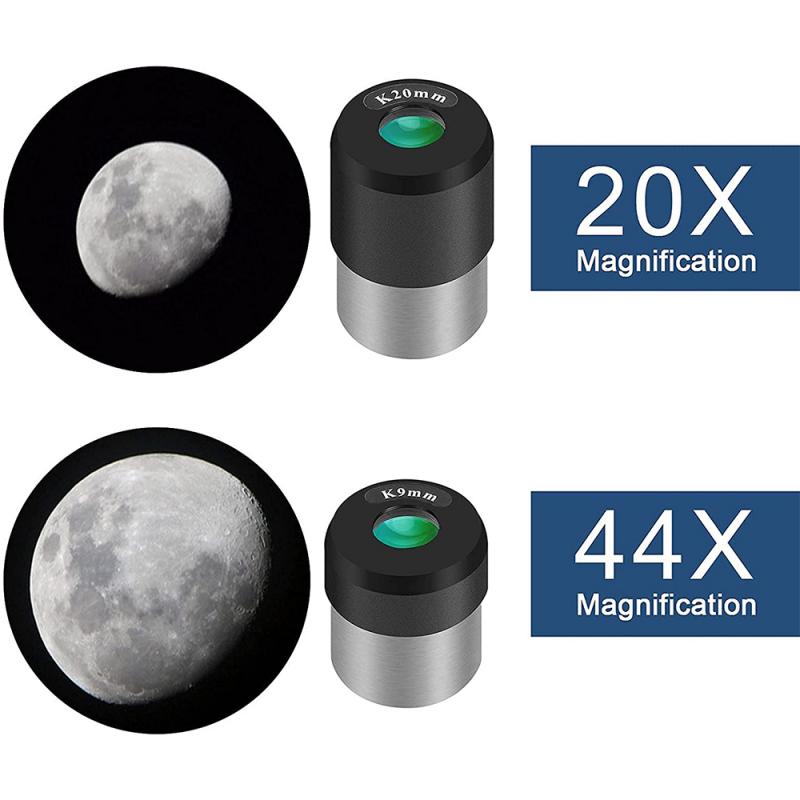
To build a basic reflecting telescope, you will need the following materials and tools:
- Primary Mirror: A concave mirror with a focal length suitable for your desired magnification.
- Secondary Mirror: A flat mirror to redirect the light to the eyepiece.
- Eyepiece: A lens or set of lenses to magnify the image.
- Telescope Tube: A sturdy tube to house the mirrors and eyepiece.
- Mirror Mounts: Holders for the primary and secondary mirrors.
- Focuser: A mechanism to adjust the focus of the eyepiece.
- Spider: A support structure for the secondary mirror.
- Tools: Screwdrivers, drill, measuring tape, and adhesive.
Step-by-Step Construction
Step 1: Preparing the Telescope Tube
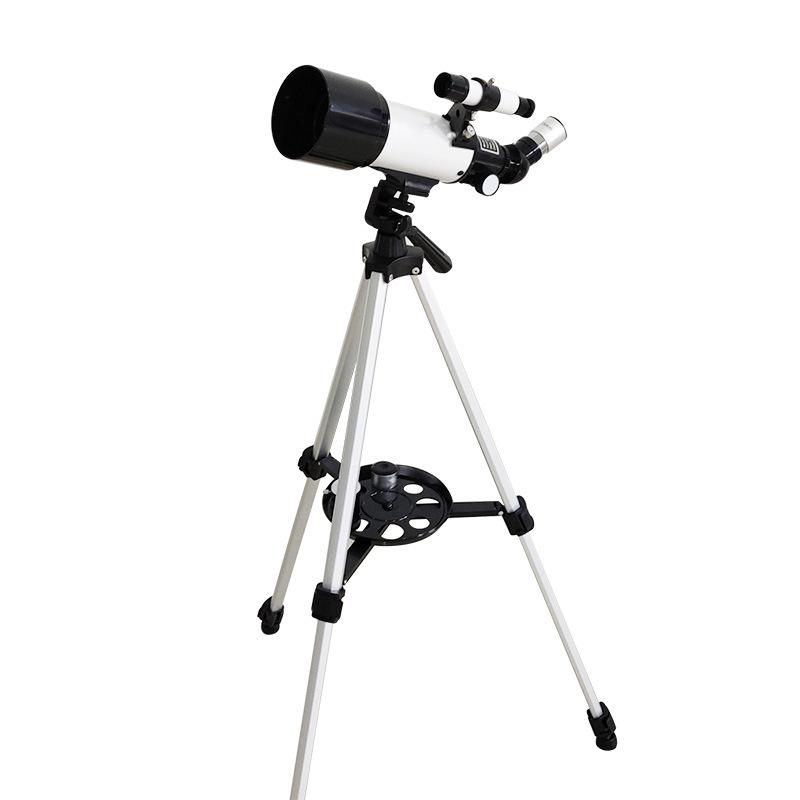
The telescope tube can be made from various materials, such as PVC pipe, cardboard, or metal. The length of the tube should be slightly longer than the focal length of the primary mirror. Ensure the tube is sturdy and free from any light leaks.
1. Measure and Cut: Measure the focal length of your primary mirror and cut the tube to the appropriate length.
2. Paint the Interior: Paint the inside of the tube with flat black paint to minimize internal reflections and improve image contrast.
Step 2: Mounting the Primary Mirror
The primary mirror is the heart of your telescope. It needs to be securely mounted at the bottom of the tube.
1. Create a Mirror Cell: Construct a mirror cell to hold the primary mirror. This can be made from wood or metal and should have adjustable screws for collimation (alignment).
2. Attach the Mirror: Secure the primary mirror to the mirror cell using clips or adhesive. Ensure it is centered and stable.
Step 3: Installing the Secondary Mirror and Spider
The secondary mirror redirects the light from the primary mirror to the eyepiece. It is held in place by a spider, which is a set of thin vanes that minimize obstruction.
1. Build the Spider: Construct a spider using thin metal strips or purchase a pre-made one. It should fit snugly inside the tube.
2. Mount the Secondary Mirror: Attach the secondary mirror to the spider at a 45-degree angle. Position it so that it reflects light to the side of the tube where the focuser will be installed.
Step 4: Adding the Focuser
The focuser holds the eyepiece and allows you to adjust the focus of the telescope.
1. Cut a Hole: Cut a hole in the side of the tube where the secondary mirror reflects the light. The hole should be slightly larger than the diameter of the focuser.
2. Install the Focuser: Attach the focuser to the tube, ensuring it is aligned with the secondary mirror. Secure it with screws or adhesive.
Step 5: Aligning the Optics (Collimation)
Proper alignment of the mirrors is crucial for clear images. This process is known as collimation.
1. Align the Secondary Mirror: Adjust the secondary mirror so that it is centered under the focuser and reflects the primary mirror's image.
2. Align the Primary Mirror: Use the adjustable screws on the mirror cell to tilt the primary mirror until the reflection of the secondary mirror is centered.
Step 6: Installing the Eyepiece
The eyepiece magnifies the image formed by the primary mirror.
1. Choose an Eyepiece: Select an eyepiece with a suitable focal length for your desired magnification.
2. Insert the Eyepiece: Place the eyepiece into the focuser and secure it.
First Light: Testing Your Telescope
With your telescope assembled, it's time to test it under the night sky.
1. Find a Dark Location: Set up your telescope in a dark area away from city lights.
2. Point at a Bright Object: Start with a bright object like the Moon or a planet. Use the finderscope (if you have one) to help locate the object.
3. Adjust the Focus: Look through the eyepiece and adjust the focuser until the image is sharp.
Troubleshooting Common Issues
- Blurry Images: Check the collimation of your mirrors. Misalignment can cause blurry images.
- Distorted Images: Ensure the mirrors are clean and free from dust or fingerprints.
- Difficulty Focusing: Verify that the focuser is working correctly and that the eyepiece is suitable for your telescope's focal length.
Enhancing Your Telescope
Once you have successfully built and tested your telescope, you may want to consider some enhancements:
- Finderscope: A small auxiliary telescope mounted on the main tube to help locate objects.
- Motorized Mount: A motorized mount can help track celestial objects as they move across the sky.
- Additional Eyepieces: Different eyepieces can provide various magnifications and fields of view.
Building a telescope is a fulfilling project that combines craftsmanship with scientific exploration. By understanding the principles of optics and following a systematic construction process, you can create a functional telescope that opens up the wonders of the universe. Whether you're observing the craters of the Moon, the rings of Saturn, or distant galaxies, your homemade telescope will provide countless hours of astronomical enjoyment. Happy stargazing!


