How To Capture The Solar Eclipse On Camera?
Capturing the Solar Eclipse on Camera: A Comprehensive Guide
Solar eclipses are awe-inspiring celestial events that captivate the imagination and offer a unique opportunity for photographers to capture stunning images. However, photographing a solar eclipse requires careful planning, the right equipment, and an understanding of the techniques involved. In this article, we will delve into the essential steps and tips for capturing the solar eclipse on camera, ensuring you are well-prepared to document this extraordinary phenomenon.
Understanding the Solar Eclipse
Before diving into the technical aspects of photographing a solar eclipse, it is crucial to understand the different types of solar eclipses and their phases. A solar eclipse occurs when the moon passes between the Earth and the sun, casting a shadow on the Earth. There are three main types of solar eclipses:
1. Total Solar Eclipse: The moon completely covers the sun, revealing the sun's corona.
2. Partial Solar Eclipse: Only a portion of the sun is obscured by the moon.
3. Annular Solar Eclipse: The moon covers the center of the sun, leaving a ring-like appearance known as the "ring of fire."
Each type of eclipse offers unique photographic opportunities, and understanding these differences will help you plan your shoot effectively.
Essential Equipment for Solar Eclipse Photography
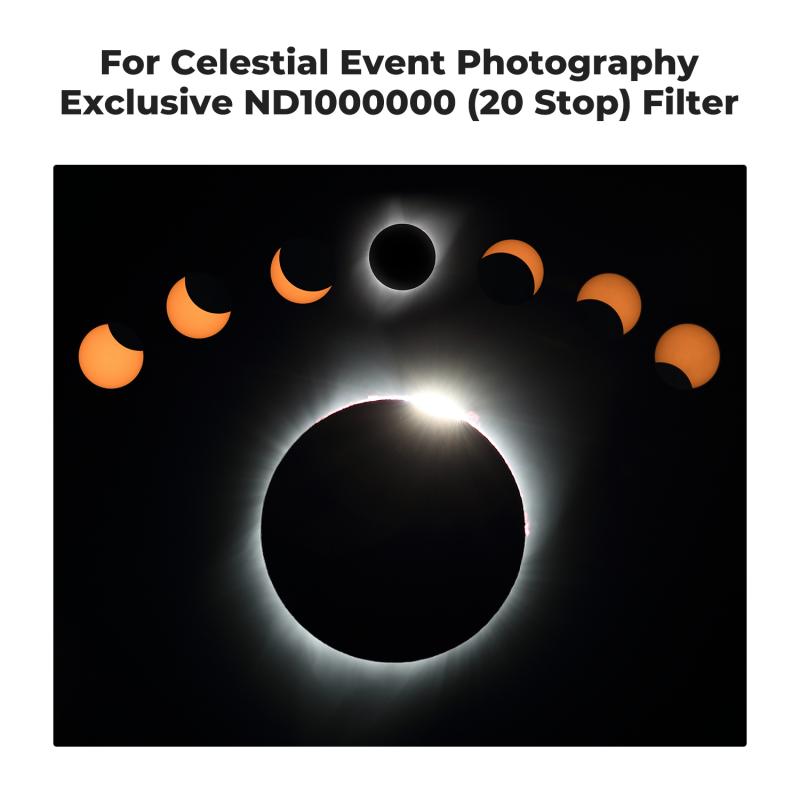
To capture the solar eclipse safely and effectively, you will need the following equipment:
1. Camera: A DSLR or mirrorless camera with manual settings is ideal for eclipse photography. These cameras offer greater control over exposure, focus, and other critical settings.
2. Lens: A telephoto lens with a focal length of at least 300mm is recommended to capture detailed images of the eclipse. A longer focal length will provide a closer view of the sun.
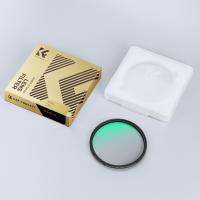
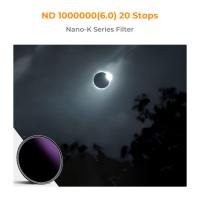
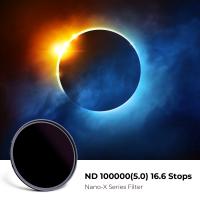
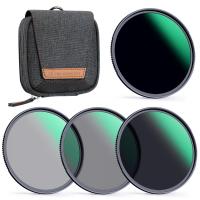
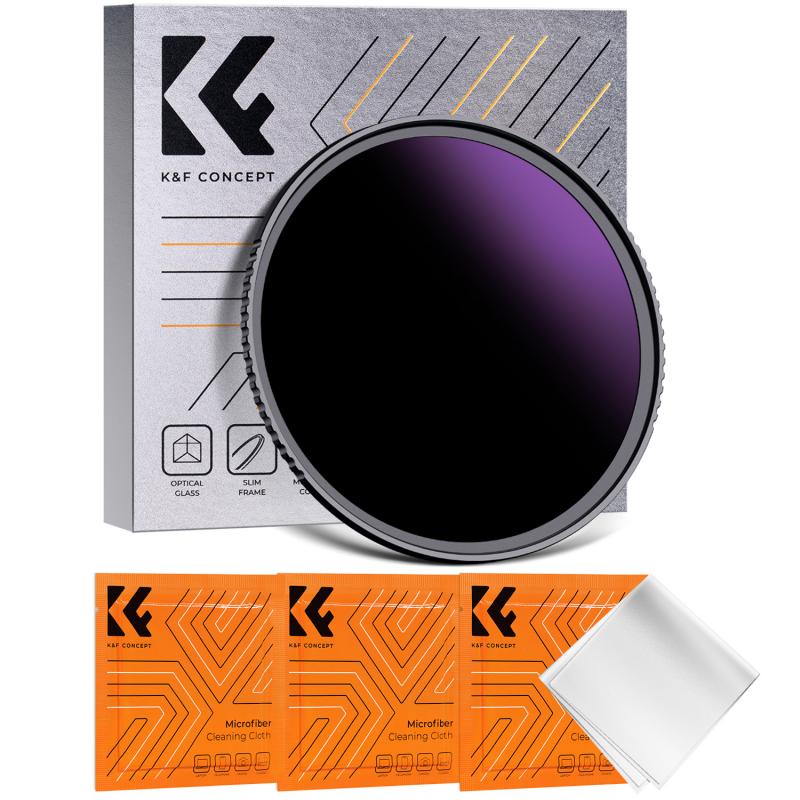
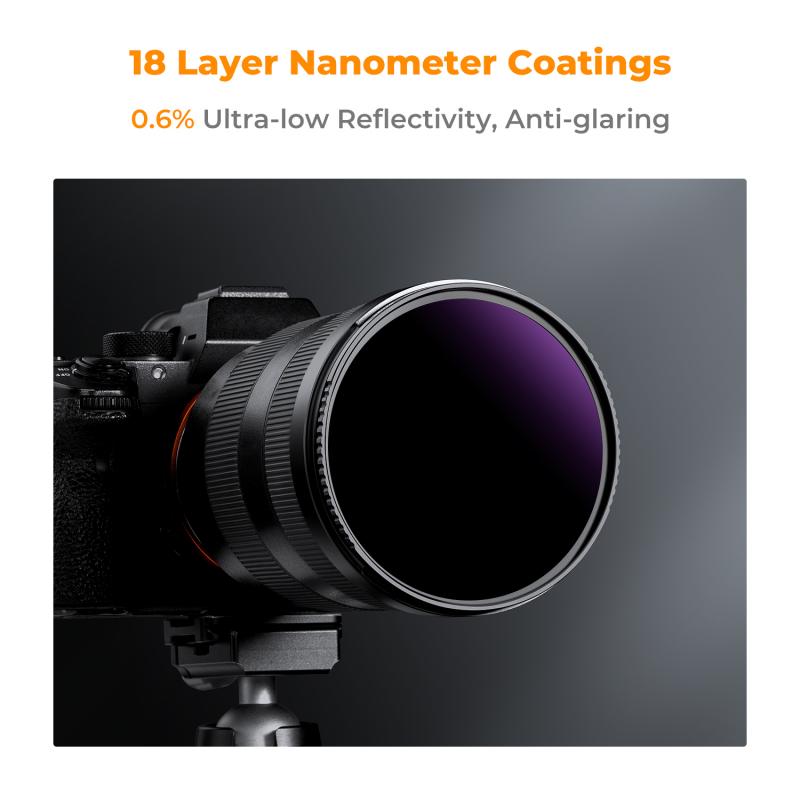
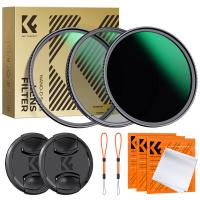
3. Solar Filter: A solar filter is essential to protect your camera's sensor and your eyes from the sun's harmful rays. Ensure the filter is specifically designed for solar photography and fits your lens securely.
4. Tripod: A sturdy tripod is necessary to keep your camera stable during the shoot, especially when using a telephoto lens.
5. Remote Shutter Release: A remote shutter release or intervalometer will help minimize camera shake and allow you to take multiple shots without touching the camera.
6. Extra Batteries and Memory Cards: Eclipses can last for several hours, so having extra batteries and memory cards on hand is crucial to avoid interruptions.
Planning Your Shoot
Successful eclipse photography requires meticulous planning. Here are the key steps to ensure you are ready for the big event:
1. Research the Eclipse Path: Determine the path of the eclipse and choose a location that offers a clear view of the sky. Websites like NASA and timeanddate.com provide detailed maps and timings for upcoming eclipses.
2. Scout Your Location: Visit your chosen location ahead of time to identify the best vantage points and ensure there are no obstructions. Consider the direction of the sun and the landscape to frame your shots effectively.
3. Check the Weather: Monitor the weather forecast leading up to the eclipse. Clear skies are essential for capturing the event, so have a backup location in mind if the weather is unfavorable.
4. Practice: Familiarize yourself with your equipment and practice photographing the sun with a solar filter before the eclipse. This will help you fine-tune your settings and ensure you are comfortable with the process.
Camera Settings and Techniques
Setting up your camera correctly is crucial for capturing sharp and well-exposed images of the solar eclipse. Here are some recommended settings and techniques:
1. Manual Mode: Use manual mode to have full control over your camera settings. This allows you to adjust the exposure, aperture, and ISO as needed.
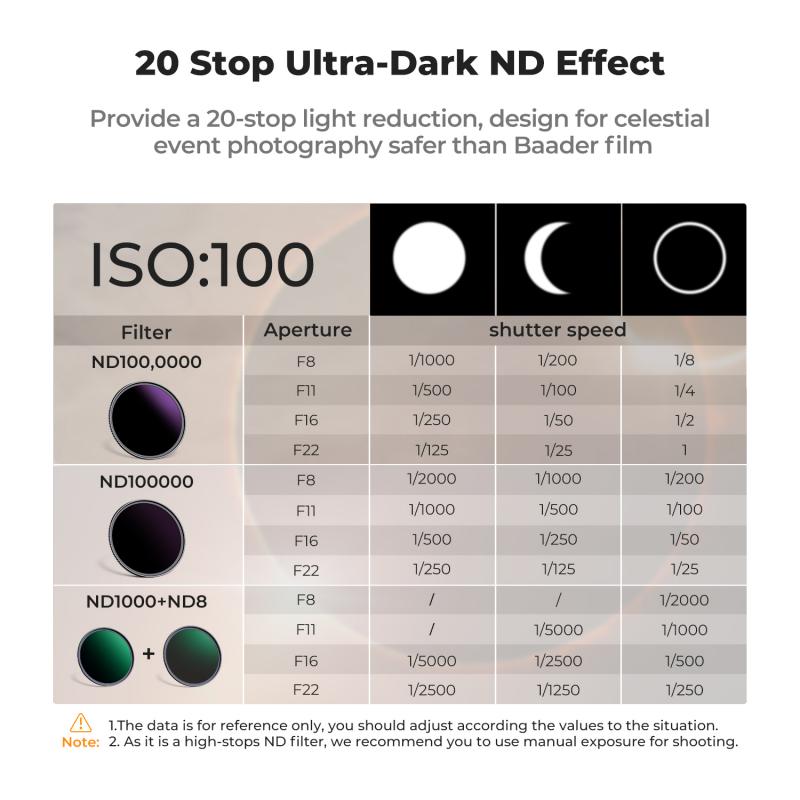
2. Aperture: Set your aperture to f/8 or f/11 to achieve a good depth of field and sharpness.
3. ISO: Use a low ISO setting (100 or 200) to minimize noise in your images.
4. Shutter Speed: Start with a shutter speed of 1/1000th of a second and adjust as needed based on the brightness of the sun and the phase of the eclipse.
5. Focus: Use manual focus to ensure your images are sharp. Focus on the edge of the sun or the moon's limb and use live view to zoom in and fine-tune the focus.
6. Bracketing: Consider using exposure bracketing to capture a range of exposures. This will give you more flexibility in post-processing to create a well-balanced image.
7. Composition: Experiment with different compositions, such as including the landscape or other elements in the foreground. This can add context and interest to your images.
Safety Precautions
Photographing a solar eclipse can be dangerous if proper safety precautions are not taken. Here are some important safety tips:
1. Never Look Directly at the Sun: Always use a solar filter on your camera and wear solar viewing glasses to protect your eyes.
2. Do Not Remove the Solar Filter: Keep the solar filter on your lens at all times, except during the brief period of totality in a total solar eclipse when it is safe to remove it.
3. Avoid Using Optical Viewfinders: Use live view mode on your camera to avoid looking directly at the sun through the viewfinder.
Post-Processing Your Images
After capturing the solar eclipse, post-processing can enhance your images and bring out the details. Here are some tips for editing your eclipse photos:
1. Adjust Exposure and Contrast: Fine-tune the exposure and contrast to highlight the details of the sun and the moon.
2. Enhance Colors: Adjust the color balance to bring out the natural colors of the eclipse, such as the reddish hue of the sun's chromosphere.
3. Reduce Noise: Use noise reduction tools to minimize any noise in your images, especially if you used a higher ISO setting.
4. Stacking Images: Consider stacking multiple images to create a composite that shows the progression of the eclipse. This can be done using software like Adobe Photoshop or specialized astrophotography software.
Photographing a solar eclipse is a rewarding experience that requires careful preparation, the right equipment, and an understanding of the techniques involved. By following the steps outlined in this guide, you can capture stunning images of this celestial event and create lasting memories. Remember to prioritize safety, practice your skills, and enjoy the process of documenting one of nature's most spectacular phenomena. Happy shooting!




-200x200.jpg)
