
How To Change Sd Card In Switch?

How to Change the SD Card in a Nintendo Switch: A Comprehensive Guide
The Nintendo Switch is a versatile and popular gaming console, with support for both physical game cartridges and digital downloads. As your gaming library grows, the built-in storage space or an existing SD card may become insufficient, requiring you to upgrade to a larger SD card. While the process of changing the SD card is straightforward, there are several considerations and steps to ensure a smooth transition without losing your saved data or downloaded games. This guide provides a detailed explanation of how to successfully swap out your SD card for the ultimate gaming experience.
---
Understanding the Role of an SD Card in the Switch

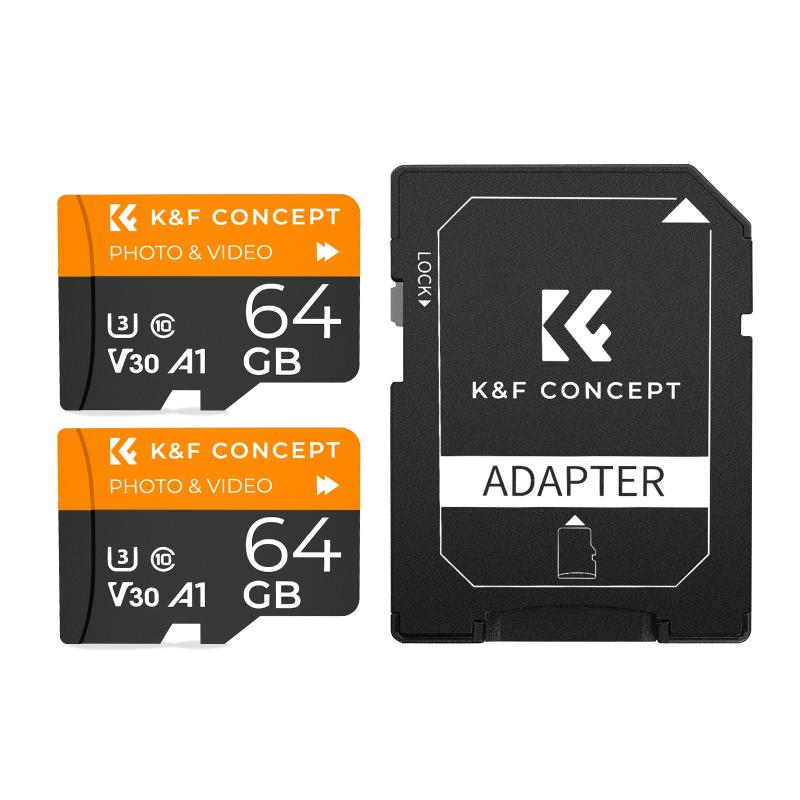
The Nintendo Switch uses microSD cards to expand storage for downloadable games, updates, screenshots, and videos. Since the base console storage is only 32GB (or 64GB for the OLED model), many users quickly find the need for additional storage. Knowing how to replace or upgrade your SD card is essential for maintaining a seamless gaming experience.
---
Prerequisites for Changing the SD Card

Before delving into the process, here are a few things to prepare:
1. New SD Card:
Ensure the new SD card meets the Switch’s compatibility requirements:
- Type: microSD, microSDHC, or microSDXC
- Speed: UHS-I with a minimum speed class of U1
- Capacity: Up to 2TB (though 256GB to 512GB is a practical size for most users)
2. Computer with a MicroSD Card Reader:
You’ll need this to transfer data between your old and new SD cards.
3. Backup Plan:
Although data loss is rare during this process, it’s a good idea to back up your screenshots and important files.
4. Nintendo Switch System Software:
Ensure your console’s firmware is up to date. The latest software supports SDXC cards and ensures compatibility with larger capacities.
---
Steps to Change the SD Card

Here’s a step-by-step breakdown:
Step 1: Power Off the Switch
To avoid corrupting files, power down your Nintendo Switch completely:
- Press and hold the power button for about three seconds.
- Select “Power Options,” then choose “Turn Off.”
Step 2: Remove the Current SD Card
- Flip the console over.
- Open the SD card slot cover located beneath the kickstand.
- Gently push the current SD card until it clicks and ejects.
Step 3: Transfer Data to the New SD Card
If you want to preserve your data, follow these steps:
1. Insert the old SD card into your computer using an adapter if necessary.
2. Copy all files from the SD card into a folder on your computer. Do not alter the folder structure.
3. Eject the old SD card and insert the new one into the card reader.
4. Format the new SD card to exFAT or FAT32 (if it’s not already formatted). Most SDXC cards come pre-formatted to exFAT.
5. Copy the files from your computer to the new SD card. Again, maintain the original folder structure.
Important Note: Game save data is stored on the Switch’s internal memory and will not be affected by SD card changes. Only downloaded games, screenshots, and videos are stored on the SD card.
Step 4: Insert the New SD Card
- Place the new SD card into the slot under the kickstand.
- Push gently until it clicks into place.
Step 5: Power On the Switch
Turn the console back on. The system should automatically recognize the new SD card. Verify that your games and data are accessible.
---
Troubleshooting Common Issues
While the process is generally straightforward, you may encounter some issues. Here’s how to address them:
1. Switch Doesn’t Recognize the SD Card:
- Ensure the card is properly seated in the slot.
- Check if the card is formatted correctly (use exFAT or FAT32).
- Confirm that the card meets the Switch’s specifications.
2. Data Transfer Issues:
- Double-check that you’ve copied all files correctly.
- Avoid using files from a previous Nintendo console or a corrupted card.
3. Insufficient Storage on the New Card:
- Verify the capacity of the new SD card and assess if it meets your needs.
4. Performance Issues with the New SD Card:
- Use a card with a higher read/write speed (Class 10 or UHS-I recommended).
---
Additional Tips for Optimizing Your SD Card Experience
1. Organize Your Library:
Periodically clean up your storage by archiving games you’re not currently playing. Archiving removes game data from the SD card but retains save files on the console.
2. Invest in Quality:
While cheaper SD cards are tempting, investing in reputable brands (like SanDisk or Samsung) ensures better reliability and speed.
3. Monitor Storage Usage:
You can check your storage usage under “System Settings” > “Data Management.” This helps plan for future upgrades.
4. Cloud Saves:
For Nintendo Switch Online subscribers, game save data is automatically backed up to the cloud. This adds an extra layer of security in case of SD card issues.
---
Why Upgrading Your SD Card Matters
With the growing size of modern games and frequent updates, storage expansion is not just a convenience but a necessity for most players. Games like *The Legend of Zelda: Breath of the Wild* or *Super Smash Bros. Ultimate* take up several gigabytes of space, and downloadable content (DLC) or updates can quickly add up. A larger SD card ensures that you can continue downloading and playing new titles without constantly managing storage space.
---
Final Thoughts
Changing the SD card in your Nintendo Switch may seem daunting at first, but by following these detailed steps, you can seamlessly upgrade your storage without losing any data. This upgrade not only future-proofs your console but also enhances your gaming experience by providing ample space for new titles, DLCs, and media files. As the ultimate takeaway, invest in a reliable, high-capacity SD card and maintain a regular backup routine to keep your gaming sessions uninterrupted and enjoyable.


")


 Cards, 2 Nano SIM, 2 Micro SIM and 1 SIM Card")


 Photography Diffuser Collapsible Portable for Studio and Outdoor Lighting Gold Silver White Black Translucent")


 Anamorphic Optical Glass Light Flare Effect Filter for Camera Lens Nano-Xcel Series")


