How To Change Your Voice On Screen Recording?
How to Change Your Voice on Screen Recordings: A Comprehensive Guide
Screen recording has become a popular way to share content, provide tutorials, or create engaging presentations. While recording your screen, you may also want to include your voice for context, instruction, or personal touch. But what if you want to change your voice on the recording, either for creative purposes, to hide your identity, or to add a bit of humor? Luckily, there are various tools and techniques available that can help you achieve just that.
In this article, we will explore the different methods for changing your voice on a screen recording, ranging from using software with built-in voice effects to editing tools that allow you to manipulate audio after the fact. By the end of this guide, you'll know exactly how to alter your voice in screen recordings for a variety of purposes, whether it’s for professional presentations, entertaining videos, or any other creative project.
1. Why Change Your Voice in Screen Recordings?

Before diving into the technical aspects of how to change your voice, it’s important to understand *why* you might want to do so. Changing your voice can serve a variety of purposes, such as:
- Anonymity: You might want to hide your identity in a video, whether for privacy reasons or for a project where your voice could be easily recognized.
- Creative Effect: Adding unique or entertaining voice effects can make your content more engaging. For instance, making your voice sound robotic or like a cartoon character can add humor or personality to a tutorial.
- Clarity and Accessibility: You may need to adjust your voice to make it clearer, more professional, or easier for your audience to understand. Some might prefer a higher or lower tone for better listening.
- Voiceover Work: If you’re doing voiceover work and need to change your tone, pitch, or accent, modifying your recorded voice is an essential tool.
With these motivations in mind, let’s explore the tools and techniques that will allow you to change your voice in a screen recording.
---
2. Using Screen Recording Software with Built-in Voice Modifiers
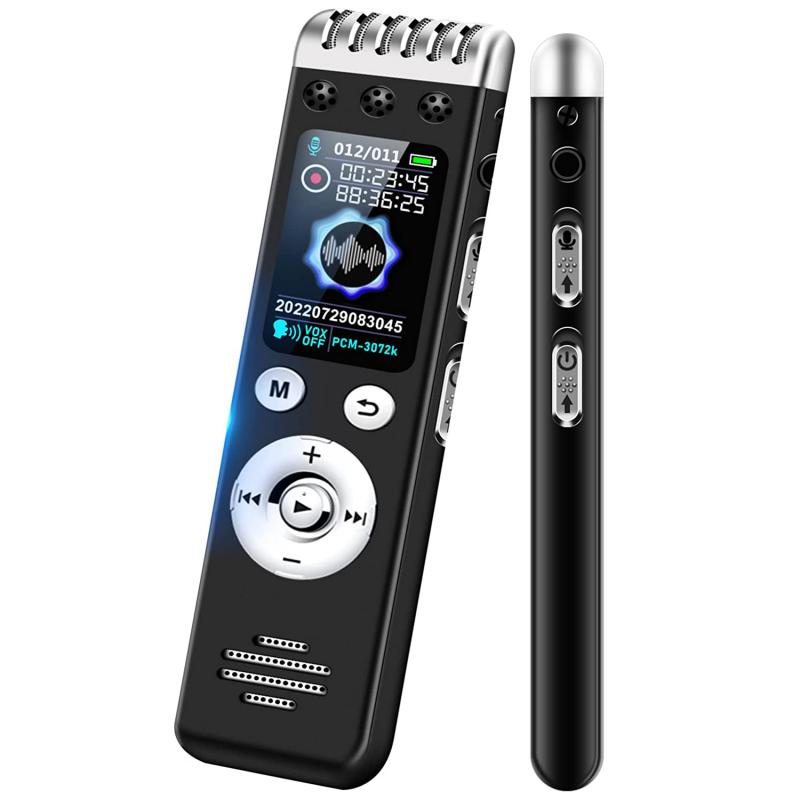
Several screen recording tools come with built-in features that allow you to change your voice as you record. This is one of the easiest and most convenient methods, as you don't need to do any post-production work to modify your voice.
a) OBS Studio (Open Broadcaster Software)
OBS Studio is a powerful and free screen recording software used by professionals worldwide. While OBS is primarily known for its streaming capabilities, it also allows for screen recording, and there are plugins available that can modify your voice in real-time.
- How to Use OBS Studio for Voice Modification:
1. Download and install OBS Studio.
2. Add your screen recording source.
3. Add a microphone audio source by clicking the “+” button under the Audio Mixer.
4. Use the “Filters” option for your microphone input.
5. Add an audio filter like a pitch shifter, equalizer, or noise gate to adjust your voice as you record.
You can adjust the pitch, speed, and other effects in real-time. OBS offers full customization, but it may require some trial and error to get the desired effect.
b) Camtasia
Camtasia is another excellent screen recording and video editing tool, widely used for creating tutorials, training videos, and presentations. While Camtasia doesn't have built-in real-time voice-changing features, it offers a variety of post-production audio editing tools that let you modify your voice with ease.
- How to Use Camtasia to Change Your Voice:
1. Record your screen with Camtasia.
2. After the recording is finished, select the audio track in the timeline.
3. Use the "Audio Effects" menu to adjust pitch, speed, or apply sound effects.
4. You can also use equalization and noise reduction to clean up your audio or add different vocal tones.
Camtasia is intuitive and user-friendly, making it a great option for beginners who want to change their voice without delving too deeply into technical aspects.
c) ScreenFlow (Mac Only)
ScreenFlow is another premium screen recording software available for macOS. Like Camtasia, ScreenFlow is known for its ease of use and advanced video editing capabilities. It allows you to modify audio post-recording with professional-grade tools.
- How to Use ScreenFlow for Voice Modification:
1. Record your screen and audio as usual.
2. Select the audio track in the timeline.
3. Open the "Audio" section and apply filters like pitch change, speed adjustment, or even robotic voice effects.
4. ScreenFlow also allows multi-track editing, so you can layer different voice effects for added creativity.
ScreenFlow is particularly effective for those who want to quickly make changes to their voice without needing to rely on third-party software.
---
3. Post-Production Tools for Changing Your Voice
If you’ve already recorded your screen and audio but want to change your voice afterward, there are several audio editing tools that you can use to manipulate your voice with precision.
a) Audacity (Free and Open Source)
Audacity is a widely-used, free, and open-source audio editing tool. It’s highly versatile and can be used to apply various effects to change your voice. Whether you want to make your voice sound higher, lower, robotic, or distorted, Audacity offers a full range of options.
- How to Use Audacity to Change Your Voice:
1. Import your screen recording audio into Audacity.
2. Highlight the section of the audio you want to modify.
3. Use the "Effect" menu to apply pitch shift, speed change, equalizer settings, or apply effects like reverb, echo, or distortion.
4. You can also use the “Change Pitch” or “Change Speed” tools to adjust your voice to a completely new sound.
Audacity is powerful, but it has a steeper learning curve than some of the more user-friendly tools. However, with a bit of practice, you can achieve professional-grade audio modifications.
b) Adobe Audition (Professional, Paid)
Adobe Audition is a professional audio editing tool that allows for deep manipulation of audio tracks. While it’s a paid software, it provides a level of control and precision that free tools like Audacity can’t match.
- How to Use Adobe Audition to Modify Your Voice:
1. Import your screen recording audio into Audition.
2. Use the "Effects Rack" to apply a variety of audio effects, such as pitch correction, voice modulation, or dynamic processing.
3. Use the “Time and Pitch” tools to manually adjust the pitch, formant, and speed to create a unique voice effect.
4. You can also apply advanced features like noise reduction, vocal isolation, and sound design to further refine your audio.
Adobe Audition is ideal for professional content creators who need top-tier tools for voice manipulation.
c) Voice Changer Software
There are various voice changer software programs available specifically designed to alter your voice in real-time or during post-production. These can be particularly fun for creating comedic effects or adding unique tones to your voice.
Popular voice changer software includes:
- Voicemod (real-time voice changing, great for streamers and casual use)
- Clownfish Voice Changer (lightweight and easy to use)
- MorphVOX (known for its high-quality voice effects)
These programs are ideal if you're looking for quick, easy-to-apply voice transformations, such as changing your voice to sound like a robot, a monster, or even a celebrity.
---
4. Considerations When Changing Your Voice
While changing your voice can be a fun or necessary addition to your screen recordings, there are several factors you should keep in mind to ensure the final product sounds natural and engaging.
a) Maintain Audio Quality
One of the risks of modifying your voice too drastically is losing audio quality. Excessive pitch shifting or using too many effects can cause distortion, making it hard for your audience to understand what you're saying. Always check your modified audio to ensure it’s clear and intelligible.
b) Match the Effect to the Content
If you're recording a tutorial or educational content, be mindful of the tone and voice effects you apply. While humor and creativity are great, an overly distorted voice can detract from the professionalism of the content. On the other hand, creative effects might be perfect for entertainment or gaming videos.
c) Experiment and Test
When first experimenting with voice-changing techniques, it’s important to test different options and listen to how the changes affect the final output. What sounds good in isolation may not always work well in context with the video, so try out several options to find the right balance.
---
5. Conclusion
Changing your voice in screen recordings opens up a world of creative possibilities, whether you want to alter your tone for clarity, anonymity, or entertainment. Whether you're using built-in features in screen recording software like OBS, Camtasia, or ScreenFlow, or editing your audio post-recording with tools like Audacity or Adobe Audition, the right approach will depend on your needs and technical comfort level.
For quick and simple changes, software like Voicemod or Audacity can be incredibly effective, while more professional tools like Adobe Audition offer advanced features for high-quality results. Always remember to balance creativity with clarity to ensure your voice modifications enhance your content without hindering its accessibility or quality.
With the right tools and techniques, you'll be able to transform your voice in screen recordings, whether you’re creating engaging tutorials, entertaining commentary, or professional presentations. So go ahead—experiment with your voice, and let your creativity flow freely in your














There are no comments for this blog.