How To Choose Nd Filter Stop?
Neutral Density (ND) filters are essential tools for photographers, allowing them to control the amount of light entering the camera lens without affecting the color of the image. Choosing the right ND filter stop can be a nuanced decision, influenced by the specific needs of your photography. Let's dive into the considerations and steps to make an informed choice:
Understanding ND Filters:
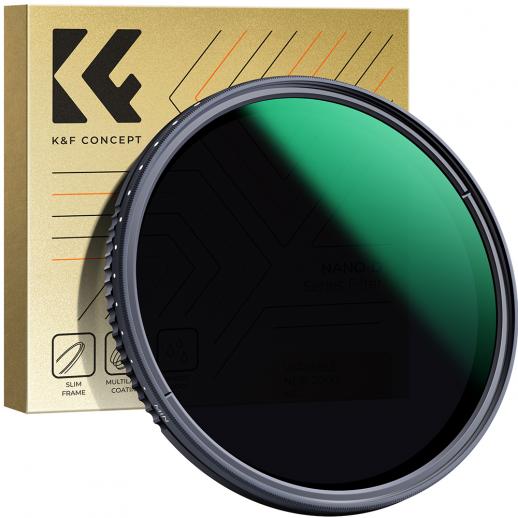
An ND filter reduces the intensity of all wavelengths or colors of light equally, giving no changes in hue of color rendition. The primary purpose is to allow photographers to have more control over exposure, especially in bright lighting conditions. ND filters are typically marked with a number indicating the stop of light reduction. Common ND filter stops range from ND2 (1 stop) to ND1000 (10 stops) or even higher.
Key Considerations in Choosing the ND Filter Stop:
1. Type of Photography:
- Landscape Photography: You might want a higher stop ND filter (e.g., ND8 to ND1000) to capture soft, smooth water effects or motion blur in clouds.
- Portrait Photography: Lower stop ND filters (e.g., ND2 to ND4) may suffice to achieve a shallower depth of field in bright conditions without overexposing the image.
2. Lighting Conditions:
- Bright Sunny Days: Higher stop ND filters (e.g., ND16 to ND1000) are more suitable for significantly reducing light.
- Overcast or Golden Hour: Lower stop filters (e.g., ND2 to ND8) can help in mildly dim conditions without making the scene too dark.
3. Camera Settings:
- Shutter Speed: To create motion blur effects, you might need a higher stop ND filter to use slower shutter speeds.
- Aperture: A lower stop ND filter can help maintain a wider aperture for a shallow depth of field.
4. Desired Effects:
- Long Exposure Effects: If you aim to capture images with extended exposures (e.g., 30 seconds or more), a high stop ND filter (e.g., ND64 to ND1000) is essential.
- Simpler Light Reduction: For minimal light reduction (e.g., slight exposure adjustments), lower stop ND filters (e.g., ND2 to ND4) should be sufficient.
5. Filter Combination:
- For added flexibility, consider using multiple ND filters together to achieve the desired stop reduction. This method requires that the filters are stackable and do not cause vignetting or other mechanical issues.
Typical ND Filter Stops and Applications:
- ND2 (1 Stop): Reduces light by half. Suitable for mild light reduction or to balance exposure in mixed lighting conditions.
- ND4 (2 Stops): Reduces light to a quarter. Good for reducing a couple of stops in bright daylight or adding slight motion blur.
- ND8 (3 Stops): Reduces light to an eighth. Useful for early morning or late afternoon shoots.
- ND16 (4 Stops) and ND32 (5 Stops): Provide significant light reduction, allowing substantial control for mid-day shoots.
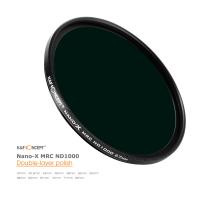
- ND64 (6 Stops) to ND1000 (10 Stops): Best for extreme light management scenarios like very bright conditions or achieving very long exposures.
Choosing the Correct ND Filter — Practical Guide:
1. Assess Your Regular Shooting Conditions:
- Start by evaluating the typical lighting conditions of your photography sessions.
2. Determine Your Creative Needs:
- Decide if you need a filter to merely tone down the overall light or to create specific effects like long exposures or shallow depth of field.
3. Consider Versatility:
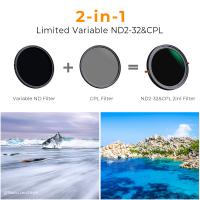
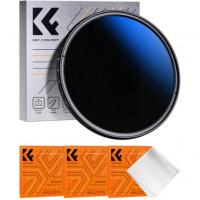
- If you shoot in varying lighting conditions and require different levels of light control, investing in multiple ND filters or a variable ND filter might be a wise decision.
4. Check Compatibility:
- Ensure the filter fits your lens diameter. Quality versus price is another consideration, as higher-end filters can offer more consistent results with fewer optical aberrations.
Practical Example Applications:
- Capturing Waterfalls/Seascapes:
- Use ND16 or ND64 filters to smooth out water motion.
- Bright Sky and Landscape Separation:
- For balanced exposures in bright daylight, integrating an ND8 filter might help.
- Achieving Shallow Depth of Field in Portraits:
- Employ ND4 or ND8 filters to maintain a wide aperture without overexposing.
Conclusion:
Choosing the right ND filter stop depends on your specific photographic needs, the lighting conditions you encounter most frequently, and the creative effects you wish to achieve. By understanding the basic principles and applications outlined above, you can make better decisions on which ND filters to include in your gear. Experiment with different stops to explore how they affect your photos under various conditions, enabling you to master your light control and push the boundaries of your photographic creativity.


