How To Clean Outdoor Security Cameras?
Maintaining the cleanliness of your outdoor security cameras is crucial for ensuring they function optimally and provide clear footage. Over time, dirt, dust, and other environmental factors can obscure the lens, leading to poor image quality. In this article, we will delve into the step-by-step process of cleaning your outdoor security cameras, the tools you will need, and some best practices to keep in mind. By following these guidelines, you can ensure that your security system remains effective and reliable.
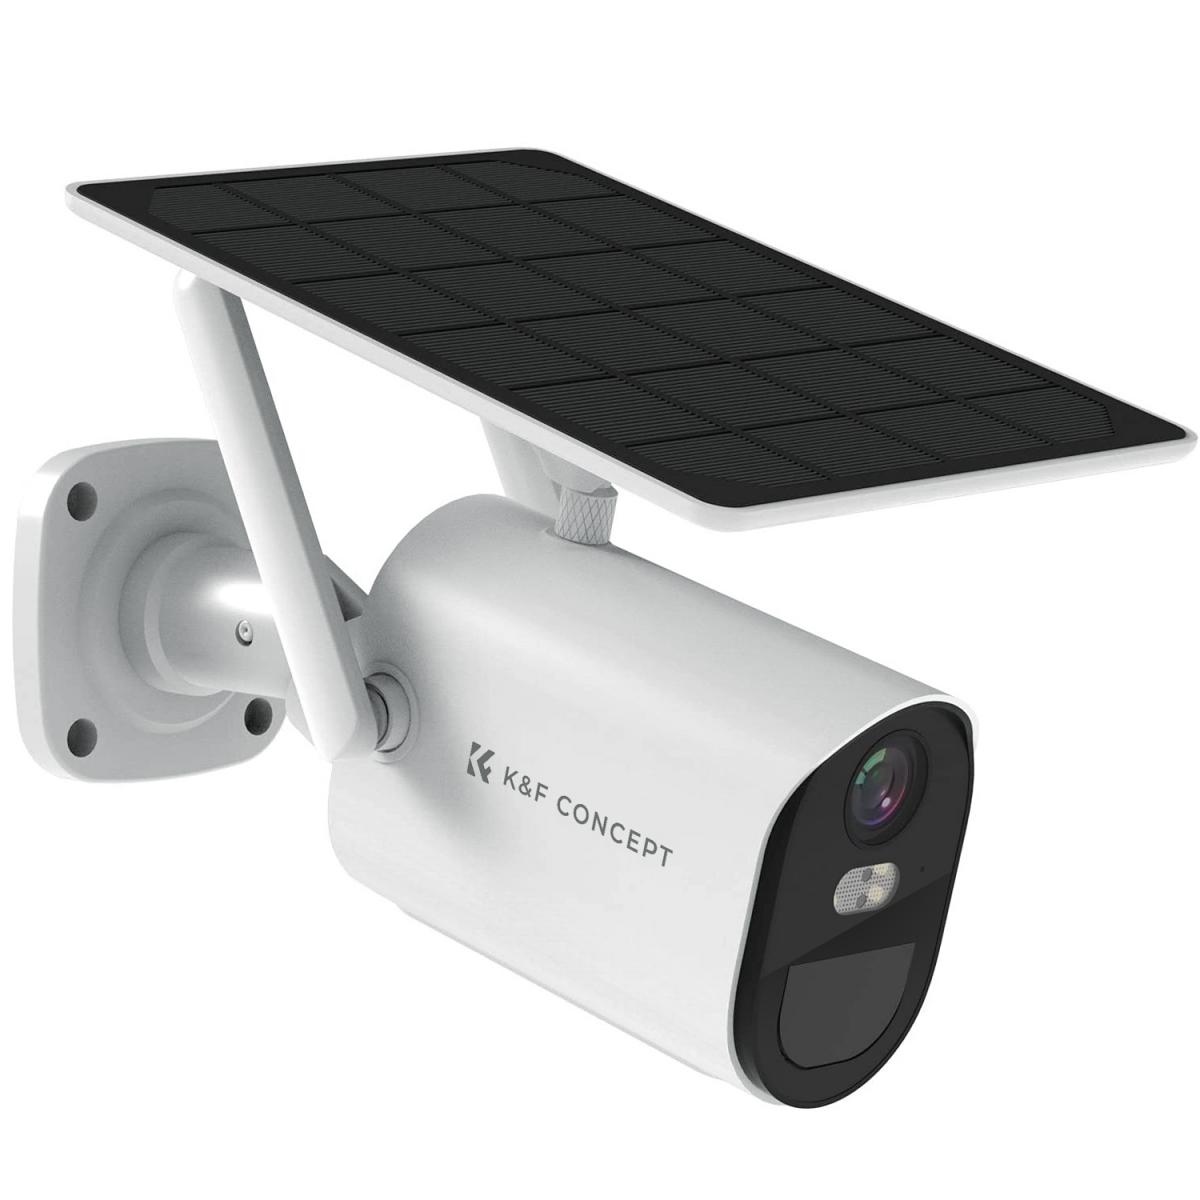
Why Clean Your Outdoor Security Cameras?
Outdoor security cameras are exposed to various elements such as rain, dust, pollen, and even insects. These elements can accumulate on the camera lens and housing, leading to:
1. Reduced Image Quality: Dirt and grime can blur the camera lens, resulting in unclear footage.
2. Obstructed View: Debris can block the camera's field of view, making it difficult to monitor the area effectively.
3. Damage to the Camera: Prolonged exposure to dirt and moisture can cause wear and tear on the camera components.
Regular cleaning helps to maintain the camera's performance and prolong its lifespan.
Tools and Materials Needed
Before you start cleaning your outdoor security cameras, gather the following tools and materials:
- Soft microfiber cloths
- Lens cleaning solution or distilled water
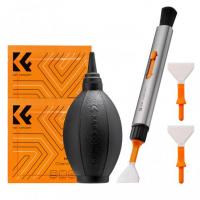
- Compressed air canister
- Small, soft-bristled brush
- Screwdriver (if needed to remove the camera housing)
- Ladder (if the camera is mounted high)
- Gloves (optional, for better grip and protection)
Step-by-Step Cleaning Process
1. Safety First
Before you begin, ensure your safety by turning off the camera system. This will prevent any electrical hazards and avoid recording while you are cleaning. If the camera is mounted high, use a sturdy ladder and have someone assist you if possible.
2. Inspect the Camera
Carefully inspect the camera for any visible dirt, dust, or debris. Pay special attention to the lens and the housing. Note any areas that require special attention.
3. Remove Loose Debris
Use a canister of compressed air to blow away any loose dust and debris from the camera's surface. Hold the canister upright and use short bursts to avoid moisture buildup.
4. Clean the Lens
The lens is the most critical part of the camera, so it requires gentle cleaning. Dampen a microfiber cloth with lens cleaning solution or distilled water. Avoid using tap water as it may contain minerals that can scratch the lens. Gently wipe the lens in a circular motion to remove any smudges or dirt. If the lens is particularly dirty, you may need to repeat this process.
5. Clean the Camera Housing
Using a soft-bristled brush, gently clean the camera housing to remove any dirt or cobwebs. For stubborn dirt, you can use a damp microfiber cloth. Be careful not to let any moisture seep into the camera's internal components.
6. Check for Insects
Outdoor cameras can sometimes attract insects, which may build nests or leave droppings on the camera. Use the soft-bristled brush to remove any insect debris. If you find any nests, carefully remove them without damaging the camera.
7. Reassemble and Test
If you had to disassemble any part of the camera for cleaning, carefully reassemble it. Once everything is back in place, turn the camera system back on and check the footage to ensure the image quality has improved.
Best Practices for Maintaining Clean Cameras
1. Regular Cleaning Schedule: Establish a regular cleaning schedule based on your environment. For example, if you live in a dusty area, you may need to clean your cameras more frequently.
2. Protective Covers: Consider using protective covers or housings for your cameras to shield them from the elements.
3. Trim Vegetation: Keep any nearby vegetation trimmed to prevent leaves and branches from obstructing the camera's view.
4. Check After Storms: Inspect and clean your cameras after heavy storms or windy conditions, as these can deposit a lot of debris on the cameras.
5. Use Anti-Fog Solutions: In humid environments, consider using anti-fog solutions on the lens to prevent condensation.
Troubleshooting Common Issues
Even with regular cleaning, you may encounter some common issues with your outdoor security cameras. Here are a few troubleshooting tips:
1. Blurry Footage: If the footage remains blurry after cleaning, check the camera's focus settings. Some cameras have manual focus adjustments that may need fine-tuning.
2. Night Vision Problems: If the night vision is not working correctly, ensure that the infrared lights are clean and unobstructed. Dirty IR lights can affect the camera's ability to capture clear images in low light.
3. Connectivity Issues: If the camera is not connecting to your system, check the cables and connections for any signs of wear or damage. Ensure that the camera is receiving power and that the network connection is stable.
Keeping your outdoor security cameras clean is essential for maintaining their performance and ensuring the safety of your property. By following the steps outlined in this article, you can effectively clean your cameras and address any common issues that may arise. Regular maintenance not only improves image quality but also extends the lifespan of your security system. Remember to prioritize safety and use the appropriate tools and materials for the best results. With a little effort and attention, you can keep your outdoor security cameras in top condition, providing you with clear and reliable surveillance footage.



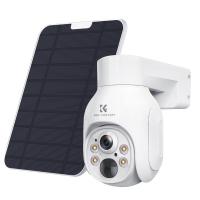
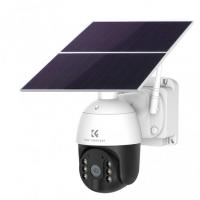
![[4X Optical Zoom] Recharge power Security Camera PTZ Outdoor for Home Security with Human Detection Auto Tracking-UK Standard [4X Optical Zoom] Recharge power Security Camera PTZ Outdoor for Home Security with Human Detection Auto Tracking-UK Standard](https://img.kentfaith.com/cache/catalog/products/us/KF50.0003/KF50.0003-1-200x200.jpg)











There are no comments for this blog.