How To Clear A Camera Memory Card?
Clearing a camera memory card is a task that every photographer, from amateurs to professionals, must occasionally perform to ensure their device has sufficient storage for future projects. Whether you're looking to optimize your workflow or address issues of limited space, clearing a camera memory card is a fundamental skill. This article will explore the steps and considerations for safely and effectively clearing a camera memory card, ensuring you maintain the integrity of your stored data and extend the lifespan of your card.
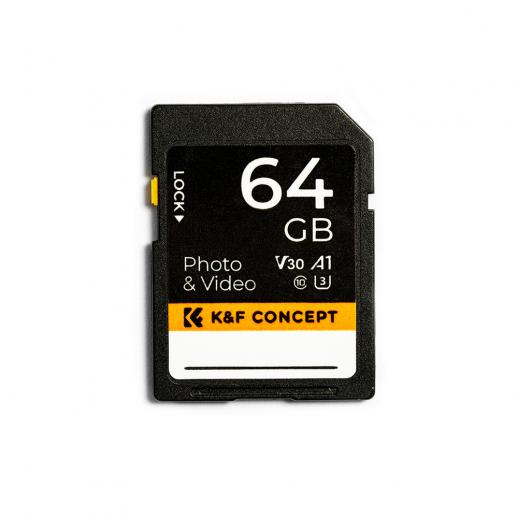
Step-by-Step Guide to Clearing a Camera Memory Card
1. Backup Your Data:
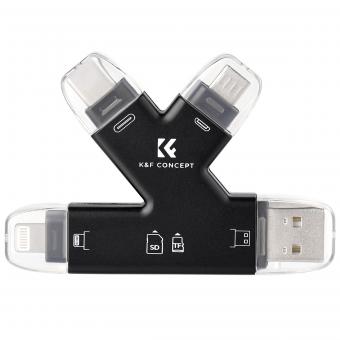
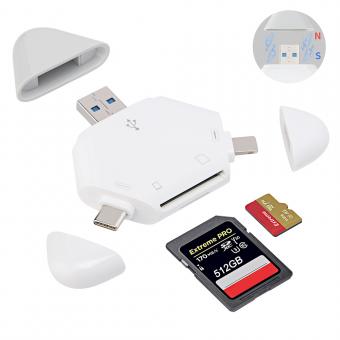
Before clearing your memory card, it's essential to back up all existing data. Connect your camera or memory card to your computer using a USB cable or a card reader. Transfer all the photos and videos to a secure location, such as an external hard drive or cloud storage. This step safeguards against accidental data loss, allowing you to retrieve your files if needed.
2. Safely Eject the Card:
Once you've backed up your data, safely eject your memory card from the computer. This is crucial to prevent data corruption. On Windows, right-click on the external drive and select "Eject." On Mac, drag the disk icon to the trash, which will change into an eject icon.
3. In-Camera Formatting:
The most recommended method to clear your memory card is by formatting it directly in your camera. Formatting not only deletes all files but also refreshes the card’s file structure, reducing the risk of errors or corruption.
- Turn on your camera and navigate to the menu.
- Find the 'Format' option, which is typically under setup or settings.
- Select 'Format' and confirm your choice. The camera will then erase all data and prepare the card for future use.
4. Using a Computer:
If you prefer to clear your memory card using a computer, here’s how:
- Insert the memory card into your computer using a card reader.
- Open 'This PC' on Windows or 'Finder' on Mac.
- Right-click on the memory card drive and select 'Format.'
- Follow the prompts to complete the process. Be sure to select the correct file system (usually exFAT or FAT32, depending on the camera's requirements).
5. Check for Errors:
After formatting, it’s wise to check the card for errors. Both Windows and Mac have built-in tools for this.
- On Windows, right-click the card, select 'Properties,' then 'Tools,' and finally, 'Check Now' under error-checking.
- On Mac, go to 'Disk Utility,' select the card, and click 'First Aid.'
6. Reinsert and Test:
Finally, reinsert the memory card into your camera and take a few test shots. This ensures the card was properly formatted and is functioning as expected.
Considerations and Best Practices
- Regular Maintenance: Regularly format your memory card in-camera to maintain optimal performance. It's advisable to do this after transferring files to your computer rather than just deleting the files manually, which can lead to fragmentation and reduce the efficiency of the card.
- Use Multiple Cards: Professionals often use multiple memory cards to avoid putting all their data at risk on a single card. Rotating cards also minimizes wear and tear.
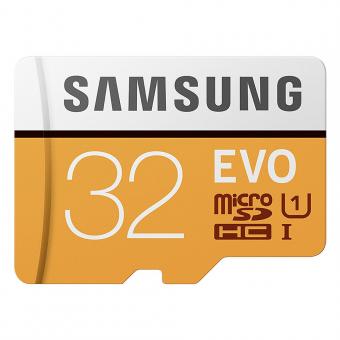
- Quality and Authenticity: Invest in high-quality memory cards from reputable brands. Cheap or counterfeit cards are more prone to failure and data corruption.
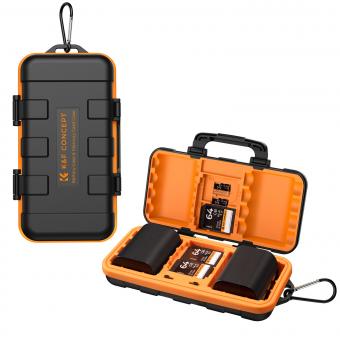
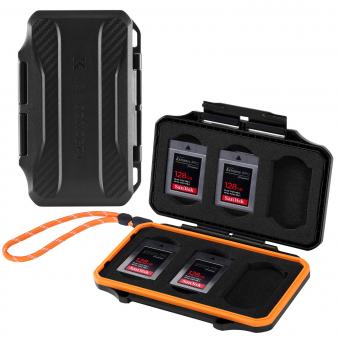
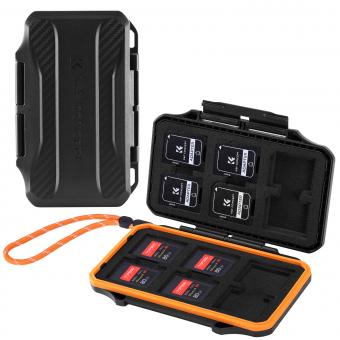
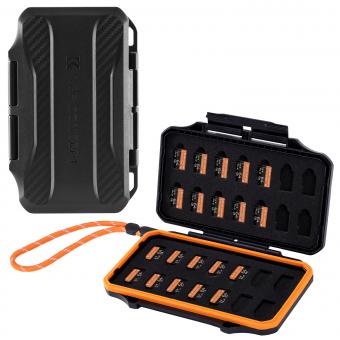
- Storage and Handling: Store your memory cards in a protective case, and handle them with care to avoid physical damage and data loss. Keep them away from magnets and extreme temperatures.
- Error Management: If you encounter errors frequently, consider using memory card recovery software to retrieve lost files and then perform a full format to refresh the card.
Troubleshooting Common Issues
Despite following best practices, issues may still arise. Here are some common problems and solutions:
- Corrupted Card: If your card becomes corrupted and unreadable, use data recovery software to attempt to retrieve your files. Following recovery, perform a full format.
- Slow Performance: A slow card can be a sign of fragmentation or nearing the end of its lifespan. Regular formatting can help, but if speed doesn't improve, it may be time to invest in a new card.
- Unreadable by Camera or Computer: Ensure the card is compatible with your device. Sometimes a simple reinsertion or a reboot of your device can solve the issue. If not, formatting the card usually resolves this.
Conclusion
Clearing a camera memory card is a straightforward yet critical task that ensures your device remains ready for action. By following the steps outlined above—backing up data, safely ejecting the card, formatting it properly, and routinely checking for errors—you can maintain the health and efficiency of your memory cards.
Implement good practices such as regular maintenance, using high-quality cards, and handling them with care to mitigate risks and enhance the longevity of your memory storage. By being proactive and attentive, you can focus on capturing the moments that matter, knowing your storage solutions are reliable and ready.
Investing time in understanding these simple yet effective practices will undoubtedly save you from potential headaches in the future and keep your photography workflow smooth and uninterrupted. Don’t underestimate the importance of proper memory card management—it’s the backbone of your digital photography efforts.

