How To Connect Geeni Camera To New Wifi?
Geeni cameras are popular for their simplicity and cost-effectiveness, but when it comes time to change WiFi networks, many users encounter some challenges. This article will detail the steps for connecting your Geeni camera to a new WiFi and provide some practical solutions to ensure a smooth connection.
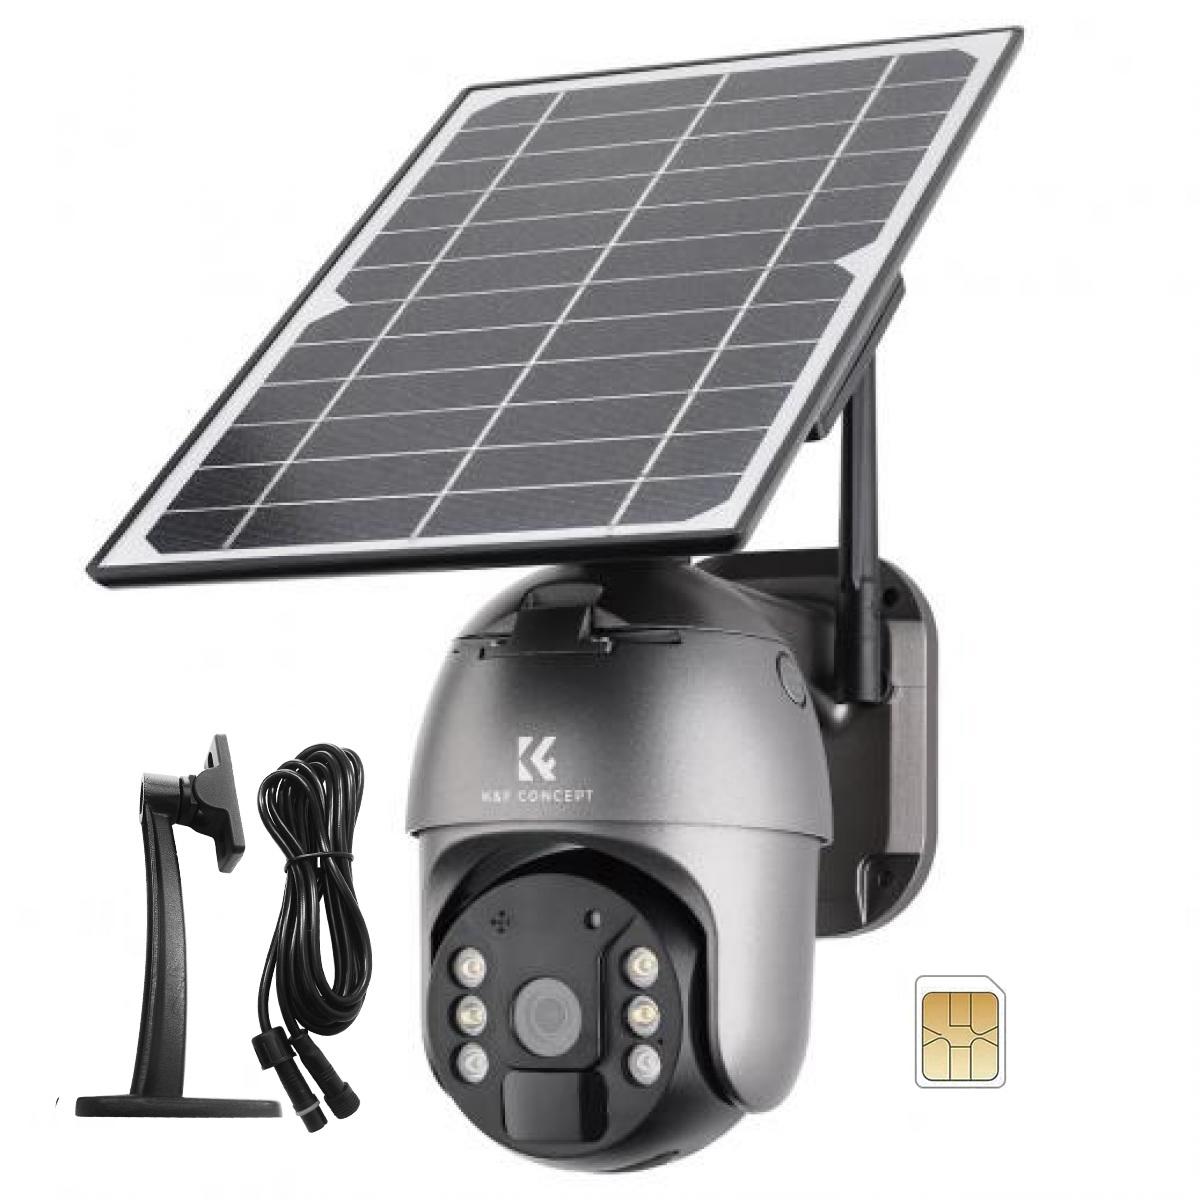
Steps to connect Geeni camera to new WiFi
Preparation:
Make sure your phone is connected to the new WiFi network and the WiFi signal is stable.
Make sure the Geeni camera is plugged in and turned on.
Reset the camera:
Most Geeni cameras have a reset button on the bottom or side. Use a thin tool (such as a paper clip) to press and hold the reset button for about 5 seconds until the light on the camera starts blinking.
Open the Geeni app:
Open the Geeni app on your smartphone. If you don't already have the app installed, you can download and install it from the App Store or Google Play.
Add device:
On the main screen of the Geeni app, tap the "+" sign or the "Add Device" button.
Select the camera type, usually "Smart Camera" or a specific camera model.
Connect to WiFi:
Follow the app's prompts to enter the name and password of your new WiFi network.
The app will guide you to bring your phone closer to the camera so that it can connect to the WiFi via sound wave or QR code scanning.
Wait for the connection:
The connection process may take a few minutes. The camera will show the connection status through the indicator light: Usually, the blinking light changes to a constant light to indicate a successful connection.
Complete the setup:
After successful connection, you can name the camera and make other settings as needed, such as adjusting picture quality, setting alarm notifications, etc.
Troubleshooting to Resolve Connection Problems
If you encounter problems during the connection process, you can try the following methods for troubleshooting:
Check the WiFi signal:
Make sure that both the camera and the phone are within the coverage area of the WiFi router and that the signal strength is good.
Reboot the devices:
Reboot the camera, phone and router to troubleshoot temporary problems.
Confirm network band:
Geeni cameras typically only support WiFi networks in the 2.4 GHz band, not 5 GHz. make sure the 2.4 GHz band is enabled in your router settings.
Turn off the firewall:
Sometimes the router's firewall settings may prevent the camera from connecting. Try temporarily disabling the firewall or adding the camera to the firewall's whitelist.
Update the application:
Ensure that the Geeni application has been updated to the latest version for optimal compatibility and performance.
Geeni camera compatibility issues with different routers
Sometimes the Geeni camera encounters compatibility issues with certain routers. Solutions include:
Upgrade router firmware:
Check and upgrade your router firmware to ensure it is compatible with the latest smart devices.
Use a different encryption method:
Try a different WiFi encryption method (e.g. WPA2) in your router settings, sometimes this can solve connection issues.
Manually configure the IP address:
If the automatic connection fails, try manually configuring the IP address and DNS servers in the Geeni app.
Considerations for ensuring a secure connection to your Geeni camera
To ensure a secure connection to the Geeni camera, the following points are recommended:
Use a strong password:
Set a strong password for your WiFi network and avoid using a simple or default password.
Enable network encryption:
Ensure your WiFi network uses WPA2 or higher level encryption.
Change your password regularly:
Change your WiFi password regularly to improve network security.
Monitor device connections:
Regularly check your router's list of connected devices to ensure that no unauthorized devices are accessing it.
Suggestions for optimizing Geeni camera settings after connection
After successfully connecting to a new WiFi, you can optimize your Geeni camera experience by doing the following:
Adjusting the picture quality settings:
Adjust the camera's picture quality settings to balance sharpness and data usage according to network bandwidth and storage requirements.
Setting up alarm notifications:
Configure alarm notifications in the Geeni app to ensure you receive timely notifications when motion or sound is detected.
Regularly check for updates:
Regularly check and update the camera's firmware for the latest features and security patches.


