How To Diffuse Camera Flash?
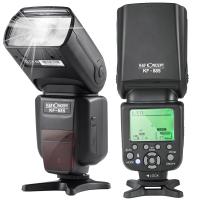
Diffusing camera flash is a crucial technique for photographers who want to achieve softer, more natural lighting in their images. Direct flash can often result in harsh shadows, overexposed highlights, and an overall unflattering look. By diffusing the flash, you can create a more even distribution of light, which enhances the quality of your photographs. In this article, we will explore various methods to diffuse camera flash, the benefits of each technique, and practical tips to help you master this essential skill.
Understanding the Need for Flash Diffusion
Before diving into the methods of diffusing flash, it’s important to understand why diffusion is necessary. Direct flash can create a stark contrast between light and shadow, leading to unappealing results. Diffusion helps to:
1. Soften Shadows: By spreading the light over a larger area, diffusion reduces the intensity of shadows.
2. Reduce Glare: Diffused light minimizes the harsh glare that can occur with direct flash.
3. Enhance Texture: Softer light can bring out the texture in subjects, making them appear more three-dimensional.
4. Create Natural Lighting: Diffused light mimics natural light, resulting in more realistic and pleasing images.
Methods to Diffuse Camera Flash
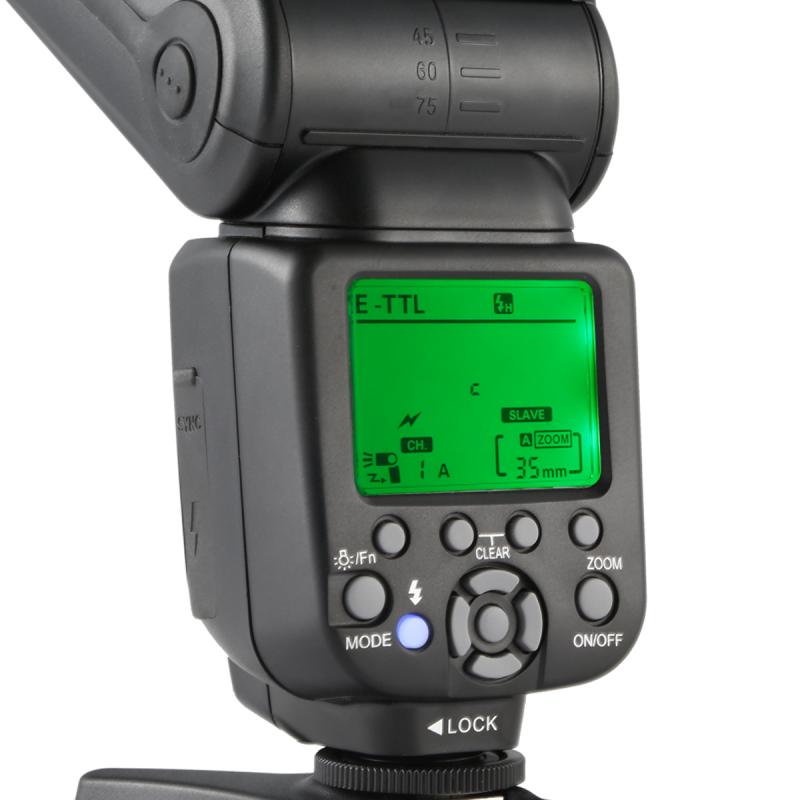
There are several techniques to diffuse camera flash, each with its own set of advantages. Here are some of the most effective methods:
1. Using a Flash Diffuser
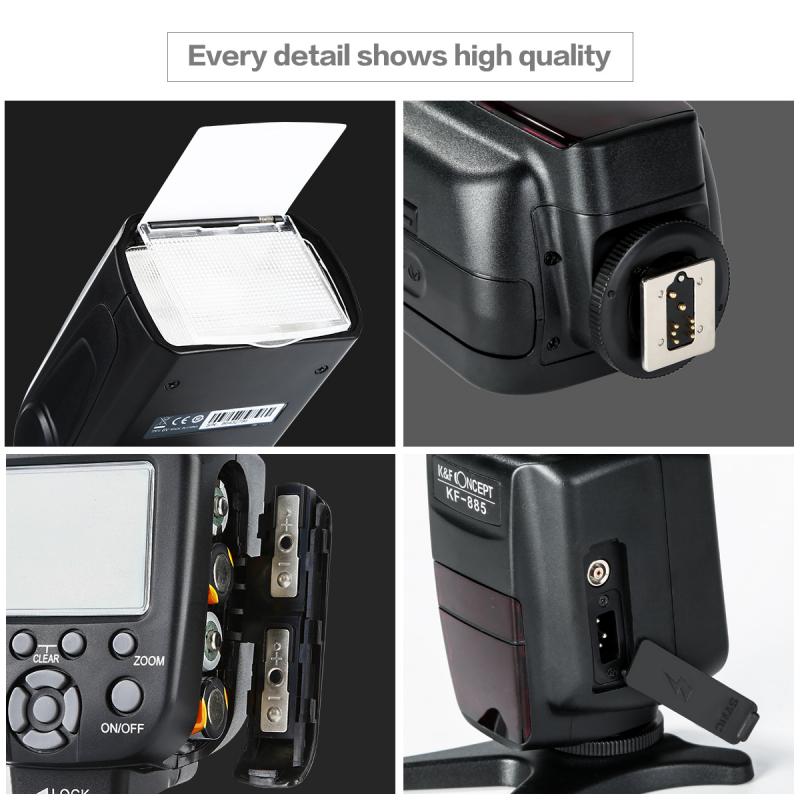
A flash diffuser is a simple and effective tool that attaches to your camera’s flash unit. It scatters the light, creating a softer effect. There are various types of flash diffusers available, including:
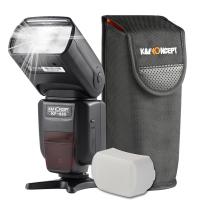
- Dome Diffusers: These are semi-transparent domes that fit over the flash. They are great for general use and provide a good balance of diffusion.
- Softbox Diffusers: These are small versions of studio softboxes that attach to the flash. They offer excellent diffusion and are ideal for portrait photography.
- Bounce Diffusers: These direct the flash upwards or sideways, bouncing the light off a surface like a ceiling or wall. This method creates a more natural light effect.
2. Bouncing the Flash
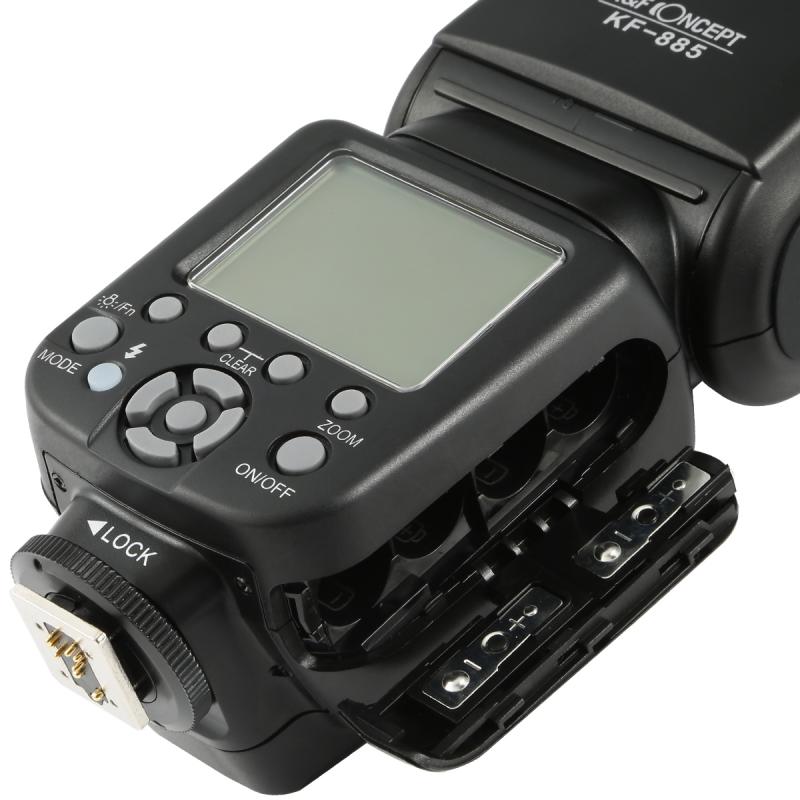
Bouncing the flash involves directing the light towards a reflective surface, such as a ceiling or wall, instead of directly at the subject. This technique spreads the light over a larger area, resulting in softer illumination. To effectively bounce the flash:
- Angle the Flash Head: Most external flash units allow you to tilt and swivel the flash head. Point it towards a neutral-colored surface to avoid color casts.
- Use a Reflector: If there are no suitable surfaces to bounce the flash, you can use a portable reflector. These come in various sizes and colors, allowing you to control the quality and direction of the light.
3. Using a Flash Modifier
Flash modifiers are accessories that alter the quality and direction of the light. Some popular flash modifiers include:
- Diffusion Panels: These are translucent panels that you place between the flash and the subject. They scatter the light, creating a soft, even effect.
- Snoots: These are cone-shaped devices that narrow the beam of light, allowing you to control where the light falls. While not primarily for diffusion, they can be used creatively to soften light in specific areas.
- Grids: These are honeycomb-like structures that attach to the flash. They control the spread of light, providing a more focused yet diffused effect.
4. DIY Diffusion Techniques
If you don’t have access to commercial diffusers or modifiers, there are several DIY methods you can use to diffuse your flash:
- Tissue Paper or Napkin: Place a piece of tissue paper or a napkin over the flash. This will soften the light and reduce harsh shadows.
- Plastic Containers: Cut the bottom off a semi-transparent plastic container and place it over the flash. This creates a makeshift dome diffuser.
- White Card or Paper: Attach a white card or piece of paper to the flash head at an angle. This will bounce the light and create a diffused effect.
Practical Tips for Effective Flash Diffusion
To get the best results from your flash diffusion techniques, consider the following tips:
1. Experiment with Angles: The angle at which you position your flash and diffuser can significantly impact the quality of light. Experiment with different angles to find the most flattering light for your subject.
2. Adjust Flash Power: Diffusing the flash reduces its intensity. You may need to increase the flash power or adjust your camera settings to compensate for the loss of light.
3. Consider the Environment: The color and texture of the surfaces around you can affect the quality of the diffused light. Be mindful of your surroundings and use them to your advantage.
4. Use Multiple Diffusers: Combining different diffusion techniques can enhance the softness of the light. For example, you can use a dome diffuser in conjunction with a bounce card for a more even effect.
5. Practice and Review: Like any photography technique, mastering flash diffusion takes practice. Review your images and make adjustments as needed to achieve the desired results.
Diffusing camera flash is an essential skill for photographers who want to create soft, natural-looking images. By understanding the need for diffusion and experimenting with various techniques, you can significantly improve the quality of your photographs. Whether you use commercial diffusers, bounce the flash, or employ DIY methods, the key is to practice and refine your approach. With time and experience, you’ll be able to achieve beautifully diffused lighting that enhances your subjects and elevates your photography.


