How To Do Photography In Gym Lighting?
Mastering Photography in Gym Lighting: Tips and Techniques for High-Quality Shots
Gym lighting can be tricky to handle, especially if you’re trying to capture action shots of athletes or dynamic moments in a fitness setting. Many gyms use artificial lighting, which may not always be optimal for photography. The combination of fluorescent lights, overhead fixtures, and large open spaces can make it challenging to get the perfect shot without encountering issues like poor color accuracy, harsh shadows, or grainy images. However, with the right techniques and understanding of lighting, you can turn these challenges into opportunities to create striking and professional-looking photos.
In this article, we’ll break down how to tackle photography in gym environments, focusing on practical tips for overcoming the common lighting issues and making the most of your surroundings.
1. Understand the Lighting in Your Gym
Before you even think about shooting, it’s crucial to understand the lighting setup in the gym. Many gyms use a combination of fluorescent or LED lights, which can vary in quality. Fluorescent lights, for example, often produce a greenish or yellowish tint that can affect the color balance in your photos. Knowing this upfront will help you adjust your camera settings to correct any unwanted color casts.
There are a few different types of lighting commonly found in gyms:
- Overhead fluorescent or LED panels: These are often the primary source of light. They can cast a flat, even light that may not highlight muscles or create dramatic effects unless positioned correctly.
- Spotlights or accent lighting: These are typically placed around weight machines or certain areas of the gym to highlight certain actions. These lights are more directional and can create harsh shadows or uneven lighting.
- Natural light from windows: Some gyms have windows or skylights that can provide natural light. The intensity of natural light depends on the time of day and weather conditions, so you may need to account for changing light levels throughout the day.
To adapt to different lighting conditions, it's essential to observe the gym before you start shooting. Pay attention to the light sources, how they interact with the subjects, and where the shadows fall.
2. Adjust Your Camera Settings
Once you understand the lighting situation, adjusting your camera settings becomes the next priority. The right settings will help you maximize the available light and minimize the impact of poor lighting.
A. ISO
In low-light environments like a gym, you’ll likely need to raise the ISO to avoid underexposed shots. However, increasing the ISO too much can introduce noise into your images. The key here is to find a balance. Start with an ISO of around 800–1600 and adjust based on your results. Some cameras handle higher ISO levels better than others, so if your camera performs well at higher ISO values, you may go up to 3200 or even 6400.
B. Shutter Speed
To capture movement in action shots, you’ll need a fast shutter speed to avoid motion blur. However, too fast of a shutter speed can result in underexposed images, especially in a gym with dim lighting. A good starting point is a shutter speed of 1/500 sec, but this will vary based on the activity. For stationary shots or slower movements, you can use slower speeds (e.g., 1/250 sec), but for fast action shots, you’ll need to increase the shutter speed.
C. Aperture (f-stop)
A wide aperture (low f-stop) like f/2.8 or f/4 can help you gather more light, which is essential in poorly lit environments. A wide aperture also creates a shallow depth of field, which can help isolate your subject from the background. If you're shooting a group of people or need more depth of field, consider narrowing the aperture to around f/5.6–f/8, but keep in mind that a smaller aperture means less light will reach the sensor, which could necessitate adjustments to your ISO or shutter speed.
D. White Balance
The color of gym lighting can vary, so setting the correct white balance is crucial for achieving accurate colors in your photos. Most gyms have either tungsten (yellowish) or fluorescent (greenish) lighting, which can give your images a color cast. If you’re using a DSLR or mirrorless camera, you can manually adjust the white balance by setting the temperature (measured in Kelvin), or you can use a custom white balance setting by shooting a neutral gray card in the gym.
3. Use External Lighting Equipment
If the gym lighting is simply too inadequate or uneven, you may need to bring your own lighting equipment. This is especially true if you are shooting in a gym with little natural light and want to avoid relying on harsh overhead lights.
A. Flashes and Strobes
Using a flash or strobe can help eliminate shadows and evenly illuminate your subject. However, when using a flash, it's essential to bounce the light to avoid creating harsh shadows. If you're shooting a portrait of an athlete, try bouncing the flash off the ceiling or a wall to diffuse the light and create a softer effect.
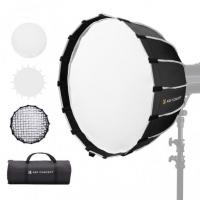
A popular technique for gym portraits is to use a softbox or umbrella in combination with the flash. These accessories diffuse the light, softening it and giving the shot a more flattering look.
B. Continuous Lighting
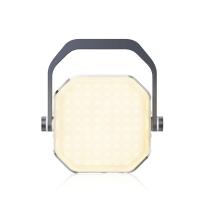
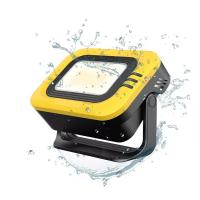
For more controlled lighting, consider using continuous lights, such as LED panels. Continuous lighting allows you to see the lighting effect in real-time, giving you better control over how the light interacts with your subject. While they don’t produce as much power as strobes, they can be very effective for smaller, well-lit areas of the gym.
C. Ring Lights for Close-ups
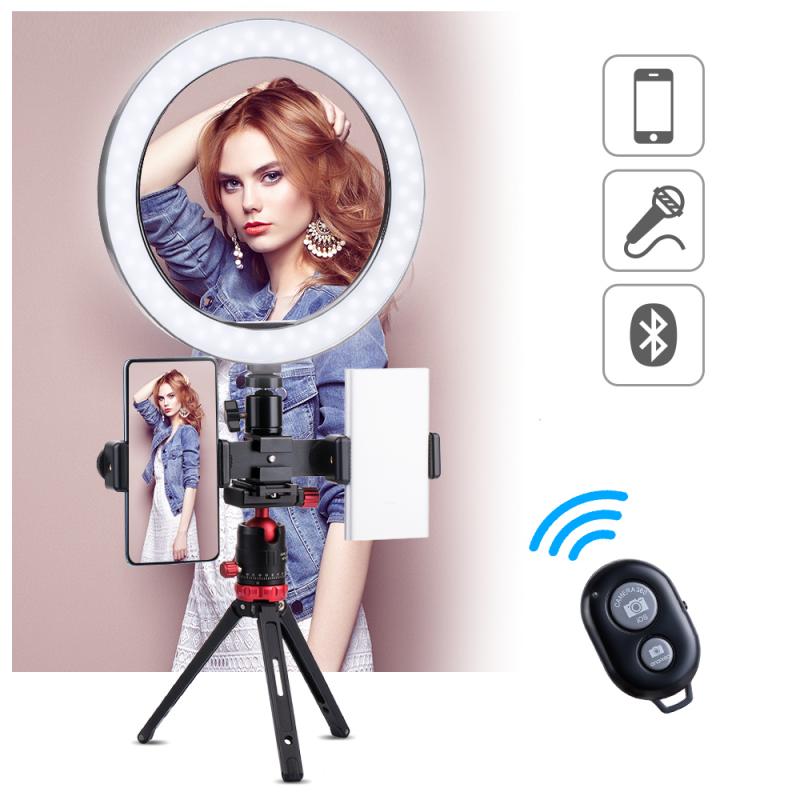
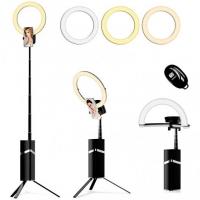
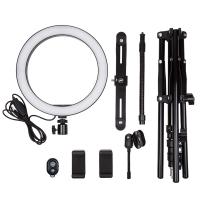
For close-up or portrait shots, a ring light can be a great tool for flattering lighting. The circular light creates soft, even illumination and helps reduce harsh shadows, which is particularly useful when shooting portraits in the gym. It also produces the distinct “catch light” in the eyes, which can add a professional touch to your photos.
4. Positioning and Composition
One of the most overlooked aspects of gym photography is positioning. The way you position your subject relative to the light can dramatically affect the outcome of your shot. Here are a few tips for effective positioning:
- Use the Light Source Creatively: Position your subject so that the light falls on them in a way that highlights their form. If you're shooting action, try to position the subject to catch the light from the side or behind them, creating dramatic shadows and highlighting muscle definition.
- Avoid Direct Overhead Lighting: Direct overhead lights can create unflattering shadows under the eyes, nose, and chin. Instead, try positioning the subject at an angle to the lights to avoid this effect.
- Use Reflections to Your Advantage: Many gyms have mirrors, and you can use these to create interesting compositions and angles. Reflection shots can add depth and dimension to your images, making them more engaging and visually dynamic.
- Fill the Frame with Movement: Gym shots often feature action and movement. Make sure you fill the frame with energy and expression. For example, capture an athlete mid-jump or in the middle of a lift to convey strength and determination.
5. Post-Processing for Gym Lighting
Even after you’ve mastered your camera settings and lighting, the final step is post-processing. Adjustments made in post-production can enhance your images and correct any flaws caused by the lighting conditions in the gym.
A. Correct Color and White Balance
Even if you set your white balance correctly in-camera, some fine-tuning may be necessary during editing. Use tools like Adobe Lightroom or Photoshop to adjust the temperature and tint until the colors look natural.
B. Increase Contrast and Clarity
Gym lighting, especially artificial light, can sometimes make photos look flat or dull. Increasing contrast and clarity in post-processing can bring out details in your subjects and make the photos pop. Be careful not to overdo it, as too much contrast can create harsh shadows or highlight noise.
C. Noise Reduction
If you had to raise the ISO significantly to compensate for the low lighting, you may notice noise in your photos. Many editing software tools offer noise reduction features that can help smooth out grainy areas while preserving details in the important parts of the image.
6. Conclusion: Perfecting Your Gym Photography
Photography in gym lighting presents unique challenges, but with the right techniques, you can overcome these obstacles and produce stunning images. Start by understanding the lighting environment, adjusting your camera settings to maximize available light, and using additional lighting equipment if necessary. Pay attention to how you position your subject and how light interacts with them, and don’t forget that post-processing can make a significant difference in refining your shots.
With these tips in hand, you'll be able to confidently shoot in even the most challenging gym lighting conditions, creating professional-quality photos that capture the intensity, action, and energy of athletes in motion. Whether you're documenting an intense workout or capturing a fitness portrait, mastering gym lighting is the key to making your images stand out.









There are no comments for this blog.