How To Do Studio Lighting On Iphone X?
Studio lighting is a crucial aspect of photography that can dramatically enhance the quality of your images. With the advancements in smartphone technology, particularly with the iPhone X, achieving professional studio lighting effects has become more accessible than ever. This article will guide you through the process of setting up studio lighting using your iPhone X, ensuring you can capture stunning, well-lit photos.
Understanding the Basics of Studio Lighting
Before diving into the specifics of using your iPhone X for studio lighting, it's essential to understand the basics of studio lighting itself. Studio lighting typically involves the use of multiple light sources to control the direction, intensity, and quality of light in a scene. The primary types of studio lighting include:
1. Key Light: The main light source that illuminates the subject.
2. Fill Light: A secondary light that reduces shadows created by the key light.
3. Back Light: Also known as a rim or hair light, it separates the subject from the background.
4. Background Light: Illuminates the background to add depth to the image.
Leveraging the iPhone X's Capabilities
The iPhone X comes equipped with advanced camera features that can help you achieve studio-quality lighting effects. Some of these features include:
- Portrait Mode: This mode uses depth-sensing technology to create a shallow depth of field, making the subject stand out against a blurred background.
- Portrait Lighting: This feature offers various lighting effects, such as Natural Light, Studio Light, Contour Light, Stage Light, and Stage Light Mono, to simulate different studio lighting setups.
Setting Up Your Studio Lighting
To achieve the best results, follow these steps to set up your studio lighting using the iPhone X:
1. Choose the Right Location
Select a location with ample space and minimal distractions. A plain background works best to keep the focus on the subject. Ensure the area is well-lit, but avoid direct sunlight, as it can create harsh shadows.
2. Use External Lighting Equipment
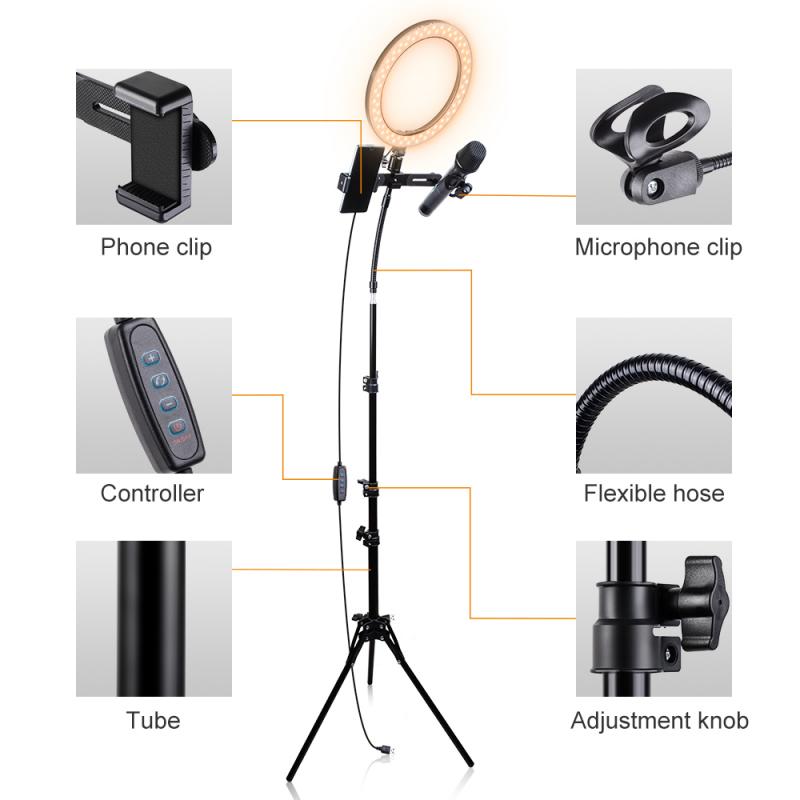
While the iPhone X's built-in features are impressive, using external lighting equipment can significantly enhance your photos. Consider investing in the following:
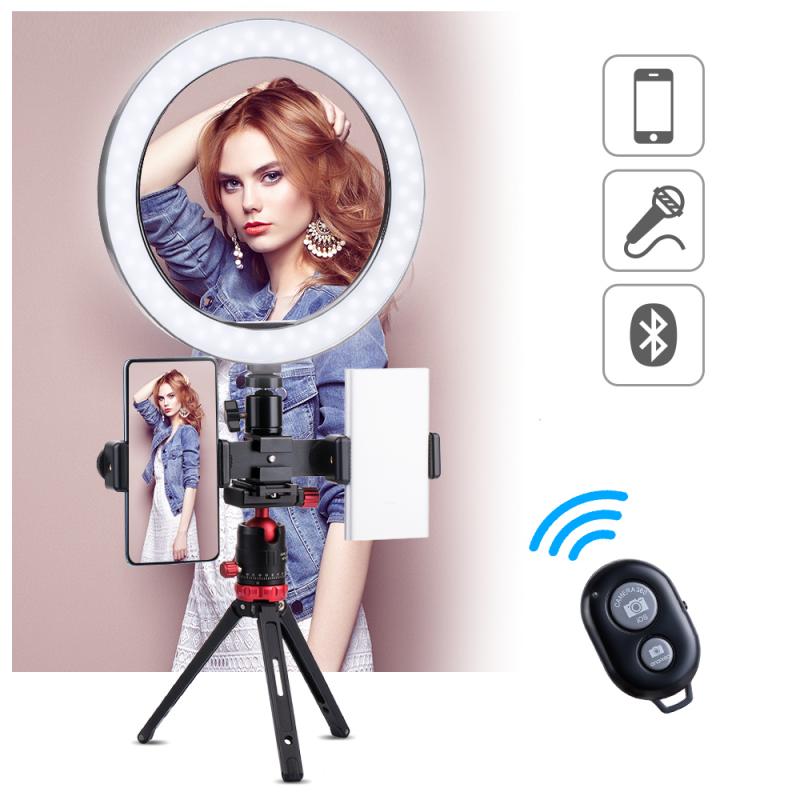
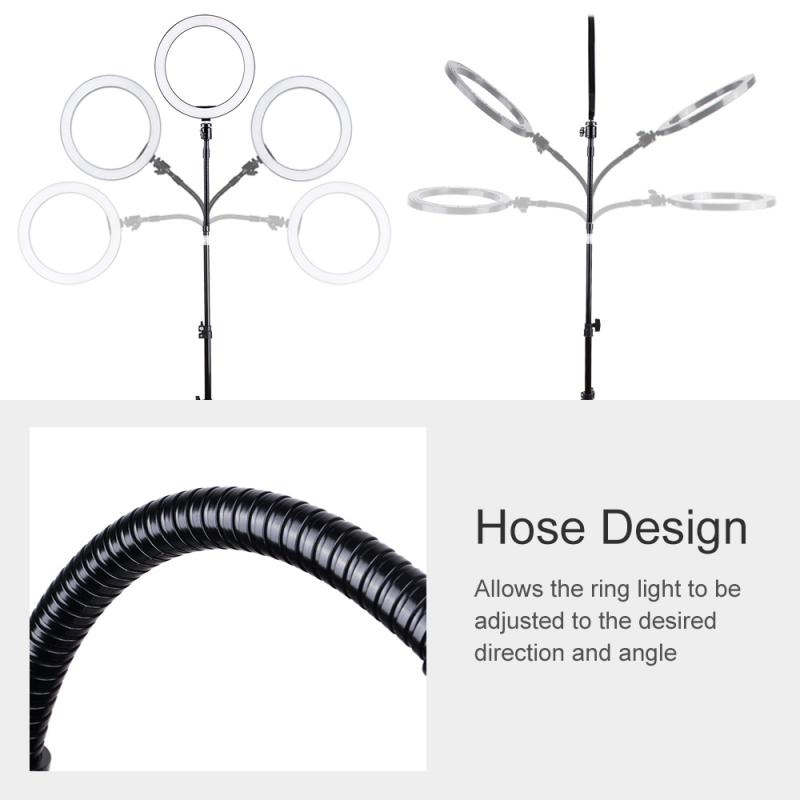
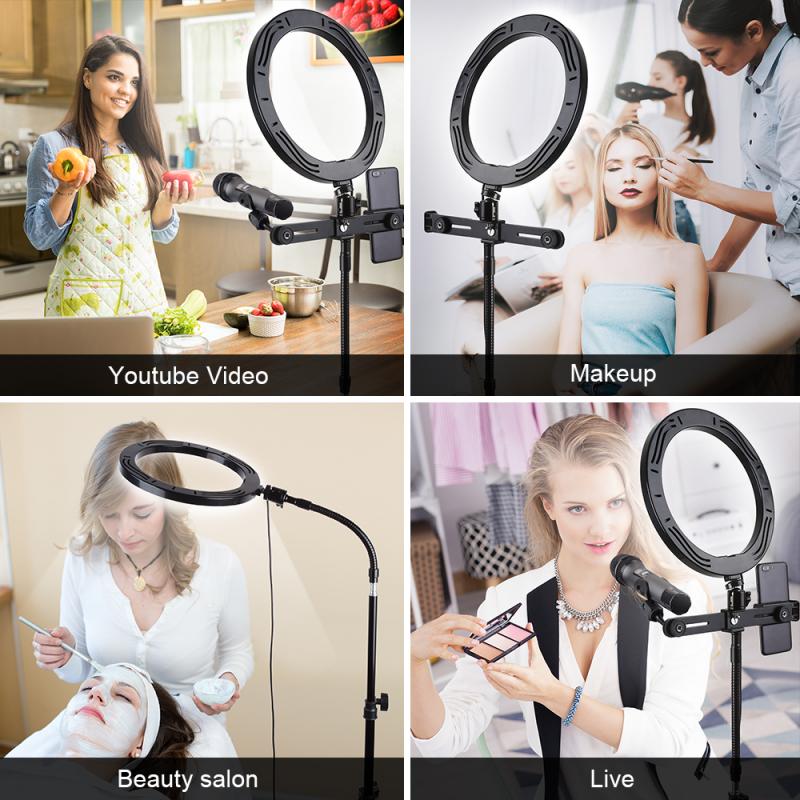
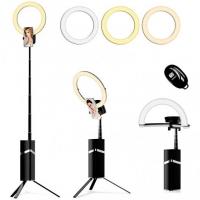
- Ring Light: Provides even, diffused lighting, ideal for portraits.
- Softbox: Creates soft, flattering light and reduces harsh shadows.
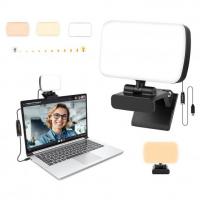
- LED Panels: Offer adjustable brightness and color temperature for versatile lighting setups.
3. Position Your Lights
Arrange your lights to achieve the desired effect. A common setup includes:
- Key Light: Place at a 45-degree angle to the subject, slightly above eye level.
- Fill Light: Position on the opposite side of the key light, at a lower intensity.
- Back Light: Place behind the subject to create separation from the background.
- Background Light: Aim at the background to add depth and dimension.
4. Adjust Camera Settings
Open the Camera app on your iPhone X and switch to Portrait mode. Experiment with the different Portrait Lighting effects to see which one best suits your scene. You can also adjust the exposure by tapping on the screen and sliding your finger up or down.
Tips for Capturing Stunning Photos
To make the most of your studio lighting setup, keep these tips in mind:
1. Focus on Composition
Pay attention to the composition of your shot. Use the rule of thirds to position your subject off-center, creating a more dynamic and visually appealing image.
2. Experiment with Angles
Try shooting from different angles to find the most flattering perspective for your subject. High angles can make the subject appear smaller, while low angles can create a sense of power and dominance.
3. Use Reflectors
Reflectors can help bounce light back onto the subject, reducing shadows and adding a natural glow. You can use professional reflectors or improvise with household items like white foam boards or aluminum foil.
4. Edit Your Photos
Post-processing can enhance your photos further. Use editing apps like Adobe Lightroom or Snapseed to adjust brightness, contrast, and color balance. The iPhone's built-in Photos app also offers basic editing tools.
Common Challenges and Solutions
Even with the best setup, you may encounter some challenges. Here are common issues and how to address them:
1. Harsh Shadows
If your photos have harsh shadows, try diffusing the light with a softbox or using a reflector to bounce light into the shadows.
2. Overexposed Highlights
Overexposed highlights can be corrected by reducing the intensity of your key light or adjusting the exposure settings on your iPhone X.
3. Color Casts
Different light sources can create unwanted color casts. Use LED panels with adjustable color temperatures or apply color correction during post-processing.
Achieving studio-quality lighting with your iPhone X is entirely possible with the right techniques and equipment. By understanding the basics of studio lighting, leveraging the iPhone X's advanced features, and following the setup and tips provided, you can capture stunning, professional-looking photos. Remember to experiment and practice to refine your skills and develop your unique style. Happy shooting!




















There are no comments for this blog.