How To Do Studio Lighting On Iphone?
In the ever-evolving world of photography, smartphones have steadily transformed from casual snapshot devices to sophisticated tools capable of producing professional-grade images. With Apple’s iPhone leading the charge, photographers can now access features like Portrait Mode and advanced lighting effects that rival traditional studio setups. If you’re wondering how to achieve stunning studio lighting with just your iPhone, this guide will walk you through practical techniques and insights to elevate your mobile photography game.
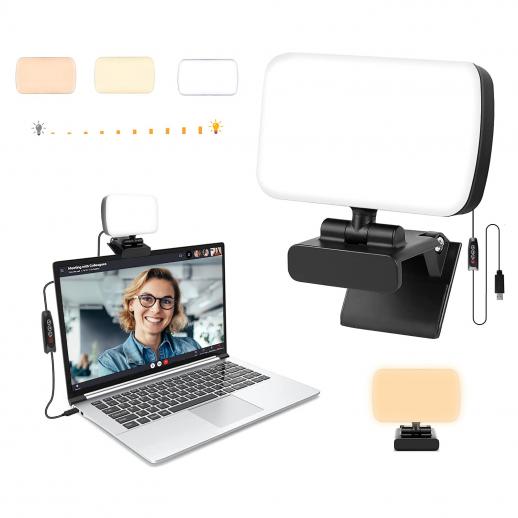
Understanding Studio Lighting on the iPhone
Studio lighting on an iPhone is a mix of leveraging built-in features and incorporating external tools. Unlike traditional studio setups with heavy equipment, the iPhone simplifies the process with its computational photography technology. The key is understanding the capabilities of your device and how to maximize its potential.
Portrait Mode and Lighting Effects
One of the iPhone's standout features for studio-like lighting is Portrait Mode, available on newer models. This mode uses depth sensors and computational algorithms to create a shallow depth of field, blurring the background and mimicking the effect of a professional camera. But the real magic lies in the lighting options:
1. Natural Light: Ideal for capturing well-lit, realistic photos.
2. Studio Light: Highlights facial features with soft, even light, similar to a professional studio.
3. Contour Light: Adds dramatic shadows and highlights, giving a three-dimensional feel.
4. Stage Light and Stage Light Mono: Simulates a spotlight effect by isolating the subject on a black background.
5. High-Key Light Mono: Creates a bright, high-contrast monochrome effect.
By selecting the appropriate lighting effect for your subject and scene, you can produce results that closely resemble professional studio work.
---
Tips for Effective Studio Lighting on the iPhone
Even with advanced features, achieving optimal results requires thoughtful execution. Here are some practical tips to refine your process:
1. Use Proper Subject Positioning
Good lighting begins with how you position your subject. If you’re using natural light, ensure the subject is facing the primary light source (e.g., a window) to minimize harsh shadows. For artificial lighting, place the light source at a flattering angle—typically 45 degrees from the subject’s face.
2. Leverage External Lighting Accessories
While the iPhone's built-in features are impressive, pairing them with external tools can make a significant difference. Here are some options to consider:
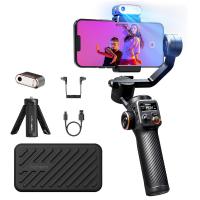
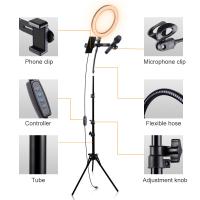
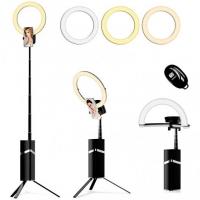
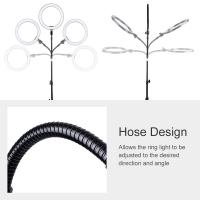
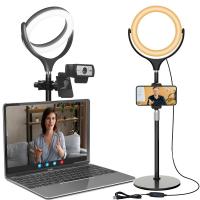
- Ring Lights: Ideal for even, flattering illumination.
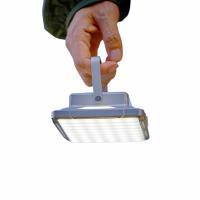
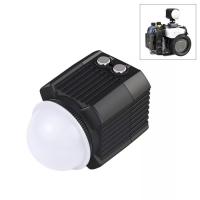
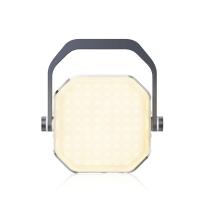
- LED Panels: Compact and adjustable, these provide continuous light for various scenarios.
- Clip-On Lenses with Flash: These enhance the range and intensity of the light for dynamic results.
3. Adjust Exposure and Focus Manually
iPhones allow you to adjust exposure and focus directly on the screen. Tap on your subject to set the focus, then swipe up or down to control the exposure. Lowering the exposure slightly can create a more dramatic, studio-like atmosphere.
4. Make Use of Tripods
Stability is crucial in studio photography. A tripod eliminates camera shake, allowing you to experiment with long exposures or intricate lighting setups. Combine it with the iPhone’s timer or a remote shutter for even greater precision.
5. Experiment with Backgrounds
A clean, controlled background is a hallmark of studio photography. You can achieve this by:
- Using solid-colored backdrops or fabrics.
- Leveraging the Stage Light or Stage Light Mono effects in Portrait Mode to isolate your subject.
- Experimenting with textured backgrounds for added visual interest.
---
Enhancing Studio Lighting Through Editing
Post-processing is an integral part of achieving professional results. With the iPhone’s advanced editing tools and third-party apps, you can refine your photos to perfection.
Built-In Photo Editing
The iPhone's native editing tools allow you to adjust key aspects such as brightness, contrast, and saturation. For studio-style photos, focus on:
- Highlights and Shadows: Balancing these can create a polished, three-dimensional look.
- Sharpness: Enhancing details can make your subject stand out.
- Filters: Subtle filters can add warmth or drama without overwhelming the image.
Third-Party Editing Apps
For more advanced editing, consider apps like Lightroom, Snapseed, or VSCO. These tools provide greater control over color grading, retouching, and advanced effects like dodge and burn.
---
Common Challenges and Solutions
Even with the best tools and techniques, challenges can arise. Here’s how to address some of the most common issues:
1. Harsh Shadows
If your lighting creates unflattering shadows, diffuse the light source using softboxes, translucent sheets, or even white paper. Additionally, positioning your light at different angles can help reduce harshness.
2. Overexposed Highlights
Overexposure can ruin the detail in your subject’s face or other key areas. Use the exposure slider on your iPhone or adjust the light source intensity to fix this issue.
3. Lack of Depth
Without proper depth, your photos may look flat. Utilize Portrait Mode's Studio Light or Contour Light to create separation between your subject and the background.
4. Limited Space
If you’re working in a confined space, prioritize compact lighting solutions like ring lights or small LED panels. You can also use creative angles to make the most of your environment.
---
Creative Applications of iPhone Studio Lighting
Once you’ve mastered the basics, experiment with different creative styles to broaden your repertoire:
1. Product Photography
Use your iPhone to create crisp, clean images for e-commerce or social media. Pair your device with a lightbox for soft, even lighting that highlights product details.
2. Portrait Photography
Experiment with different lighting effects in Portrait Mode to achieve professional-quality portraits. For dramatic results, combine natural light with Studio Light or Contour Light.
3. Cinematic Shots
Recreate the cinematic lighting of films by experimenting with color gels, moody shadows, and dynamic compositions.
4. Low-Light Photography
Use Night Mode in combination with external lights to capture stunning low-light images with minimal noise.
---
Why Studio Lighting on iPhone Matters
The ability to create professional-quality images with an iPhone democratizes photography, making it accessible to anyone with a creative vision. Whether you’re an aspiring content creator, a small business owner, or a hobbyist, mastering studio lighting on your iPhone can open up new opportunities for storytelling and visual expression.
---
Final Thoughts
Studio lighting on an iPhone is not just about leveraging technology—it’s about understanding light and how it interacts with your subject. With practice and experimentation, you can transform ordinary moments into extraordinary visuals, all with the device in your pocket. The combination of built-in features, external tools, and thoughtful techniques provides a versatile platform for exploring your creativity.
So, the next time you’re inspired to capture something beautiful, remember: you don’t need a fancy studio or expensive equipment. All you need is your iPhone and the willingness to explore its full potential.













There are no comments for this blog.