How To Download Photos From A Kids Camera?
Mastering Photo Transfer from a Kids' Camera
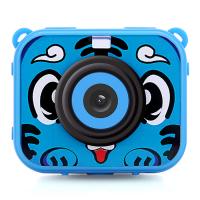
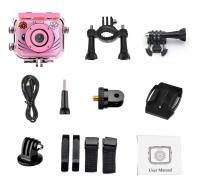
Kids’ cameras have become a popular gateway for children to explore their creativity through photography. These cameras are often designed to be durable, user-friendly, and packed with fun features, enabling kids to capture their favorite moments effortlessly. However, parents and guardians may encounter a stumbling block when it comes to transferring these photos to other devices. In this guide, we’ll delve into the methods and practical solutions to efficiently download photos from a kids' camera while addressing common challenges.
---
Understanding the Basics of Kids’ Cameras

Before diving into photo transfer methods, it's important to understand the type of kids' camera you're working with. Many models come with:
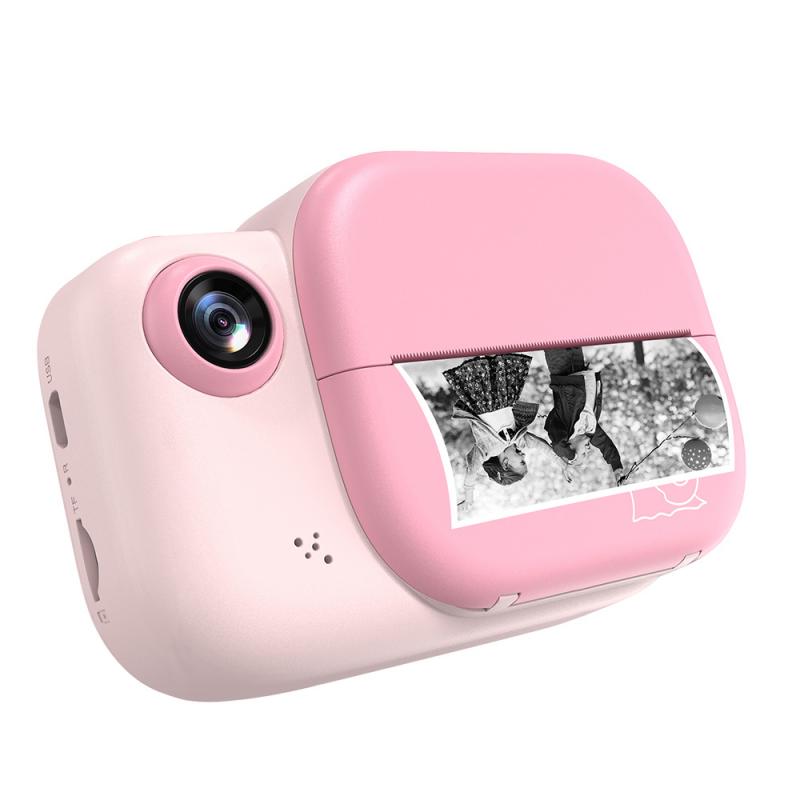
- USB Connectivity: A direct connection to a computer or laptop using a USB cable.
- Memory Cards: SD or microSD cards for photo storage.
- Built-In Storage: Internal storage that might require special software to access.
- Wireless Capabilities: Some modern kids' cameras support Bluetooth or Wi-Fi transfer.
Knowing the camera’s storage and transfer options is crucial to choosing the right approach for downloading photos.
---
Step-by-Step Guide to Download Photos
1. Using a USB Cable
The most common and straightforward method is transferring photos via a USB cable. Follow these steps:
1. Check the Cable Type: Ensure the camera comes with its proprietary USB cable or a standard one like micro-USB, USB-C, or Mini-USB.
2. Connect to a Computer: Plug one end of the USB cable into the camera and the other into a computer.
3. Switch On the Camera: Some cameras require being powered on or switched to a specific mode for transfer.
4. Access Storage: The computer will typically recognize the camera as a USB drive. Navigate to the drive using File Explorer (Windows) or Finder (Mac).
5. Copy Photos: Open the folder containing photos, select the desired images, and copy them to your computer.
*Challenges:*
- Ensure drivers are installed if the camera is not immediately recognized.
- Check cable compatibility, as using the wrong cable can result in connection issues.
---
2. Transferring via Memory Card
If the camera uses an SD or microSD card, this method can simplify the transfer process:
1. Locate the Card Slot: Open the compartment where the memory card is stored.
2. Remove the Card: Gently eject the card following the camera's instructions.
3. Use a Card Reader: Insert the card into a compatible card reader. Many laptops come with built-in readers; otherwise, external card readers can be used.
4. Transfer Photos: Connect the card reader to a computer and access the photos in a similar manner to the USB method.
*Challenges:*
- Handle memory cards with care to avoid damage.
- Ensure the card reader supports the specific card type (e.g., microSD vs. SD).
---
3. Downloading Through Wireless Options
Some kids' cameras now offer wireless transfer options like Bluetooth or Wi-Fi. Here’s how to make the most of these features:
1. Install Required Apps: Check if the camera comes with a companion app for smartphones or computers.
2. Enable Wireless Mode: Access the camera’s settings to activate Bluetooth or Wi-Fi.
3. Pair Devices: Connect the camera to your device through the app or system settings.
4. Select and Download Photos: Browse and transfer photos directly to your device.
*Challenges:*
- Wireless transfer may be slower compared to wired methods.
- Ensure both devices are fully charged to avoid interruptions.
---
4. Utilizing Proprietary Software
Some brands require using their own software to access photos. If this applies:
1. Download the Software: Visit the manufacturer’s website to install the necessary application.
2. Follow Instructions: Open the software and connect the camera as instructed.
3. Transfer Files: Navigate the interface to select and download photos.
*Challenges:*
- Learning curve associated with new software.
- Software updates might be necessary for compatibility.
---
Troubleshooting Common Issues
Despite following the correct process, you might face obstacles during photo transfers. Here’s how to tackle them:
1. Camera Not Recognized by Computer:
- Ensure the camera is powered on and in the correct mode.
- Try a different USB port or cable.
- Restart the computer and reattempt the connection.
2. Corrupted or Missing Photos:
- Use recovery software to attempt file retrieval.
- Avoid overwriting data on memory cards by immediately ceasing further use after noticing corruption.
3. Incompatible File Formats:
- Convert images to common formats like JPEG using free online converters or photo editing software.
- Check the camera manual for format specifications.
4. App Connectivity Issues:
- Ensure the app is updated and compatible with your device’s operating system.
- Reset wireless settings on both the camera and device.
---
Maximizing the Experience
Organizing Photos
After successfully downloading the images, organizing them into folders based on dates, events, or themes can help keep memories easily accessible.
Sharing Photos
Encourage kids to share their favorite shots by creating digital albums or printing physical copies for display. This not only fosters creativity but also builds their confidence in their photography skills.
Encouraging Maintenance
Teach kids about taking care of their cameras. Regularly clearing old photos and properly storing memory cards and cables can extend the camera’s lifespan and improve usability.
---
Final Thoughts
Downloading photos from a kids' camera may initially seem daunting, but with the right approach, it becomes a straightforward task. By understanding the camera's storage type and connection options, troubleshooting common issues, and keeping your files organized, you can ensure a smooth photo transfer process. Embrace the opportunity to support your child’s creativity by helping them preserve their cherished memories in a digital format. Whether you’re dealing with a simple USB transfer or navigating app-based connectivity, these steps will equip you with the know-how to tackle any situation.
In this digital age, fostering a child’s enthusiasm for photography can open the door to a world of imagination and discovery. Guiding them through the technical aspects of photo transfer not only simplifies the process but also helps instill valuable organizational and technical skills they can carry into the future.























There are no comments for this blog.