How To Download Zoom Audio Recording?
In today’s digital age, virtual communication tools have become essential for businesses, educators, and individuals alike. One such tool that has taken the market by storm is Zoom. Whether for work meetings, online classes, or virtual social gatherings, Zoom has become the go-to platform for seamless video conferencing. However, many users find themselves at a loss when it comes to managing recordings, especially audio recordings. This article aims to guide you through the process of downloading Zoom audio recordings, offering a detailed, step-by-step approach to help you navigate this task with ease.
Understanding Zoom Audio Recordings
Before diving into the how-to, it is essential to understand what Zoom audio recordings are. Zoom allows users to record their meetings, which can then be revisited for reference, training, or documentation purposes. Depending on your settings, Zoom can record the entire meeting—including video, audio, and even chat logs. However, if you are interested in just the audio component, Zoom makes it relatively straightforward to extract and download this data.
Pre-Requisites for Downloading Zoom Audio Recordings

1. Recording Settings: Make sure that you have the necessary permissions enabled to record the meeting. If you are not the host, you may need the host’s permission to record.
2. Zoom Account: Obviously, you need to have a Zoom account. Depending on your subscription plan (Free, Pro, Business, or Enterprise), your access and storage options may vary.
3. Internet Connection: A stable internet connection is necessary to access and download your recordings from the cloud.
Step-by-Step Guide to Downloading Zoom Audio Recordings
Local Recordings
Local recordings save directly to your computer. This option is available for both free and paid Zoom accounts.
1. Start Recording: During your Zoom meeting, click on the "Record" button and choose either "Record on this Computer" or "Record to the Cloud" (we’ll focus on local recording first).
2. Locate the Recording: After the meeting ends, Zoom will automatically convert the recording and save it to a designated folder on your computer. By default, this is usually located in the “Documents > Zoom” folder, but you can specify a different location in your Zoom settings.
3. Extract Audio: The local recording will contain both video and audio files. The audio files are saved in .m4a format. Simply locate the .m4a file that corresponds to your meeting and you’re ready to go.
Cloud Recordings
Cloud recordings save your recorded data to Zoom's servers, which is particularly useful for those who need to access their files from multiple devices or locations.
1. Start Recording: Start your Zoom meeting and select "Record to the Cloud". Note that cloud recording is typically available to Pro, Business, and Enterprise account holders.
2. Access the Zoom Web Portal: After your meeting concludes, Zoom will save your recording to the cloud. You can then access this through your Zoom web portal. Log in to your Zoom account and navigate to the "My Recordings" section.
3. Download Audio:
- Find the meeting you recorded and click on it.
- In the available list of recorded elements, find the audio file, often labeled as "Audio only".
- Click the "Download" button adjacent to the audio file to save it to your device.
Troubleshooting Common Issues
1. Storage Limits: For free account holders, space on Zoom’s cloud is limited. Make sure you have enough space available to save your recordings, or consider downloading and then deleting older files.
2. Permissions: If you find that recording options are not available, revisit your account settings or contact your administrator to ensure that the necessary permissions are granted.
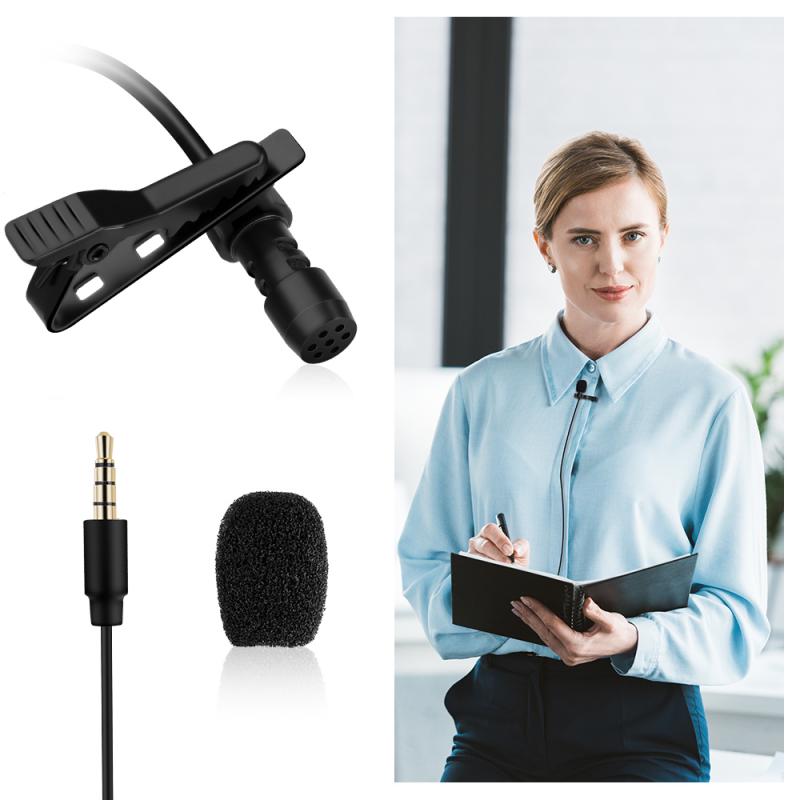
3. Quality Issues: Audio quality can sometimes be compromised due to various reasons such as poor internet connection or low-quality microphones. Ensure you are using good quality equipment and have a stable network connection to avoid such issues.
Security and Compliance
Ensuring the privacy and security of your recorded meetings is crucial. Always be aware of the following:
1. Inform Participants: When recording a meeting, make sure all participants are informed and have consented to being recorded. This is not only a courtesy but also a legal requirement in many jurisdictions.
2. Secure Storage: Protect your recordings by storing them in secure, password-protected folders. Utilize encryption methods if necessary to safeguard sensitive information.
3. Compliance: Adhere to data protection regulations such as GDPR or HIPAA, which may have specific guidelines regarding the storage and distribution of recorded meetings.
Additional Tips for Effective Meeting Management
1. Organized File Naming: Adopt a consistent file naming convention to keep your recordings organized. For example, you might include the date, meeting topic, and participants in the file name.
2. Regular Clean-Up: Regularly clean up your recordings folder to free up space and keep only the most necessary files. Archive older recordings as needed.
3. Use Zoom Integrations: Take advantage of Zoom integrations with other tools such as Google Drive, Dropbox, or your organization’s cloud storage solution to automatically save and organize your recordings.
Downloading Zoom audio recordings should no longer be a daunting task if you follow the aforementioned steps. By understanding the different recording options and adhering to best practices, you can efficiently manage and utilize your Zoom recordings for various purposes. Whether you're a business professional conducting important meetings, a teacher delivering online classes, or just someone who wants to keep a record of virtual interactions, knowing how to handle Zoom audio recordings effectively will undoubtedly enhance your digital communication experience.

