How To Draw A Camera Flash?
Drawing a camera flash can be a fun and rewarding experience, especially for those who are interested in photography or illustration. Whether you are a beginner or an experienced artist, understanding the basic principles and techniques for drawing a camera flash can help you create more realistic and detailed artwork. In this article, we will explore the step-by-step process of drawing a camera flash, discuss the essential tools and materials you will need, and provide tips and tricks to enhance your drawing skills.
Step-by-Step Guide to Drawing a Camera Flash
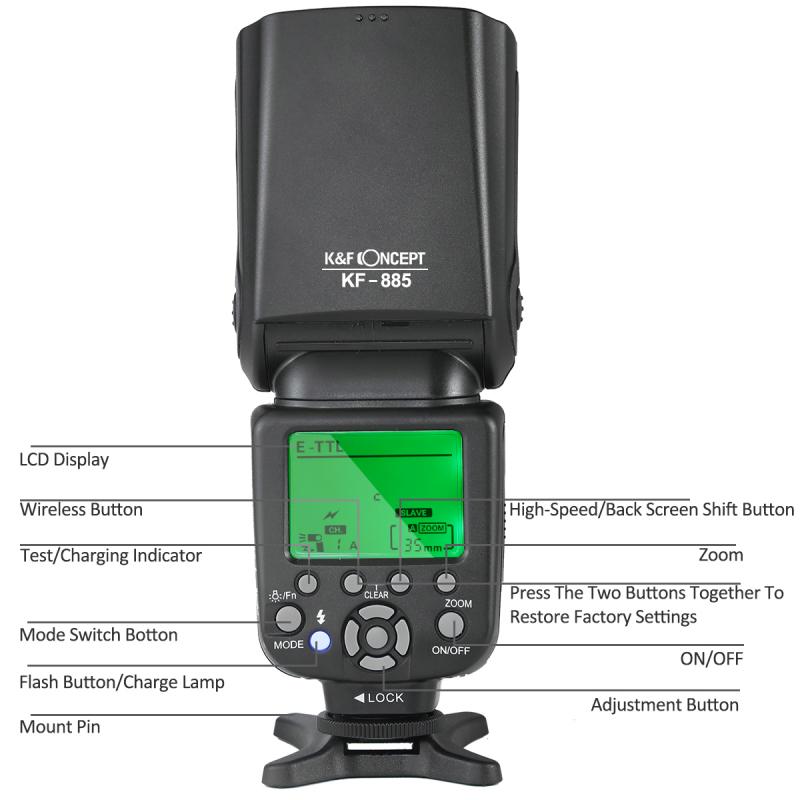
Step 1: Gather Your Materials
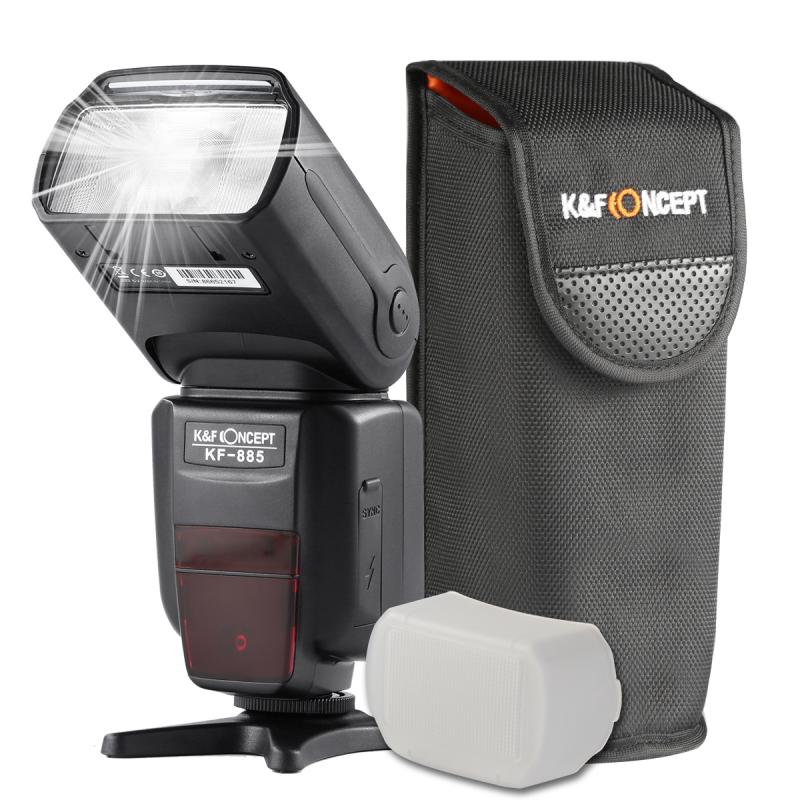
Before you start drawing, it is important to gather all the necessary materials. Here is a list of items you will need:
- Pencils (HB, 2B, 4B)
- Eraser
- Ruler
- Drawing paper
- Fine-tip markers or pens (optional)
- Colored pencils or markers (optional)
Step 2: Understand the Basic Structure
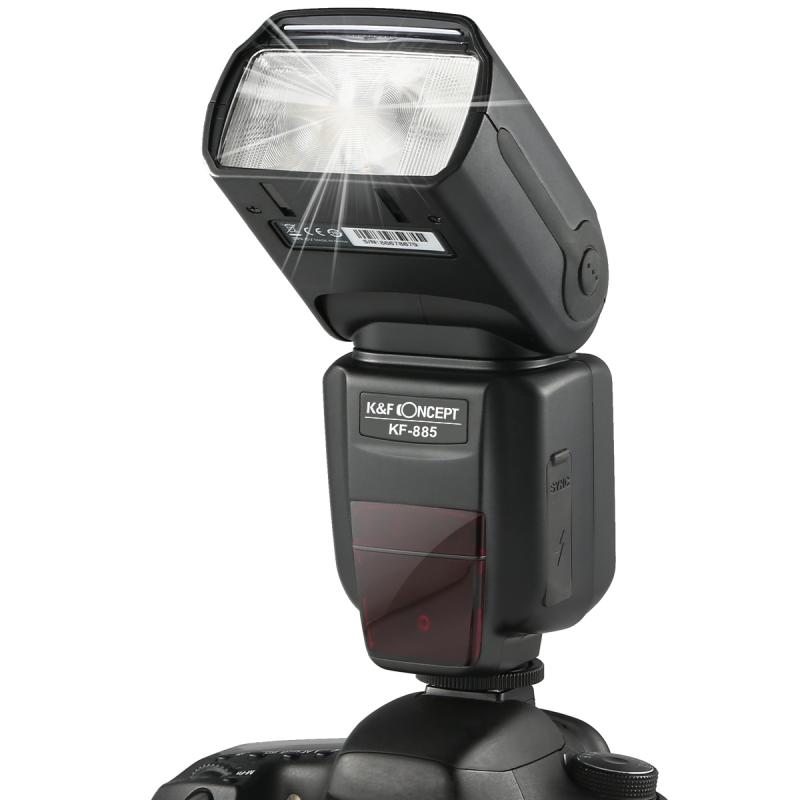
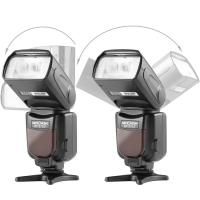
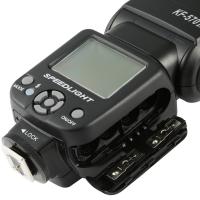
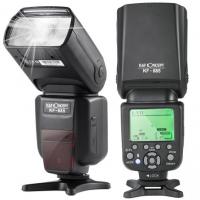
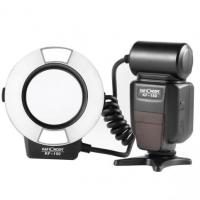
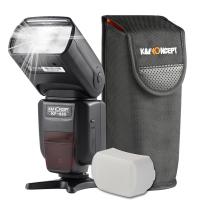
A camera flash typically consists of several key components: the flash head, the body, and the mounting bracket. The flash head is the part that emits the light, the body houses the electronics and controls, and the mounting bracket attaches the flash to the camera. Familiarize yourself with these components by looking at reference images of camera flashes.
Step 3: Sketch the Basic Shapes
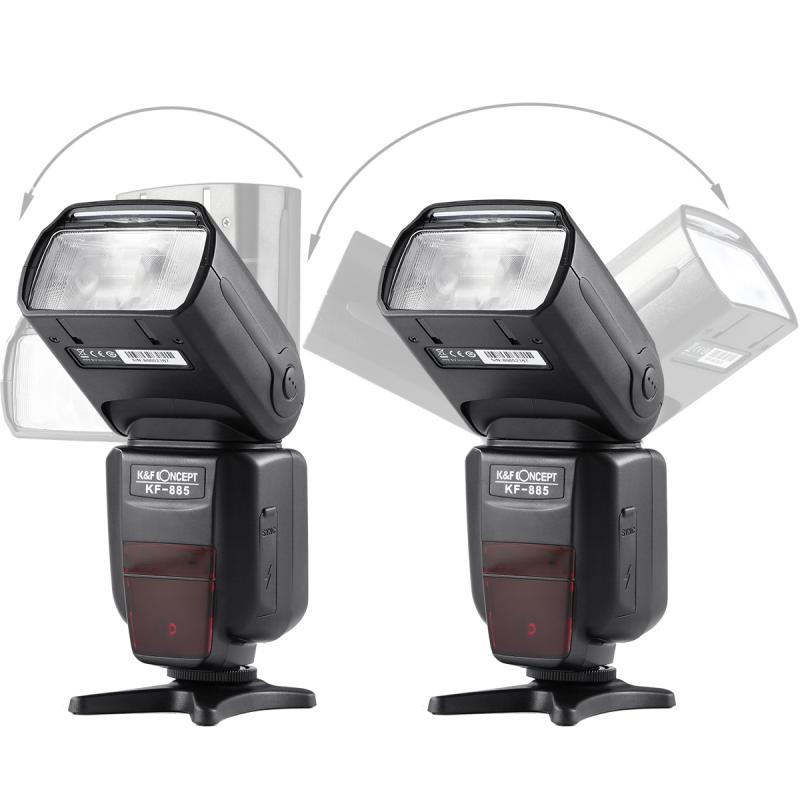
Start by sketching the basic shapes of the camera flash. Use a light pencil (HB) to draw simple geometric shapes that represent the different parts of the flash. For example, you can use a rectangle for the flash head, a larger rectangle for the body, and a small rectangle for the mounting bracket. Keep your lines light and loose, as you will refine them later.
Step 4: Add Details to the Flash Head
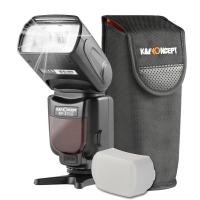
Once you have the basic shapes in place, start adding details to the flash head. Draw the outline of the flash bulb and the reflector. You can also add lines to indicate the texture of the reflector. If the flash has a diffuser or a bounce card, sketch those elements as well.
Step 5: Refine the Body
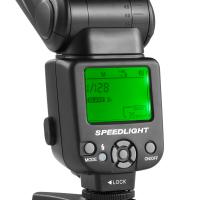
Next, refine the body of the camera flash. Add details such as buttons, dials, and the LCD screen. Use a ruler to ensure that your lines are straight and precise. Pay attention to the proportions and placement of these elements to make your drawing more accurate.
Step 6: Draw the Mounting Bracket
The mounting bracket is an important part of the camera flash, as it attaches the flash to the camera. Draw the bracket and any screws or connectors that are visible. Make sure the bracket is aligned with the body of the flash.
Step 7: Add Shading and Texture
To make your drawing more realistic, add shading and texture to the different parts of the camera flash. Use a softer pencil (2B or 4B) to create shadows and highlights. Pay attention to the light source and how it affects the appearance of the flash. You can also use hatching or cross-hatching techniques to add texture to the body and other components.
Step 8: Outline and Finalize
Once you are satisfied with your sketch, you can outline the drawing with a fine-tip marker or pen. This will make your drawing more defined and polished. Erase any remaining pencil lines and make any final adjustments to the details and shading.
Step 9: Add Color (Optional)
If you want to add color to your drawing, use colored pencils or markers to fill in the different parts of the camera flash. Pay attention to the colors of the flash head, body, and any other components. Use shading and blending techniques to create a more realistic and three-dimensional effect.
Tips and Tricks for Drawing a Camera Flash
1. Use Reference Images: Having reference images of camera flashes can be incredibly helpful. Look at different models and angles to understand the structure and details better.
2. Practice Basic Shapes: Before diving into the detailed drawing, practice sketching basic geometric shapes. This will help you get a better sense of proportions and improve your overall drawing skills.
3. Pay Attention to Proportions: Accurate proportions are key to creating a realistic drawing. Use a ruler and take your time to measure and compare different parts of the flash.
4. Experiment with Shading Techniques: Shading can add depth and dimension to your drawing. Experiment with different shading techniques, such as hatching, cross-hatching, and blending, to find what works best for you.
5. Take Breaks: Drawing can be a time-consuming process, so make sure to take breaks to rest your eyes and hands. This will help you stay focused and avoid mistakes.
6. Seek Feedback: Don’t be afraid to seek feedback from other artists or friends. They can provide valuable insights and suggestions to improve your drawing.
Drawing a camera flash can be a challenging but rewarding experience. By following the step-by-step guide and practicing regularly, you can improve your drawing skills and create more detailed and realistic artwork. Remember to gather the necessary materials, understand the basic structure of the camera flash, and pay attention to proportions and details. With patience and practice, you will be able to master the art of drawing a camera flash and enhance your overall drawing abilities. Happy drawing!









There are no comments for this blog.