How To Find Camera In Mac?
Finding and using the camera on a Mac can be a straightforward process, but it can also present some challenges for users who are not familiar with macOS. This article aims to provide a comprehensive guide on how to locate and use the camera on your Mac, addressing common issues and offering practical solutions.
Understanding the Built-in Camera

Most modern Mac computers come with a built-in camera, commonly referred to as the FaceTime HD camera. This camera is typically located at the top center of the screen on MacBooks, iMacs, and some external Apple displays. The camera is designed to work seamlessly with macOS and various applications that require video input.
Checking Camera Availability

Before diving into how to use the camera, it's essential to ensure that your Mac has a built-in camera. Here’s how you can check:
1. Physical Inspection: Look at the top center of your Mac’s screen. You should see a small lens, which is the built-in camera.
2. System Information: Go to the Apple menu and select "About This Mac." Click on "System Report" and then select "Camera" from the list of hardware components. If a camera is listed, your Mac has a built-in camera.
Using the Camera with Applications
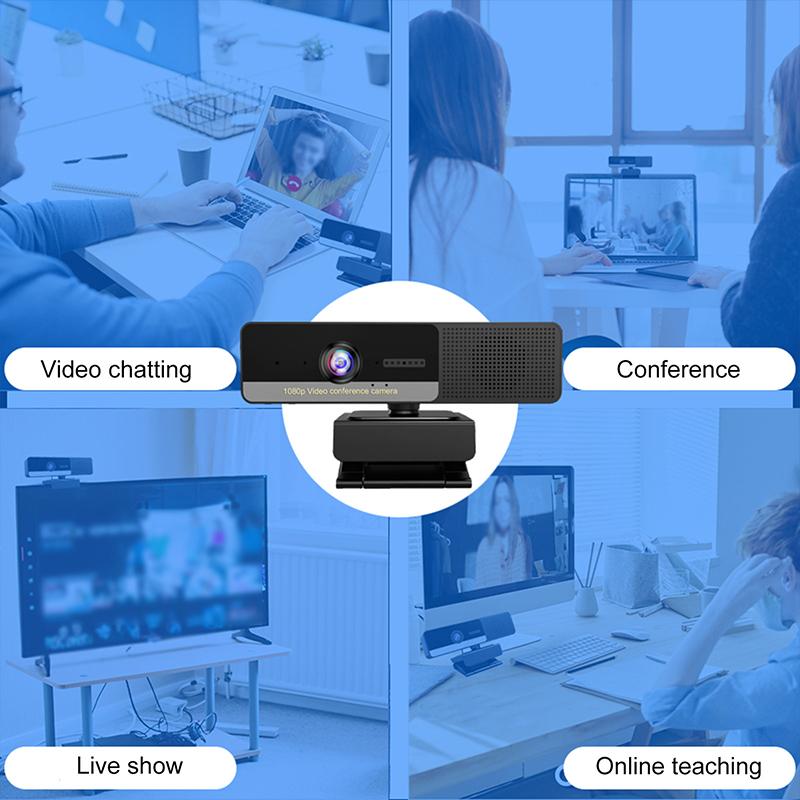
The built-in camera can be used with various applications, including FaceTime, Photo Booth, and third-party apps like Zoom and Skype. Here’s how to access the camera through some of these applications:
FaceTime
FaceTime is Apple’s video calling application, and it’s one of the most common ways to use the built-in camera.
1. Open the FaceTime app from the Applications folder or use Spotlight to search for it.
2. Sign in with your Apple ID if prompted.
3. Click on the Video button to start a video call. The camera should activate automatically.
Photo Booth
Photo Booth allows you to take photos and record videos using the built-in camera.
1. Open the Photo Booth app from the Applications folder or use Spotlight to search for it.
2. The camera should activate automatically, and you will see a live preview.
3. Click the Camera button to take a photo or the Record button to start recording a video.
Third-Party Applications
Many third-party applications also use the built-in camera. Here’s how to use it with Zoom as an example:
1. Open the Zoom app.
2. Sign in to your account.
3. Click on New Meeting or join an existing meeting.
4. The camera should activate automatically. If it doesn’t, click on the Start Video button.
Troubleshooting Camera Issues
Sometimes, the camera may not work as expected. Here are some common issues and how to resolve them:
Camera Not Detected
If your Mac doesn’t detect the camera, try the following steps:
1. Restart Your Mac: A simple restart can often resolve hardware detection issues.
2. Check for Updates: Ensure that your macOS is up to date by going to System Preferences > Software Update.
3. Reset SMC: The System Management Controller (SMC) controls various hardware functions. Resetting it can sometimes resolve camera issues. Instructions for resetting the SMC vary depending on your Mac model, so refer to Apple’s official guide.
Camera In Use by Another Application
If you see a message that the camera is in use by another application, close any apps that might be using the camera. You can also check which apps have camera access:
1. Go to System Preferences.
2. Click on Security & Privacy.
3. Select the Privacy tab and then click on Camera.
4. Ensure that the apps you want to use the camera with have permission.
Poor Camera Quality
If the camera quality is poor, consider the following tips:
1. Lighting: Ensure you are in a well-lit environment. Natural light is often the best.
2. Clean the Lens: Use a soft, lint-free cloth to clean the camera lens.
3. Check Settings: Some applications have settings that can improve video quality. For example, in Zoom, go to Settings > Video and enable HD.
Using External Cameras
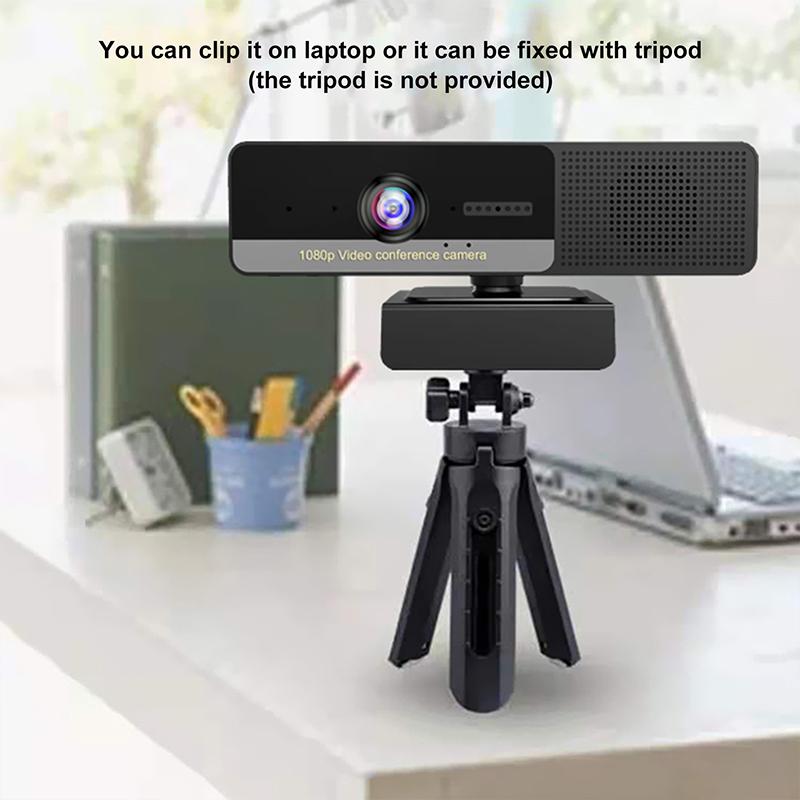
If you need higher quality video or additional features, you might consider using an external camera. Here’s how to set it up:
1. Connect the Camera: Plug the external camera into a USB port on your Mac.
2. Install Drivers: Some cameras require additional drivers or software. Follow the manufacturer’s instructions.
3. Select the Camera: In the application you are using, go to the video settings and select the external camera as the video source.
Privacy Considerations
Using a camera on your Mac raises some privacy concerns. Here are some tips to ensure your privacy:
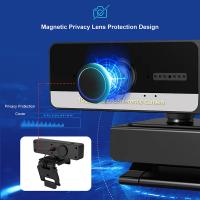
1. Camera Cover: Use a physical camera cover when the camera is not in use.
2. App Permissions: Regularly review which apps have access to your camera in System Preferences > Security & Privacy > Privacy > Camera.
3. Indicator Light: The built-in camera has a green indicator light that turns on when the camera is active. If you see this light on unexpectedly, investigate which application is using the camera.
Finding and using the camera on a Mac is generally straightforward, but it can present some challenges. By understanding how to check for a built-in camera, use it with various applications, troubleshoot common issues, and consider privacy implications, you can make the most of this feature. Whether you’re using FaceTime for a video call, Photo Booth for fun photos, or a third-party app for professional meetings, this guide should help you navigate the process with ease.


















There are no comments for this blog.