How To Find Camera Sd Card On Mac?
How to Find Your Camera’s SD Card on a Mac
If you’ve just connected your camera’s SD card to your Mac and are wondering how to access it, you're not alone. Many users, whether they’re photographers, videographers, or casual hobbyists, often face this simple yet crucial question: how do I find my camera’s SD card on my Mac?
The process is fairly straightforward, but a lot of users encounter confusion due to different devices, macOS versions, and the type of connection used (e.g., USB cable, SD card reader). In this guide, we’ll walk you through the steps to find and access your camera’s SD card on a Mac, troubleshoot common issues, and optimize your workflow for easy file management.
Step 1: Connect Your Camera or SD Card Reader to Your Mac
The first thing you need to do is physically connect your SD card to your Mac. You can do this in one of two ways:
- Using a Camera: If your camera has a USB cable that connects directly to your Mac, plug it into a USB port on your Mac. Once connected, the camera will usually act as a USB drive, and the SD card inside will be accessible through the Mac.
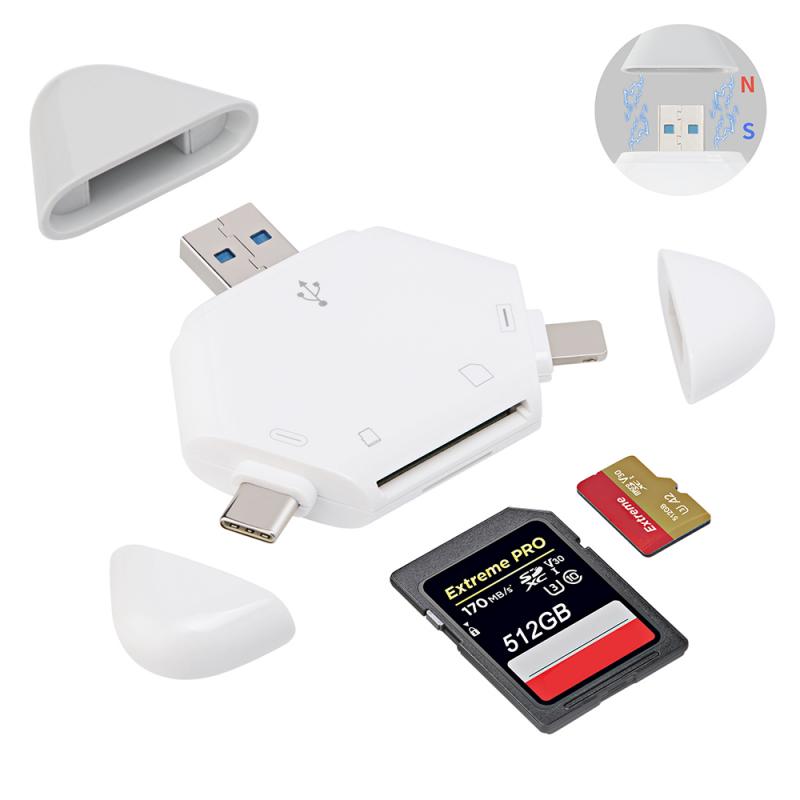
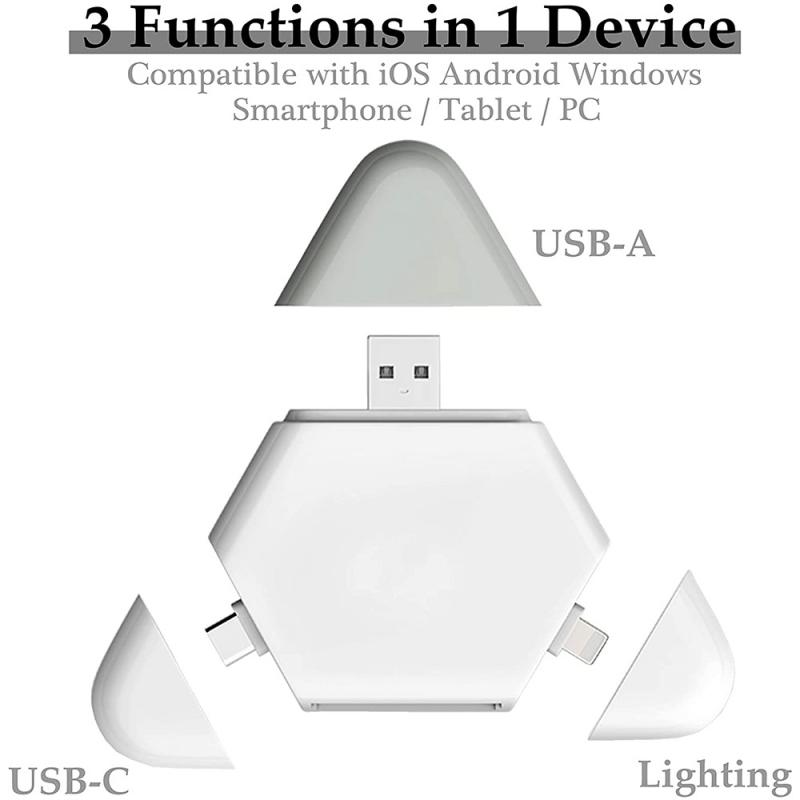
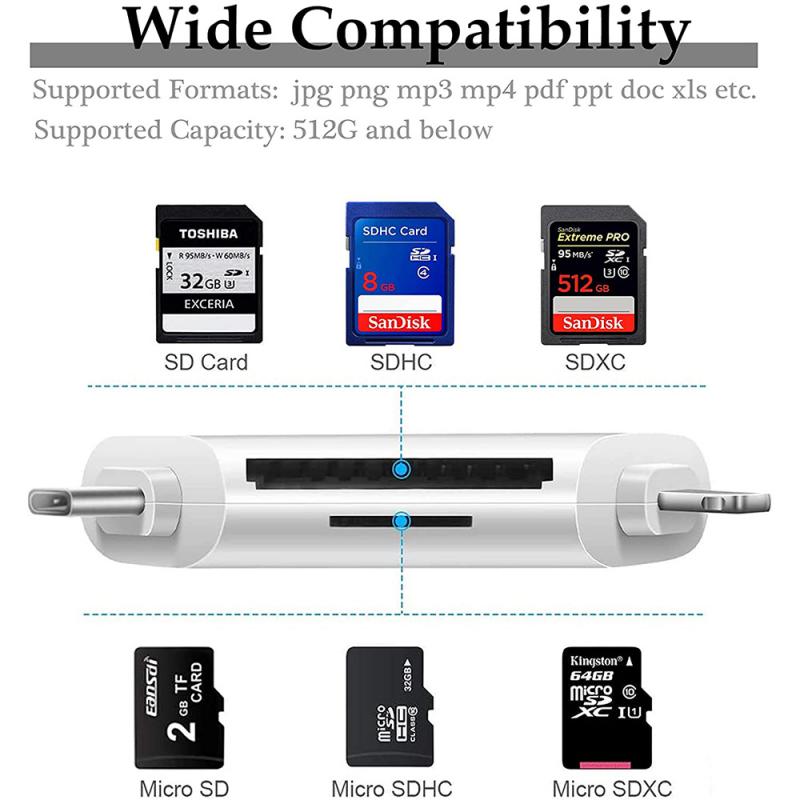
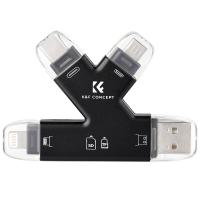
- Using an SD Card Reader: If your Mac doesn’t have an SD card slot (common in newer models), you will need an external SD card reader. These can be plugged into your Mac’s USB port or Thunderbolt port (depending on the model). If your Mac has a built-in SD card slot, you can directly insert the SD card into it.
Step 2: Locate the SD Card in Finder
Once your camera or card reader is connected, the SD card should appear on your Mac. Here’s how to locate it:
1. Open Finder: Click on the Finder icon in your dock (the blue face).
2. Check the Sidebar: In the Finder window, look at the left sidebar under the Devices section. Your SD card should appear here, labeled either by the brand or model of the SD card or as something generic like NO NAME or Untitled. Sometimes it may show as the camera model if you're connecting via USB cable.
If the SD card does not appear in the sidebar, you may need to adjust Finder preferences to display external drives.
3. Open the SD Card: Click on the SD card name to open its contents. You should now be able to see the folders and files stored on your SD card, such as images, videos, or other media.
Step 3: Adjust Finder Preferences If Necessary
If your SD card isn’t showing up in Finder, it may be due to your Finder preferences not being set to display external drives. Here’s how to check and adjust this:
1. In Finder, go to the Finder menu at the top-left of the screen and select Preferences.
2. In the Finder Preferences window, click the General tab.
3. Ensure that the External disks checkbox is checked. This will allow external devices (such as your SD card or camera) to appear on the desktop and in Finder.
4. If your SD card still doesn’t appear, also check the Sidebar tab in Finder Preferences and ensure External disks is enabled under the Devices section.
Step 4: Troubleshoot If the SD Card Isn’t Showing Up
If you’ve followed all the steps above and your SD card still isn’t showing up on your Mac, there are a few common issues and troubleshooting steps to consider:
1. Check the SD Card on Another Device
- To rule out a faulty card, try inserting the SD card into another device, like a camera or another computer. If it doesn’t work elsewhere, the SD card may be damaged or corrupt.
2. Try a Different SD Card Reader or USB Port
- If you’re using an external SD card reader, it’s possible that the reader is malfunctioning or that the USB port on your Mac isn’t working properly. Try using a different card reader or plugging into another USB port on your Mac.
3. Restart Your Mac
- Sometimes a simple restart can resolve issues with external devices not being recognized. Restart your Mac and reconnect your camera or SD card reader.
4. Check Disk Utility for Mounting Issues
- If the SD card still doesn’t show up in Finder, open Disk Utility (Applications > Utilities > Disk Utility). Look for your SD card in the left column. If it’s listed but greyed out, select it and click the Mount button at the top. This should mount the SD card so that it appears in Finder.
5. Update macOS
- Ensure that you have the latest macOS updates installed. Occasionally, compatibility issues can arise if you’re running an outdated version of the operating system. To check for updates, go to Apple Menu > About This Mac > Software Update.
6. Check for Permissions
- If you can see the SD card but can’t access its contents, it may be a permissions issue. Right-click on the SD card in Finder, select Get Info, and check the Sharing & Permissions section to ensure you have the right access privileges.
Step 5: Access and Manage Files on Your SD Card
Once your SD card is properly connected and showing up on your Mac, you can begin managing your files. You’ll likely want to import photos, videos, or other media from the SD card to your Mac for editing, archiving, or sharing. Here are some common ways to interact with the files on your SD card:
1. Import Photos and Videos Using Photos App
- If you're dealing with photos or videos, you can easily import them to the Photos app. Just open Photos, and the app should automatically detect any connected camera or SD card. You can then select which items to import and organize them into albums.
2. Manually Copy Files to Your Mac
- Alternatively, you can manually copy files from the SD card by dragging and dropping them from the Finder window onto your Mac’s hard drive or into a designated folder. This is often the preferred method for large video files or when you want more control over where files are saved.
3. Use Image Capture for Additional Options
- Image Capture is another macOS app that can be useful when importing photos or videos from a camera or SD card. Open the Image Capture app (found in Applications > Utilities), and select your SD card from the list of devices. From here, you can import media to specific folders or directly to an app like Photos or Lightroom.
Step 6: Eject Your SD Card Safely
Once you’ve finished accessing or transferring files from your SD card, it’s important to safely eject it to avoid any data corruption or file system errors.
- In Finder, right-click on the SD card icon and select Eject. Alternatively, you can drag the SD card icon to the Trash, which will change to an Eject icon.
- If you’re using a card reader, make sure to eject the reader before physically removing the SD card from the slot.
Common Issues and How to Solve Them
1. The SD Card Is Read-Only
- Some SD cards have a physical write protection switch on the side. Make sure this switch is set to the "unlocked" position if you’re trying to add or modify files.
2. The SD Card Is Corrupted
- If the SD card is corrupted, macOS may not recognize it, or it may display an error message when trying to access files. In such cases, you may need to format the card. However, formatting will erase all data on the card, so ensure you have backups before proceeding.
3. File System Compatibility
- Most SD cards are formatted in FAT32 or exFAT, both of which are compatible with macOS. However, if your SD card is formatted in a different file system, such as NTFS (common with Windows systems), you might need additional software to access the files.
---
Finding and accessing your camera’s SD card on a Mac is a straightforward process, but it can sometimes involve troubleshooting, especially if you run into issues like the SD card not being recognized or access being denied. By following the steps outlined in this guide, you should be able to easily locate your SD card, transfer files, and manage your media efficiently.
Whether you’re a professional photographer, a hobbyist, or someone who just needs to back up your photos and videos, understanding how to navigate this process will make your workflow much smoother and save you time. Don’t forget to always safely eject your SD card before physically removing it, as this prevents potential data loss or corruption.















There are no comments for this blog.