How To Find Good Light For Photography?
Mastering the Art of Finding Good Light for Photography
Light is the essence of photography. Without it, a photograph cannot exist. Whether you're capturing landscapes, portraits, or still-life, understanding how to find and manipulate good light can elevate your work from average to extraordinary. In this article, we’ll delve into the nuances of identifying good light, harnessing it effectively, and adapting to varying conditions to make your photography shine—literally.
---
Why Good Lighting is Essential in Photography
Photography, derived from the Greek words *phōs* (light) and *graphé* (drawing), means "drawing with light." Light not only determines the brightness and darkness of a photograph but also impacts its mood, texture, and detail. Proper lighting enhances colors, defines shapes, and provides depth. Understanding how to evaluate and manipulate light is, therefore, a foundational skill for any photographer.
---
Characteristics of Good Light
When searching for the perfect light, it’s crucial to consider its four main characteristics:
1. Quality (Soft vs. Hard Light)
- Soft Light: Diffused and even, soft light is flattering for portraits and minimizes harsh shadows. Examples include overcast skies, golden hour light, or light diffused through curtains.
- Hard Light: Produces sharp shadows and intense contrasts, adding drama and depth. Common sources are midday sunlight or direct artificial light.
2. Direction
- The direction from which light hits your subject changes its appearance significantly:
- Front light evenly illuminates but can appear flat.
- Side light adds depth and texture.
- Backlight creates silhouettes and halos.
- Top light can be dramatic but may cast unflattering shadows, especially in portraits.
3. Color Temperature
- Light varies in warmth and coolness. Morning and evening light is warmer (golden hour), whereas midday light is cooler and harsher. Understanding how color temperature affects mood is key for intentional photography.
4. Intensity
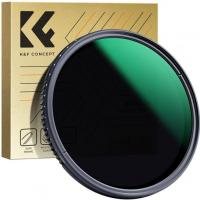
- The brightness of light impacts exposure. Controlling intensity using tools like reflectors, diffusers, or ND filters helps achieve the desired look.
---
Techniques for Finding Good Light
1. Utilize Natural Light
Natural light is often the most accessible and versatile lighting source. Here’s how to make the most of it:
- Golden Hour: The hour after sunrise and before sunset offers soft, warm light ideal for portraits and landscapes.
- Blue Hour: The time just before sunrise or after sunset provides cooler, subdued tones perfect for moody, atmospheric shots.
- Overcast Days: Clouds act as a natural diffuser, providing even light that's excellent for outdoor portraits and macro photography.
- Window Light: Indoors, window light mimics softboxes, providing directional and soft illumination.
2. Experiment with Artificial Light
Artificial light gives you full control over intensity, color, and direction. Popular artificial lighting setups include:
- Continuous Lighting: Ideal for video or still-life photography, allowing you to see the effect in real time.
- Flash and Speedlights: Provide short bursts of light that freeze motion, often used in studio and event photography.
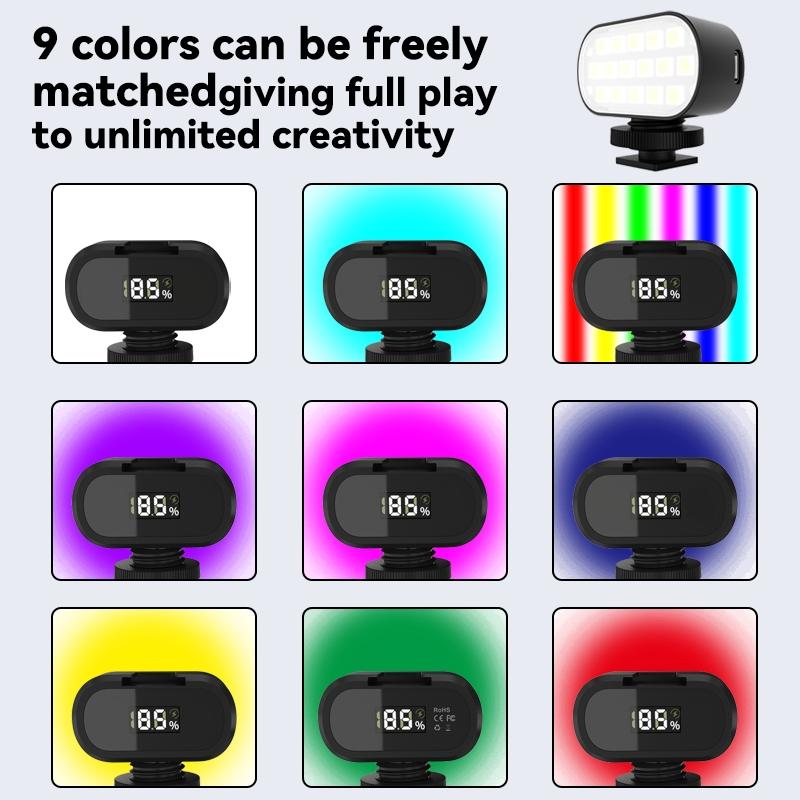
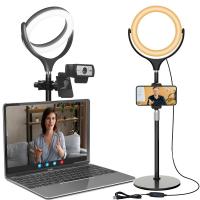
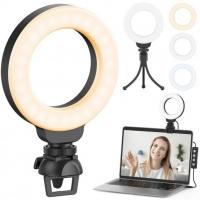
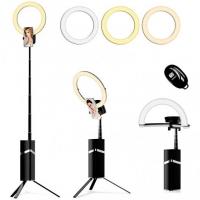
- LED Panels: Offer adjustable settings for color temperature and brightness, making them versatile tools.
3. Leverage Reflectors and Diffusers
Reflectors bounce existing light back onto the subject, filling in shadows and softening the light. Diffusers, on the other hand, scatter light to reduce harshness, creating an evenly lit scene.
4. Scout for the Best Location
Good light often comes from strategic positioning. Seek out:
- Open spaces with even light distribution.
- Areas where natural light streams through gaps, such as trees, windows, or doorways.
- Locations with reflective surfaces, like water bodies, glass, or light-colored walls.
---
Adapting to Different Lighting Scenarios
1. Harsh Midday Sun
Shooting in direct sunlight can cause overexposed highlights and deep shadows. Solutions include:
- Moving to Shade: Provides softer, more even light.
- Using Reflectors/Diffusers: Balances the light.
- Changing Angles: Avoid shooting directly into the sun unless intentionally creating a silhouette or lens flare.
2. Low Light
Low-light conditions challenge exposure and sharpness. Techniques to improve results include:
- Increasing ISO: Enhances sensitivity to light but watch for noise.
- Using Tripods: Stabilizes your camera for long exposures.
- Incorporating External Lighting: Adds supplementary light sources.
3. Mixed Lighting
Mixed light sources, like natural light and artificial indoor lighting, can cause color balance issues. Fixes include:
- Adjusting your camera’s white balance.
- Using gels on lights to match their color temperatures.
---
Practical Tips for Better Lighting
1. Observe Your Environment
Train your eye to notice subtle lighting changes throughout the day. Shadows, highlights, and reflections can guide you toward ideal light conditions.
2. Pre-Visualize the Result
Before shooting, envision the type of lighting that suits your composition and mood. This helps you make deliberate choices rather than relying on chance.
3. Master Exposure Settings
Understanding how shutter speed, aperture, and ISO work together allows you to manipulate light effectively:
- Shutter Speed: Controls the duration of light exposure.
- Aperture: Affects the depth of field and amount of light entering the lens.
- ISO: Adjusts sensitivity to light.
4. Experiment with Angles
Move around your subject to observe how light changes with your position. Sometimes, a minor adjustment can transform a flat image into a dynamic one.
5. Invest in Basic Tools
Even a simple reflector or affordable LED light can dramatically improve your ability to work with light in any situation.
---
Common Mistakes to Avoid
1. Ignoring Shadows
Harsh shadows can ruin a photograph, but intentional shadow play can add intrigue. Learn to control shadows rather than eliminate them entirely.
2. Overusing Artificial Light
While artificial light offers control, overuse can make images look unnatural. Balance is key.
3. Shooting in Auto Mode
Automatic settings may not interpret lighting conditions correctly. Manual control allows for greater creativity and precision.
---
Case Studies: Effective Use of Light
1. Portrait Photography
A portrait shot during the golden hour benefits from the warm, flattering light. Position your subject to face the light source for even illumination, or place it behind them for a dreamy backlit effect.
2. Landscape Photography
Landscapes thrive in dramatic lighting. Side lighting during sunrise or sunset highlights textures in the terrain, while overcast skies create a moody ambiance.
3. Product Photography
Controlled lighting ensures consistency and highlights product details. Softboxes or diffused LED panels are often used to eliminate harsh shadows and create an even tone.
---
Conclusion
Finding good light for photography is both an art and a science. It requires observation, experimentation, and a deep understanding of light’s properties. By honing your ability to identify and utilize quality light, you can transform ordinary scenes into captivating photographs. Whether you’re relying on the soft hues of natural light or the precision of artificial sources, mastering lighting techniques will unlock new dimensions in your creative journey. Keep practicing, stay curious, and watch your photographs come to life with the magic of light.

















There are no comments for this blog.