How To Fit Big Filter In Camera?
Fitting a Big Filter on a Camera: A Comprehensive Guide
Photography is an art that often requires the use of various accessories to achieve the desired results. One such accessory is the camera filter, which can significantly enhance the quality of your images by controlling light, reducing glare, and adding creative effects. However, photographers sometimes face the challenge of fitting a large filter onto their camera, especially when the filter size does not match the lens diameter. This article will provide a detailed guide on how to fit a big filter on a camera, addressing common issues and offering practical solutions.
Understanding Camera Filters and Their Importance
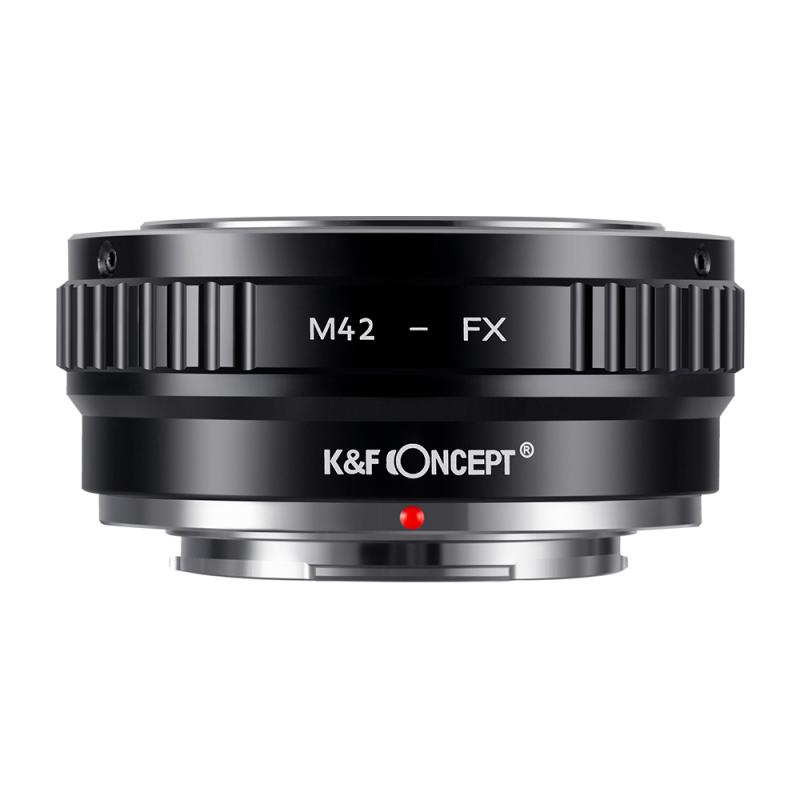
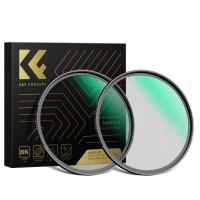
Before diving into the methods of fitting a big filter on a camera, it is essential to understand the types of filters available and their importance in photography. Camera filters come in various forms, including UV filters, polarizing filters, neutral density (ND) filters, and color filters. Each type serves a specific purpose:
- UV Filters: Protect the lens from dust, scratches, and UV rays.
- Polarizing Filters: Reduce reflections and enhance color saturation.
- Neutral Density Filters: Allow for longer exposure times by reducing the amount of light entering the lens.
- Color Filters: Adjust the color balance and create artistic effects.
Using the right filter can make a significant difference in the quality of your photographs. However, the challenge arises when the filter size does not match the lens diameter.
Common Issues with Fitting Big Filters
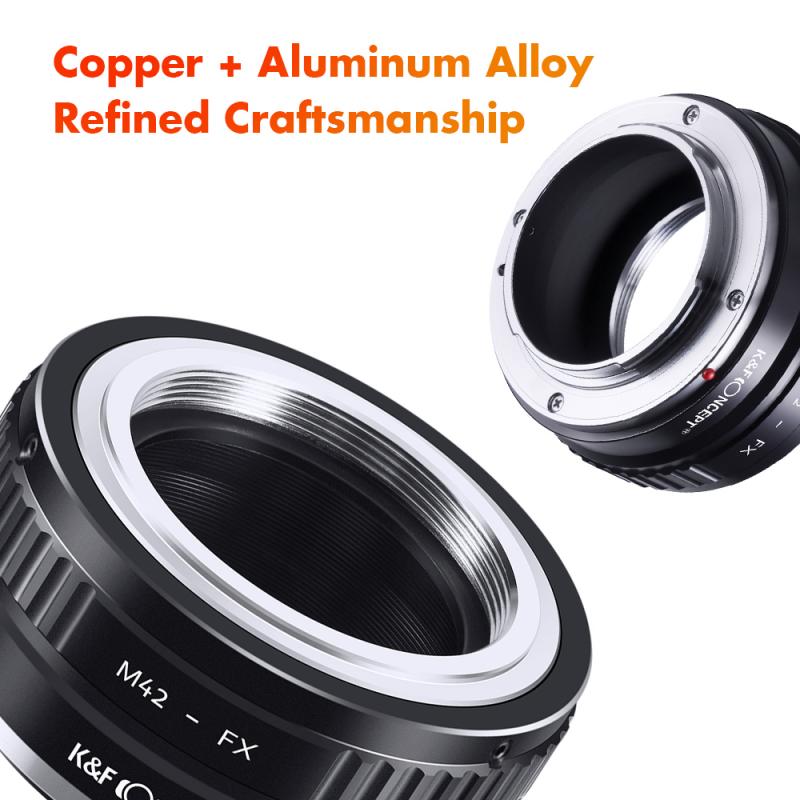
Photographers often encounter the following issues when trying to fit a big filter on a camera:
1. Size Mismatch: The filter diameter is larger than the lens diameter.
2. Vignetting: Using a larger filter can cause dark corners in the image.
3. Mounting Difficulties: Attaching a larger filter securely to the lens can be challenging.
Solutions for Fitting a Big Filter on a Camera
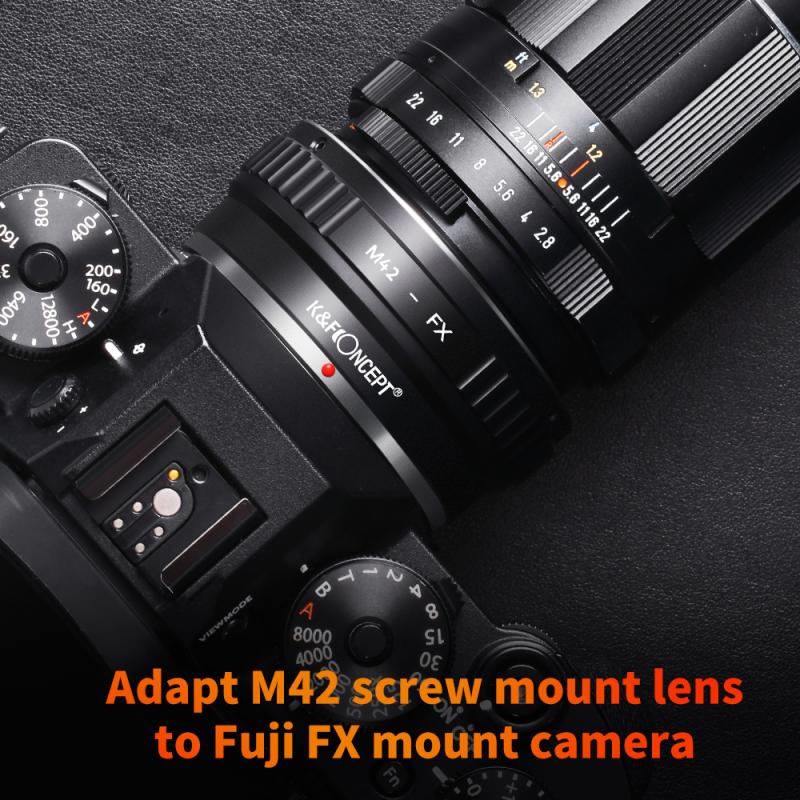
Several methods can be employed to fit a big filter on a camera, each with its advantages and limitations. Here are the most effective solutions:
1. Step-Up Rings
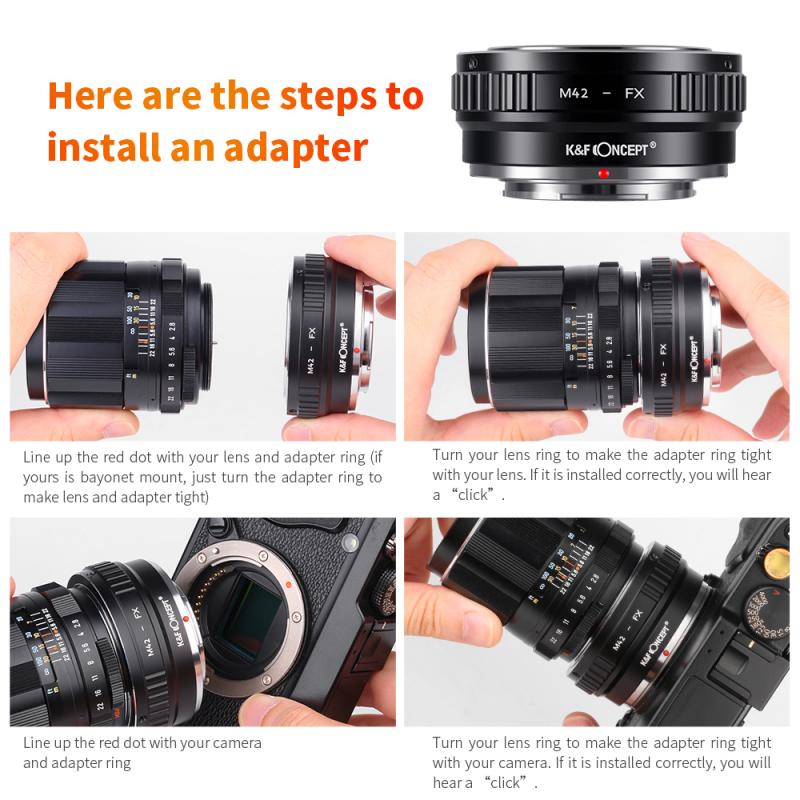
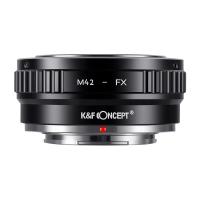
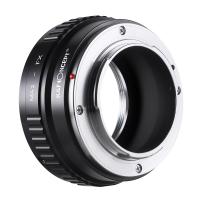
Step-up rings are an affordable and straightforward solution for fitting a larger filter onto a smaller lens. These rings are metal adapters that screw onto the lens and provide a larger thread for the filter. For example, if you have a 58mm lens and a 77mm filter, you can use a 58mm to 77mm step-up ring.
Advantages:
- Cost-effective
- Easy to use
- Widely available
Disadvantages:
- Potential for vignetting if the step-up ring is too thick
- May require multiple rings for significant size differences
How to Use:
1. Determine the diameter of your lens and filter.
2. Purchase the appropriate step-up ring.
3. Screw the step-up ring onto the lens.
4. Attach the filter to the step-up ring.
2. Filter Holders
Filter holders are versatile systems that allow you to use square or rectangular filters with various lenses. These holders typically attach to the lens via an adapter ring and can accommodate multiple filters simultaneously.
Advantages:
- Can hold multiple filters
- Reduces the risk of vignetting
- Suitable for professional use
Disadvantages:
- More expensive than step-up rings
- Bulkier and less portable
How to Use:
1. Select a filter holder system compatible with your lens and filters.
2. Attach the appropriate adapter ring to your lens.
3. Mount the filter holder onto the adapter ring.
4. Insert the filters into the holder.
3. Magnetic Filter Systems
Magnetic filter systems offer a quick and convenient way to attach and remove filters. These systems use a magnetic adapter that screws onto the lens, allowing filters to snap on and off easily.
Advantages:
- Fast and easy filter changes
- Secure attachment
- Minimal risk of vignetting
Disadvantages:
- Higher cost
- Limited availability for some filter sizes
How to Use:
1. Purchase a magnetic filter system compatible with your lens and filters.
2. Screw the magnetic adapter onto the lens.
3. Attach the magnetic filter to the adapter.
4. Custom Solutions
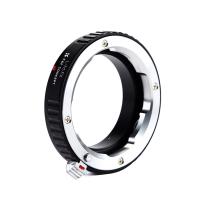
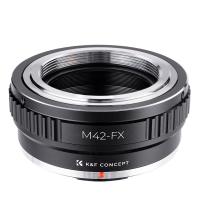
In some cases, photographers may need to resort to custom solutions to fit a big filter on a camera. This can include using gaffer tape, custom-made adapters, or even 3D-printed solutions.
Advantages:
- Tailored to specific needs
- Can be cost-effective
Disadvantages:
- May not be as secure or reliable
- Requires DIY skills
How to Use:
1. Identify the specific requirements for your lens and filter.
2. Create or purchase a custom adapter or solution.
3. Attach the filter securely to the lens.
Tips for Avoiding Vignetting
Vignetting, or the darkening of image corners, is a common issue when using larger filters. Here are some tips to minimize vignetting:
- Use Thin Filters: Opt for slim or low-profile filters to reduce the risk of vignetting.
- Avoid Stacking Filters: Stacking multiple filters can increase the likelihood of vignetting. Use a single filter or a filter holder system.
- Check Compatibility: Ensure that the step-up ring or adapter you use is compatible with your lens and filter size.
Fitting a big filter on a camera can be a challenging task, but with the right tools and techniques, it is entirely achievable. Step-up rings, filter holders, magnetic filter systems, and custom solutions offer various ways to adapt larger filters to your lens. By understanding the advantages and limitations of each method, you can choose the best solution for your photography needs.
Remember to consider the potential for vignetting and take steps to minimize it by using thin filters and avoiding stacking. With the right approach, you can enhance your photography with the benefits of larger filters, achieving stunning results in your images.














There are no comments for this blog.