How To Fix My Lenovo Laptop Microphone ?
With the popularity of video conferencing and online communication, the microphone on laptops has become increasingly important. However, many Lenovo laptop users find that their microphone has problems at critical moments, affecting the normal usage experience. As an expertise blogger, I will detail how to fix Lenovo laptop microphone problems and provide some practical solutions.
 1. Check hardware connections and settings
First of all, we need to make sure that there is no problem with the hardware connection and settings of the microphone. Here are some steps to check:
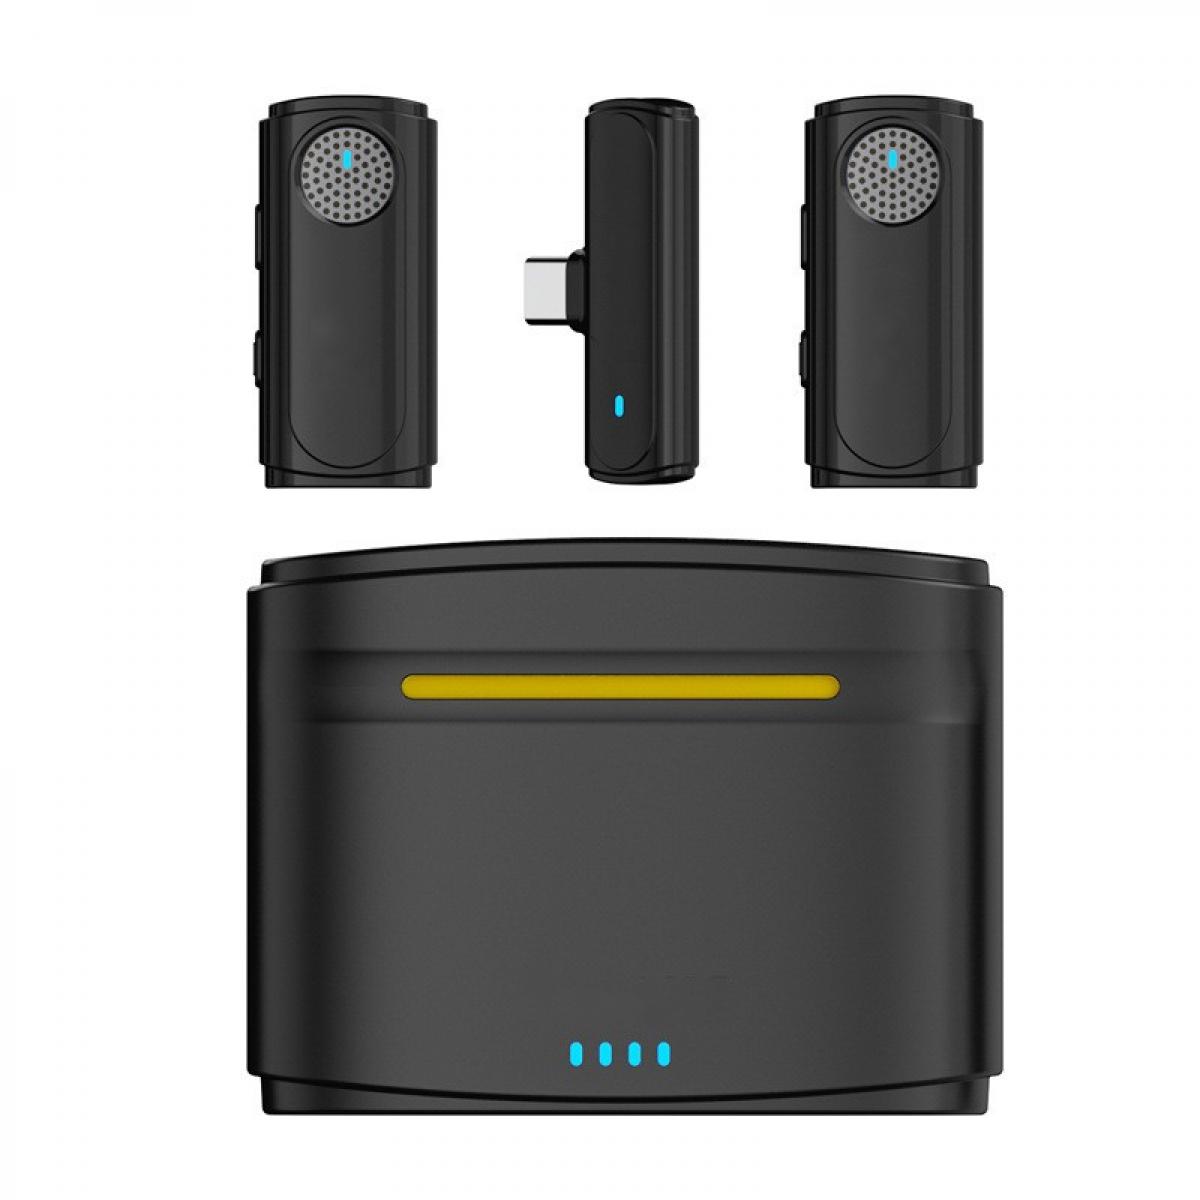
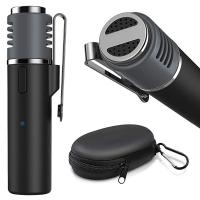
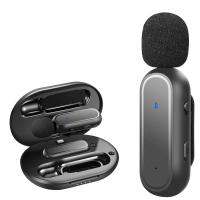
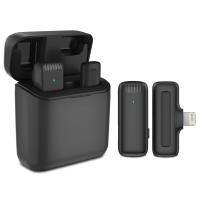
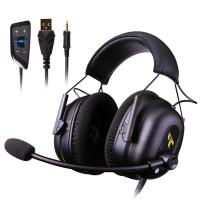
Check the physical connection: make sure the microphone is properly connected to the audio interface of your laptop. If using an external microphone, make sure it is plugged into the correct port.
Built-in microphone settings: Turn on your Lenovo laptop, find the volume control icon, right-click and select "Recording Device". In the pop-up window, make sure the built-in microphone is enabled and set as the default device.
Microphone Mute Check: Sometimes the microphone may be muted by mistake. Check the volume control of the microphone to make sure it is not muted.
2. System Settings and Driver Updates
System settings and driver updates are critical to the proper functioning of the microphone. Below are the steps to follow:
Update the driver: Open the "Device Manager", find the "Audio Input and Output" option, right-click on the microphone device and select "Update Driver". Select the software that automatically searches for newer drivers to make sure the driver is up-to-date.
System Settings Check: In the "Control Panel", select "Hardware and Sound", and then click "Sound". In the "Recording" tab, make sure the microphone is enabled and set as the default device.
Windows Update: Sometimes system updates contain patches to fix problems with audio devices. Check and install all available Windows Updates to make sure your system is up-to-date.
3. Application Settings and Privilege Management
Different applications may require separate settings for microphone permissions and configurations. Below are some common settings:
Application Permissions: In Windows Settings, select "Privacy" and click "Microphone". Ensure that apps are allowed to access the microphone, and check that specific apps have been granted permissions.
Application Settings: Open the application that uses the microphone, such as Skype, Zoom, or Microsoft Teams, go to the Settings menu, make sure the correct microphone device is selected, and adjust the volume setting.
4. Sound settings and troubleshooting
Sometimes, microphone problems can be related to sound settings. Here are some ways to troubleshoot:
Adjust sound settings: In the "Control Panel" in the "Sound" option, select the "Recording" tab, right-click on the microphone device and select "Properties". Properties". In the "Level" tab, adjust the microphone volume to make sure it is not muted.
Troubleshooting tool: Windows provides a built-in audio troubleshooting tool. Open Settings, select Update and Security, and then click Troubleshooting. Select "Record Audio" and run the troubleshooting tool, the system will automatically detect and fix common problems.
5. Common problems and solutions
Users may encounter some common problems when using the microphone on Lenovo notebooks. Below are the solutions:
Microphone is silent: check if the microphone volume is minimized or set to mute by mistake. Make sure all connections are correct and try restarting the computer.
Distorted or garbled sound: This may be a driver issue, try updating the driver or using an external microphone. It could also be excessive ambient noise, consider using a noise-canceling microphone or adjusting your environment.
The application cannot detect the microphone: Make sure you have granted the application microphone access rights and select the correct microphone device in the application settings.
6. Security and privacy
When using the microphone, users should pay attention to security and privacy protection:
Permission management: Grant microphone access only to trusted applications to avoid unnecessary privacy leakage.
Security software: Install and use reliable security software and scan the system regularly to prevent malware from eavesdropping through the microphone.
7. Customer support and technical service
If the above methods still cannot solve the problem, we recommend contacting Lenovo customer support or technical service team. They can provide more specialized help and arrange hardware repair or replacement if necessary.
To summarize, fixing Lenovo laptop microphone problems requires checking and adjusting several aspects such as hardware connection, system settings, application settings, sound troubleshooting and so on. By carefully following the above steps, users can effectively solve the microphone problem and return to normal use. I hope the guidance in this article can help you solve Lenovo laptop microphone problems and improve the overall experience.



















There are no comments for this blog.