How To Fix The Left Earphone?
Whether you're an audiophile or a casual listener, encountering issues with your left earphone can be a frustrating experience. Earphones have become an everyday essential, whether for listening to music, making calls, or isolating yourself in a busy environment. Fortunately, many common problems with earphones, particularly those affecting one earbud, can be addressed with some straightforward troubleshooting and repair techniques. Here are some steps and tips to fix your left earphone.
Understanding the Problem
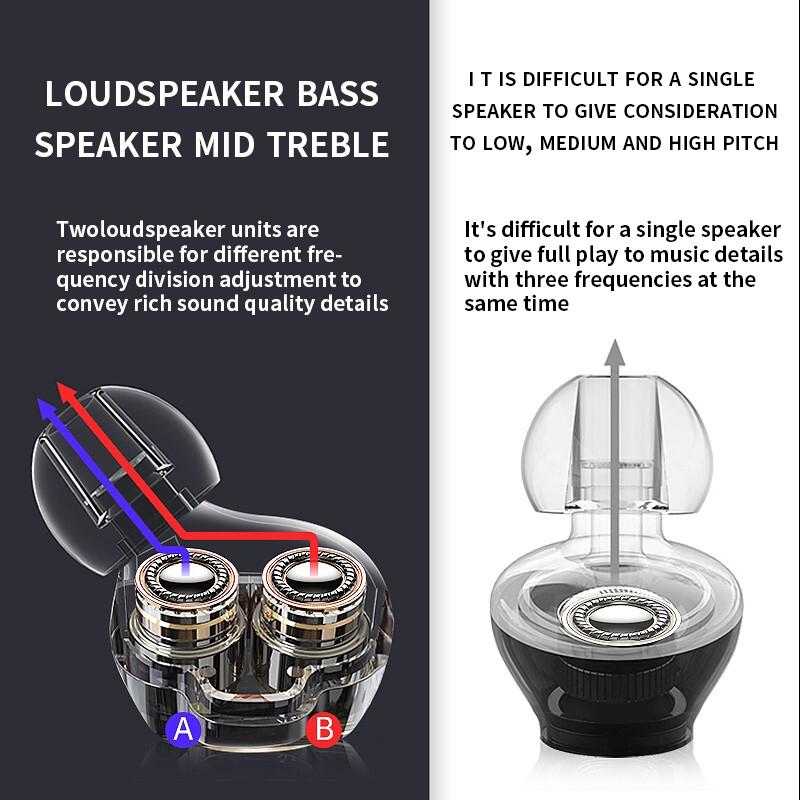
Before diving into the repair process, it's crucial to identify the root cause of the issue. Here are the most common reasons why your left earphone may not be working:
1. Dirty or Damaged Jack: Dirt, lint, or damage in the headphone jack can obstruct the connection.
2. Faulty Wire: The internal wires may be damaged or cut, often due to bending or heavy usage.
3. Software Issues: Sometimes, the problem lies within the device itself, not the earphones.
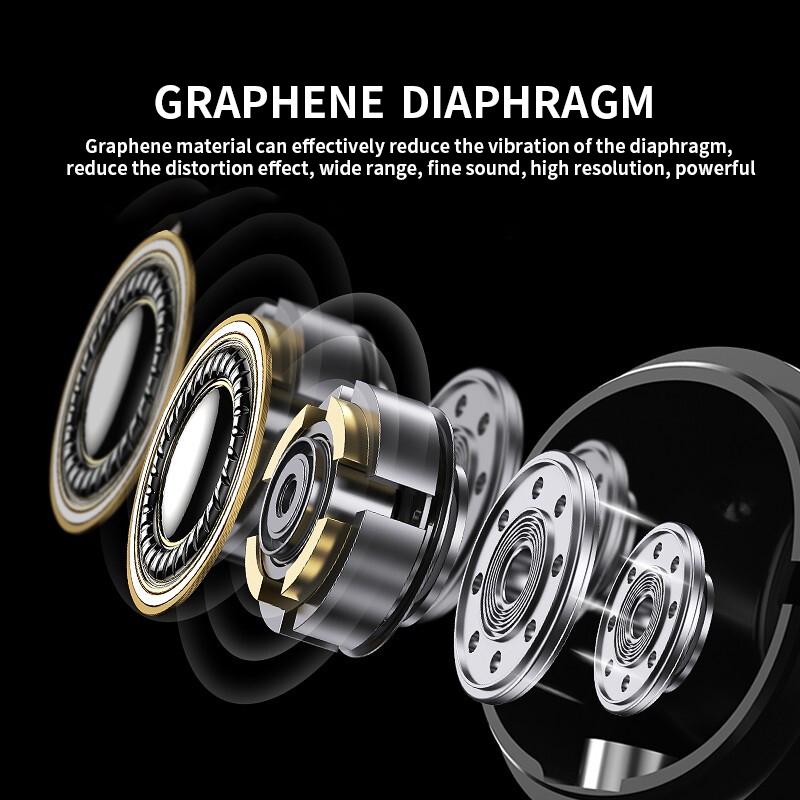
4. Earphone Driver Issue: The small speaker inside the earphone may have been damaged.
Step-by-Step Troubleshooting and Repair
1. Test with Different Devices
First, verify whether the issue lies with the earphone or the device itself. Plug your earphones into another device to see if the problem persists. If the left earphone still doesn’t work, the problem is with the earphones. If it works, the issue might be with the device’s headphone jack or software settings.
2. Check the Headphone Jack
Cleaning the Jack:
- Turn off the Device: Always power down your device before cleaning.
- Use Compressed Air: Blow air gently into the jack to remove dust and lint.
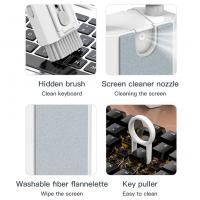
- Soft Brush: A toothbrush or cotton swab can also be used to clean the interior of the jack delicately.
Inspect for Damage:
- Visual Inspection: Look inside the jack with a flashlight to ensure there’s no visible damage.
- Connector Check: Insert and remove the plug several times to check if the problem is due to a loose connection.
3. Examine the Earphone Cable
The wire is a common point of failure. Here’s how to check and fix it:
Visual and Tactile Inspection:
- Feel the Cable: Gently run your fingers along the cable to feel for any irregularities or breaks.
- Flex Test: Bend the cable at different points, especially near the plug and earbuds, to see if you can restore the connection momentarily.
Repairing the Cable:
- Cut and Solder: If you identify the damaged section, you can cut the wire open and solder the broken parts. This requires some basic knowledge of soldering.
- Heat-Shrink Tubing: Use heat-shrink tubing to reinforce the repaired section of the wire and protect it from further damage.
4. Inspect the Earphone Itself
If none of the above steps work, the problem may lie within the earphone. Here’s how to examine and repair:
Open Up the Earphone Housing:
- Pry Open: Carefully open the earphone housing using a small flathead screwdriver or another thin tool.
- Check Wiring: Look for any loose or disconnected wires inside.
Test the Earphone Driver:
- Multimeter: Use a multimeter to check the continuity of the earphone driver. If the driver is not conducting current properly, it may need to be replaced.
Resolder Wires:
- Re-Soldering: If you find any loose wires, solder them back to their respective terminals carefully.
5. Check for Software Issues
Sometimes, the problem is not with the hardware but with the device’s software settings. Here are some fixes:
Audio Settings:
- Balance Settings: Ensure that the audio balance setting on your device is set equally between the two earphones. This option is typically found in the sound settings menu.
Update Firmware:
- Device Updates: Ensure your device’s firmware is up to date, as outdated software can sometimes cause audio issues.
Restart the Device: A simple restart can sometimes resolve temporary software glitches that might be affecting your headphone performance.
Preventive Measures
After you’ve fixed your left earphone, adopting some best practices can extend its life and avoid future issues:
1. Proper Storage: Always store your earphones in a case when not in use to protect them from physical damage and tangling.
2. Avoid Pulling by the Cable: When you unplug your earphones, hold the plug instead of pulling on the cable to avoid damaging the internal wires.
3. Regular Cleaning: Clean the headphone jack and earphones regularly to prevent dust and debris from accumulating.
4. Cable Management: Use cable clips or ties to keep the wires organized and prevent them from bending excessively.
Fixing a non-functioning left earphone can be straightforward if you take a systematic approach to diagnose and address the issue. From performing basic cleaning and testing to undertaking more advanced repairs like soldering, there are multiple methods to restore functionality. It’s essential to start with the simplest solutions and progressively move to more complex ones, ensuring you don’t overlook software settings or simple physical issues like dirt in the headphone jack.
By incorporating these repair techniques and preventive measures into your routine, you can extend the lifespan of your earphones and ensure a consistently high-quality audio experience. Remember, patience and precision are key; with a little effort, you can often bring your left earphone back to life without needing to buy a new pair.




![【$25.99 Flash Deal One order per customer】Selfie Ring Light with Cell Phone Holder for Live Stream and Makeup, LED Light [3-Light Mode] [10-Level Brightness] with Remote Control and Flexible Hose Bracket for iPhone Android【Ship to the US Only】 【$25.99 Flash Deal One order per customer】Selfie Ring Light with Cell Phone Holder for Live Stream and Makeup, LED Light [3-Light Mode] [10-Level Brightness] with Remote Control and Flexible Hose Bracket for iPhone Android【Ship to the US Only】](https://img.kentfaith.com/cache/catalog/products/us/KF34.001/KF34.001-1-200x200.jpg)









There are no comments for this blog.