How To Focus With 10 Stop Nd Filter?
Using a 10-stop neutral density (ND) filter can be a game-changer for photographers looking to capture long-exposure shots in bright conditions. However, it also presents unique challenges, particularly when it comes to focusing. This article will guide you through the process of focusing with a 10-stop ND filter, ensuring you get sharp, well-exposed images every time.
Understanding the 10-Stop ND Filter
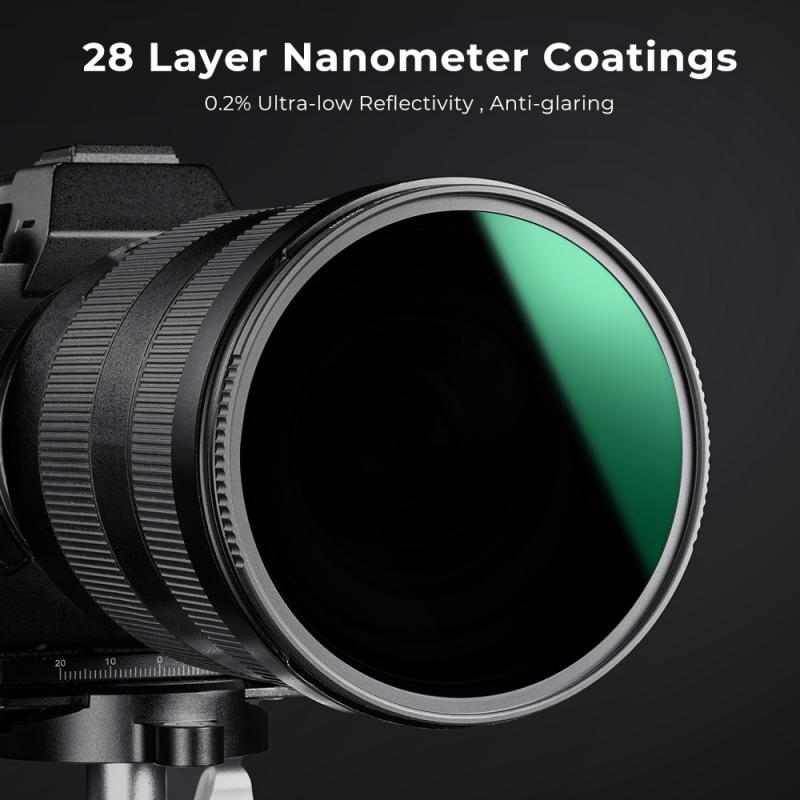
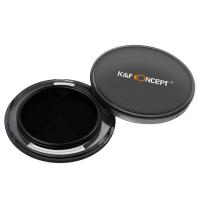
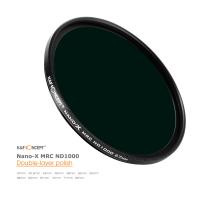
A 10-stop ND filter significantly reduces the amount of light entering your camera, allowing for much longer exposure times even in bright daylight. This can create stunning effects, such as smooth water surfaces, motion blur in clouds, and the ability to shoot with a wide aperture in bright conditions. However, the reduced light also makes it difficult for your camera's autofocus system to function properly, necessitating some adjustments in your shooting technique.
Step-by-Step Guide to Focusing with a 10-Stop ND Filter
1. Compose Your Shot Without the Filter
Before attaching the ND filter, compose your shot as you normally would. This allows you to see the scene clearly and make any necessary adjustments to your composition. Ensure that your camera is securely mounted on a tripod to avoid any movement during the long exposure.
2. Focus Without the Filter
With the ND filter off, use your camera's autofocus or manual focus to achieve sharp focus on your subject. If you're using autofocus, switch to manual focus once the camera has locked focus to prevent it from hunting when the filter is attached. If you're focusing manually, use your camera's live view and zoom in on your subject to ensure precise focus.
3. Note Your Settings
Take note of your focus settings, including the focal length and focus distance. This information will be useful if you need to recompose or adjust your focus later.
4. Attach the ND Filter
Carefully attach the 10-stop ND filter to your lens, ensuring that it is securely in place. Be cautious not to disturb your focus or composition during this process.
5. Adjust Exposure Settings
With the ND filter attached, you'll need to adjust your exposure settings to compensate for the reduced light. Start by switching your camera to manual mode. Use the exposure triangle (aperture, shutter speed, and ISO) to achieve the desired exposure. A common starting point is to increase your shutter speed by 10 stops. For example, if your initial shutter speed was 1/250th of a second, you would increase it to 4 seconds (1/250th -> 1/125th -> 1/60th -> 1/30th -> 1/15th -> 1/8th -> 1/4th -> 1/2th -> 1 second -> 2 seconds -> 4 seconds).
6. Use a Remote Shutter Release or Timer
To avoid camera shake during the long exposure, use a remote shutter release or your camera's built-in timer. This ensures that your camera remains perfectly still while the shutter is open.
7. Take a Test Shot
Take a test shot to check your exposure and focus. Review the image on your camera's LCD screen, zooming in to check for sharpness. If the image is underexposed or overexposed, adjust your settings accordingly. If the focus is off, you may need to remove the filter, refocus, and reattach the filter.
Troubleshooting Common Issues
Focus Drift
Focus drift can occur when attaching the ND filter, especially if the filter is heavy or if the lens has a loose focus ring. To mitigate this, consider using a lens with a focus lock feature or taping the focus ring in place after achieving focus.
Light Leaks
Light leaks can occur when using ND filters, particularly if the filter is not properly sealed. To prevent this, ensure that the filter is securely attached and consider using a lens hood or covering the viewfinder to block any stray light.
Exposure Inconsistencies
Exposure inconsistencies can arise due to the extreme reduction in light. To address this, bracket your exposures by taking multiple shots at slightly different settings. This increases the likelihood of capturing a well-exposed image.
Advanced Techniques
Hyperfocal Distance
For landscape photography, consider using the hyperfocal distance to maximize depth of field. This technique involves focusing at a specific distance to ensure that everything from a certain point to infinity is in focus. Calculate the hyperfocal distance for your lens and aperture, focus at that distance, and then attach the ND filter.
Focus Stacking
In situations where achieving sharp focus across the entire scene is challenging, consider using focus stacking. This involves taking multiple shots at different focus points and blending them in post-processing to create a single image with a greater depth of field.
Focusing with a 10-stop ND filter requires a bit of preparation and practice, but the results can be well worth the effort. By following the steps outlined in this guide, you can achieve sharp, well-exposed long-exposure shots even in bright conditions. Remember to compose and focus without the filter, adjust your exposure settings accordingly, and troubleshoot any issues that arise. With these techniques in your toolkit, you'll be well-equipped to capture stunning images with your 10-stop ND filter.

