How To Focus With Neutral Density Filter?
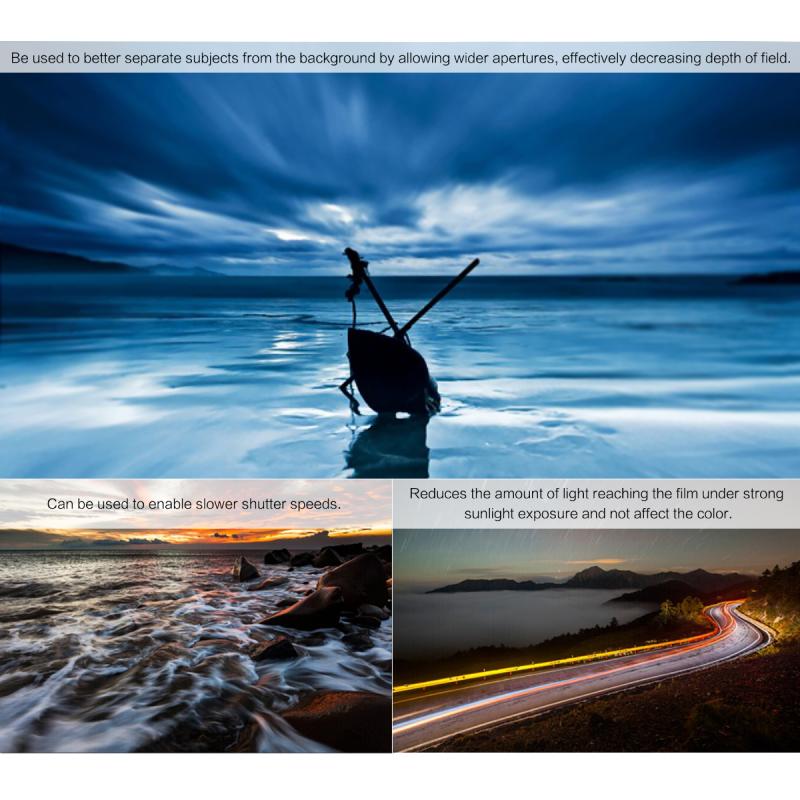
Neutral Density (ND) filters are essential tools for photographers, allowing them to control the amount of light entering the camera without affecting the color of the image. This capability is particularly useful in various scenarios, such as achieving motion blur in bright daylight or using a wide aperture in well-lit conditions. However, using ND filters can present challenges, especially when it comes to focusing. This article will delve into practical strategies and tips for focusing with ND filters, ensuring you capture sharp and well-exposed images.
Understanding Neutral Density Filters
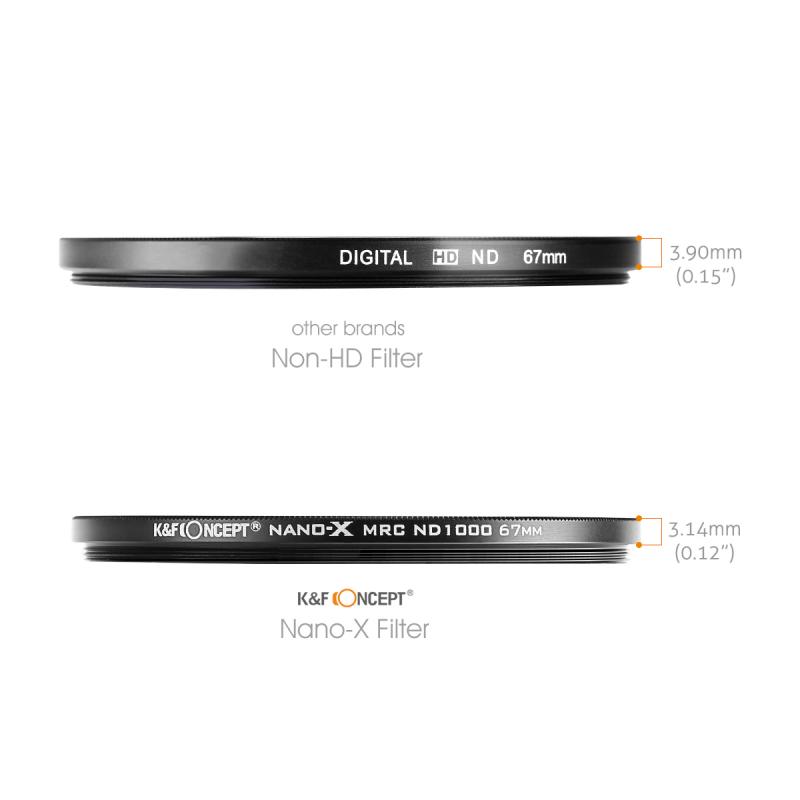
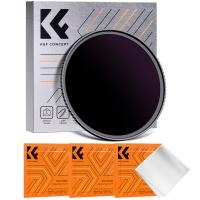
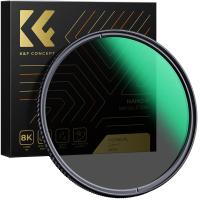
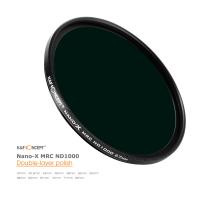
Before diving into the focusing techniques, it’s crucial to understand what ND filters are and how they work. ND filters are pieces of glass or resin that reduce the intensity of light entering the camera lens. They come in different strengths, measured in stops, which indicate how much light they block. For instance, a 3-stop ND filter reduces the light by a factor of eight, while a 10-stop ND filter reduces it by a factor of 1,024.
The Challenge of Focusing with ND Filters
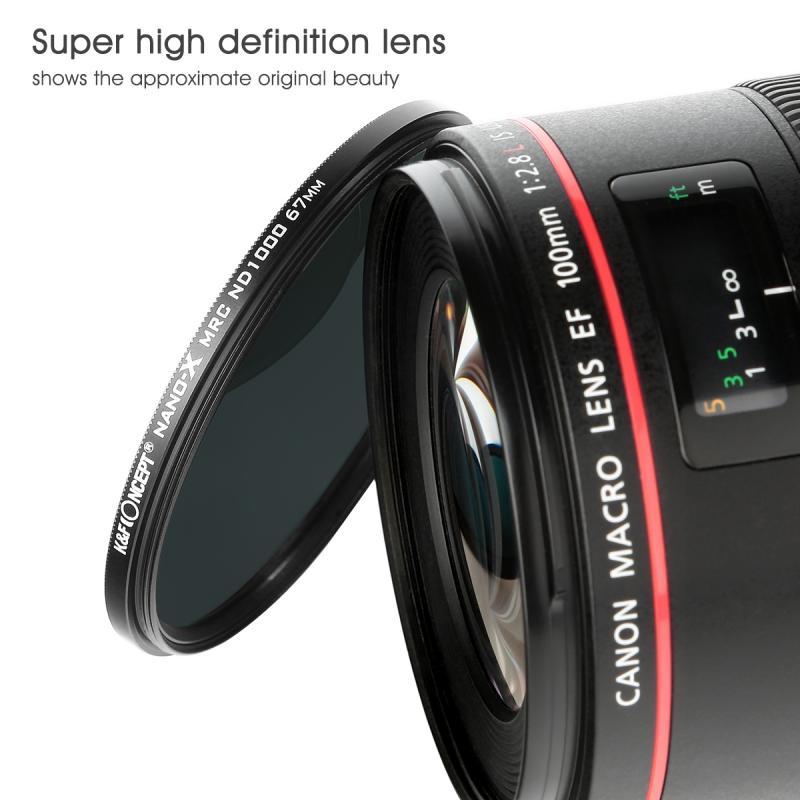
The primary challenge when using ND filters, especially those with higher stops, is that they significantly reduce the amount of light reaching the camera’s sensor. This reduction can make it difficult for the camera’s autofocus system to function correctly, and it can also make manual focusing challenging due to the darkened viewfinder or LCD screen.
Strategies for Focusing with ND Filters
1. Pre-Focus Before Attaching the ND Filter
One of the simplest and most effective methods is to focus your shot before attaching the ND filter. Here’s how you can do it:
- Compose Your Shot: Set up your camera on a tripod and compose your shot as you normally would.
- Focus: Use your camera’s autofocus or manual focus to achieve sharp focus on your subject.
- Switch to Manual Focus: Once you have achieved focus, switch your lens to manual focus mode. This step is crucial because it locks the focus, preventing the camera from attempting to refocus when the ND filter is attached.
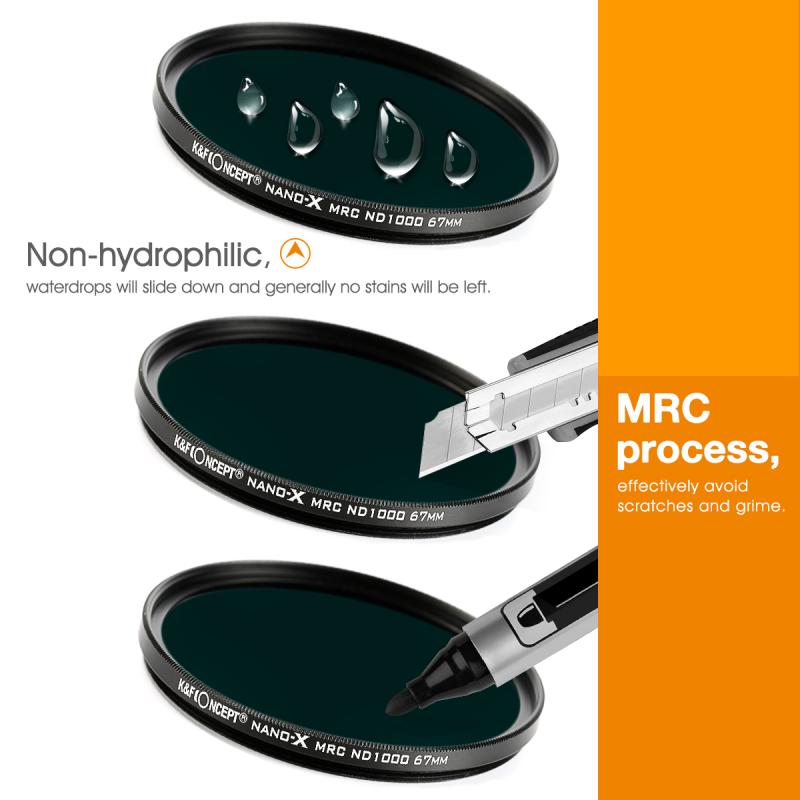
- Attach the ND Filter: Carefully screw or slide the ND filter onto your lens, ensuring not to disturb the focus.
This method works well for static subjects and scenes where the composition does not change.
2. Use Live View for Manual Focusing
If your camera has a live view feature, it can be a valuable tool for focusing with an ND filter. Live view uses the camera’s sensor to display the scene on the LCD screen, which can be brighter and easier to see than the viewfinder. Here’s how to use live view for focusing:
- Activate Live View: Turn on the live view mode on your camera.
- Zoom In: Use the zoom function to magnify the area where you want to focus. Most cameras allow you to zoom in up to 10x or more.
- Manual Focus: Adjust the focus ring on your lens until the magnified area appears sharp.
- Attach the ND Filter: Once you have achieved focus, attach the ND filter as described earlier.
This method is particularly useful for precise focusing, such as in macro photography or when shooting landscapes with fine details.
3. Use a Focus Assist Tool
Some cameras and lenses come equipped with focus assist tools, such as focus peaking or electronic rangefinders. These tools can be incredibly helpful when focusing with an ND filter:
- Focus Peaking: This feature highlights the areas of the image that are in focus with a colored outline. It can be used in both live view and through the electronic viewfinder (EVF) on mirrorless cameras.
- Electronic Rangefinder: Some cameras have an electronic rangefinder that indicates whether the image is in focus by showing a confirmation dot or indicator.
Using these tools can make manual focusing more accurate and less time-consuming.
4. Autofocus with a Lower-Strength ND Filter
If you need to use autofocus and are working with a very strong ND filter, consider using a lower-strength ND filter to focus first. Here’s how:
- Attach a Lower-Strength ND Filter: Start with an ND filter that is not as strong, such as a 3-stop or 6-stop filter.
- Autofocus: Use your camera’s autofocus system to achieve focus.
- Switch to Manual Focus: Once focused, switch to manual focus mode to lock the focus.
- Replace with Stronger ND Filter: Carefully replace the lower-strength ND filter with the stronger one you intend to use for the shot.
This method allows the autofocus system to function more effectively, as it has more light to work with.
Additional Tips for Using ND Filters
- Use a Sturdy Tripod: Since ND filters often require longer exposure times, a sturdy tripod is essential to prevent camera shake and ensure sharp images.
- Remote Shutter Release: To further minimize camera shake, use a remote shutter release or the camera’s self-timer function.
- Check for Light Leaks: When using very strong ND filters, light leaks can occur around the filter or through the viewfinder. Cover the viewfinder and ensure the filter is securely attached to prevent unwanted light from affecting the exposure.
- Bracket Your Exposures: If you’re unsure about the correct exposure, take multiple shots at different exposure settings to ensure you capture the best possible image.
Focusing with a neutral density filter can be challenging, but with the right techniques and tools, it is entirely manageable. By pre-focusing before attaching the filter, using live view, employing focus assist tools, or starting with a lower-strength ND filter, you can achieve sharp and well-exposed images even in challenging lighting conditions. Remember to use a sturdy tripod, check for light leaks, and bracket your exposures to maximize your chances of success. With practice and patience, you’ll be able to master the use of ND filters and expand your creative possibilities in photography.











There are no comments for this blog.