How To Format Sd Card In Windows?
Formatting an SD card in Windows can be a routine yet crucial task for various users, whether you’re looking to clear storage, resolve issues, or set up the card for a specific use. This comprehensive guide will take you through the steps required to format an SD card on a Windows operating system, addressing common concerns and ensuring your data is handled correctly.
Understanding the Need to Format an SD Card

Before diving into the actual steps, it’s important to understand why formatting an SD card might be necessary. Formatting essentially prepares the card for use by erasing all existing data and setting up a new file system. Here are some scenarios where you may need to format an SD card:
1. Performance Issues: If your SD card is performing slowly, a format might help by clearing out unseen errors or fragmented data.
2. File System Errors: Sometimes, SD cards can encounter file system errors that prevent them from functioning correctly.
3. Preparing for a New Device: Different devices might require specific file systems; formatting ensures compatibility.
4. Data Wipe: To safely remove all existing data, formatting is more reliable than simply deleting files.
Precautions Before Formatting

Before proceeding with formatting, ensure you back up any important data. Formatting erases all data on the SD card and there's no way to recover it once the process is complete.
Step-by-Step Guide to Formatting an SD Card
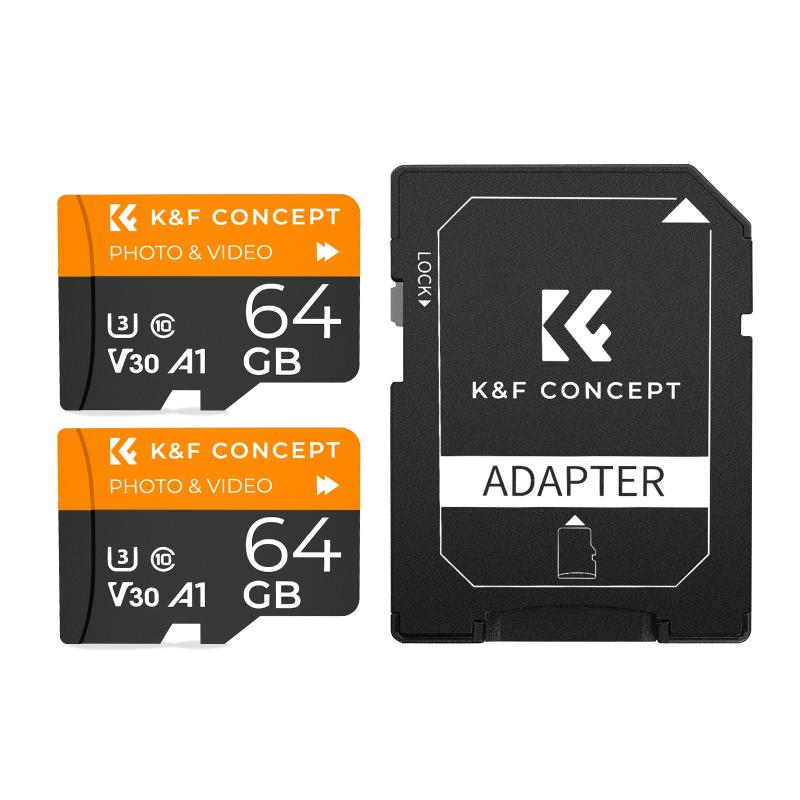
Step 1: Insert the SD Card

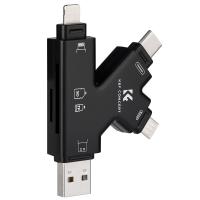
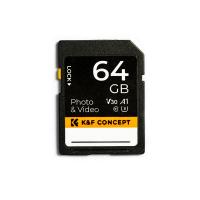
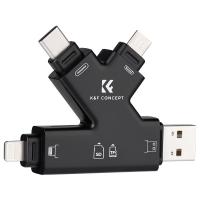
Insert the SD card into the SD card slot on your computer. If your computer doesn’t have an SD card slot, you can use an external SD card reader that connects via USB.
Step 2: Open ‘File Explorer’
Press `Win + E` to open ‘File Explorer.’ On the left-hand side, you’ll see a list of drives under ‘This PC’ or ‘My Computer.’ Your SD card should appear there, usually labeled as a removable disk.
Step 3: Right-Click the SD Card and Select ‘Format’
Right-click the SD card drive and choose the ‘Format’ option. This will open the Format window containing several options you can configure.
Step 4: Configure the Formatting Options
In the Format window, you’ll see several settings:
- File System: Here, you can choose between FAT32, exFAT, or NTFS. Generally, FAT32 is suitable for smaller cards (up to 32GB) and for compatibility with various devices. exFAT is good for larger cards and files over 4GB. NTFS is less commonly used for SD cards but it can be useful in some situations where security is a concern.
- Allocation Unit Size: Usually, the default allocation size is recommended unless you have a specific need to change it.
- Volume Label: You can give your SD card a name here.
- Quick Format: This option speeds up the process but doesn’t thoroughly check for errors. Uncheck it if you want a more thorough format, though this will take longer.
Step 5: Start the Format
Double-check your options and click the ‘Start’ button to begin formatting. A warning will appear alerting you that all data will be erased. Confirm to proceed. The format process may take a few seconds to a few minutes, depending on the size of the SD card and if you chose a Quick Format.
Step 6: Complete the Process
Once the format is complete, you’ll receive a notification saying that the format is complete. Click 'OK’ to close the dialog box. Your SD card is now formatted and ready for use.
Troubleshooting Formatting Issues
If you encounter issues while trying to format your SD card, here are some troubleshooting tips:
- Card is Write-Protected: Some SD cards have a tiny switch on the side that enables write protection. Make sure this switch is in the correct position.
- Card Not Recognized: Ensure that the card is properly inserted. Try using a different card reader or another USB port.
- Windows Can’t Format the Card: Sometimes, Windows might fail to format the card correctly. You can try using third-party software like SD Formatter, a tool designed specifically for this purpose.
- Preventing Frequent Formatting: Frequent formatting can lead to wear and tear on the SD card over time. Use high-quality cards and try to minimize the number of times you need to format.
Advanced Formatting Options
For advanced users, there are additional tools and command-line options available that offer more control over the formatting process.
1. Using Disk Management
- Open Disk Management by pressing `Win + X` and selecting ‘Disk Management.’
- Locate your SD card among the list of drives.
- Right-click the SD card and select ‘Format.’
- Configure options as described in the steps above and click ‘OK.’
2. Using Command Prompt
- Open Command Prompt with administrative privileges by pressing `Win + X` and selecting 'Command Prompt (Admin).'
- Type `diskpart` and press `Enter`. This opens the Diskpart utility.
- Type `list disk` to see a list of all connected drives.
- Identify your SD card by its size and type `select disk X`, where X is the number corresponding to your SD card.
- Type `clean` to wipe all data.
- Type `create partition primary` to set up a new partition.
- Type `format fs=fat32 quick` (or replace ‘fat32’ with another file system based on your needs) and press `Enter`.
Formatting an SD card in Windows is a task that can be accomplished with a few simple steps. Understanding the different file systems and settings ensures that you format your SD card to best suit your needs. Always remember to back up important data before formatting to avoid data loss. With this guide, you should be able to approach the task with confidence, ensuring that your SD card is ready for use no matter the scenario.














There are no comments for this blog.