How To Get The Right Lighting For Photography?
Achieving the right lighting is crucial for photography, as it can drastically influence the quality, mood, and story of your image. Whether you're a budding photographer, an enthusiast, or a professional, understanding the principles of lighting can transform your photos from mediocre to stunning. This article aims to delve deep into various aspects of lighting in photography, providing practical tips and techniques to help you master this essential skill.
Understanding the Basics of Lighting
Natural vs. Artificial Light
- Natural Light: This type of lighting is unpredictable and varies depending on the time of day, weather conditions, and geographical location. It can range from the harsh midday sun to the soft glow of the golden hour.
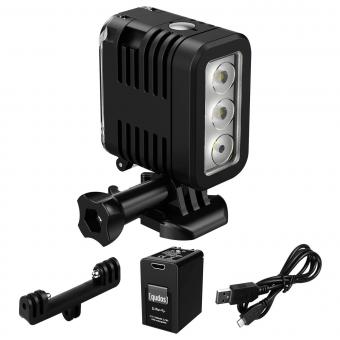
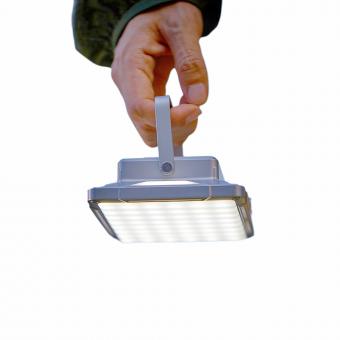
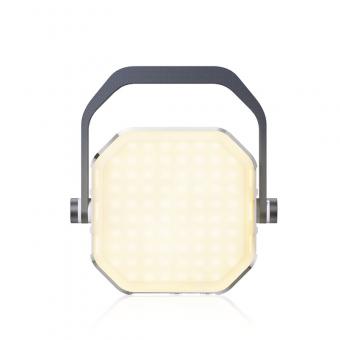
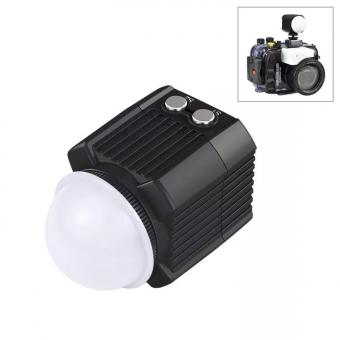
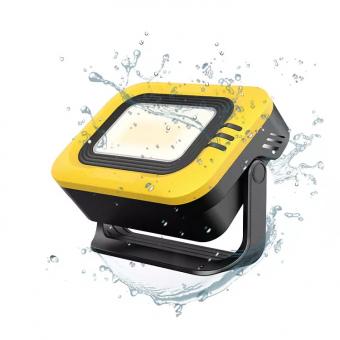
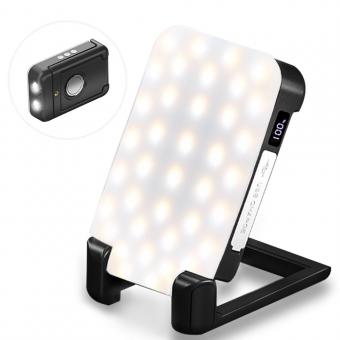
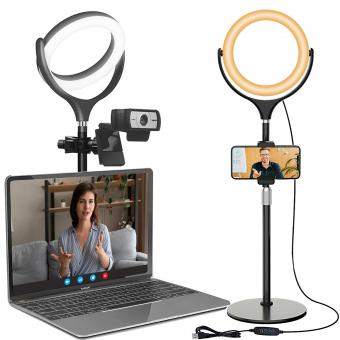
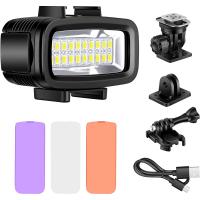
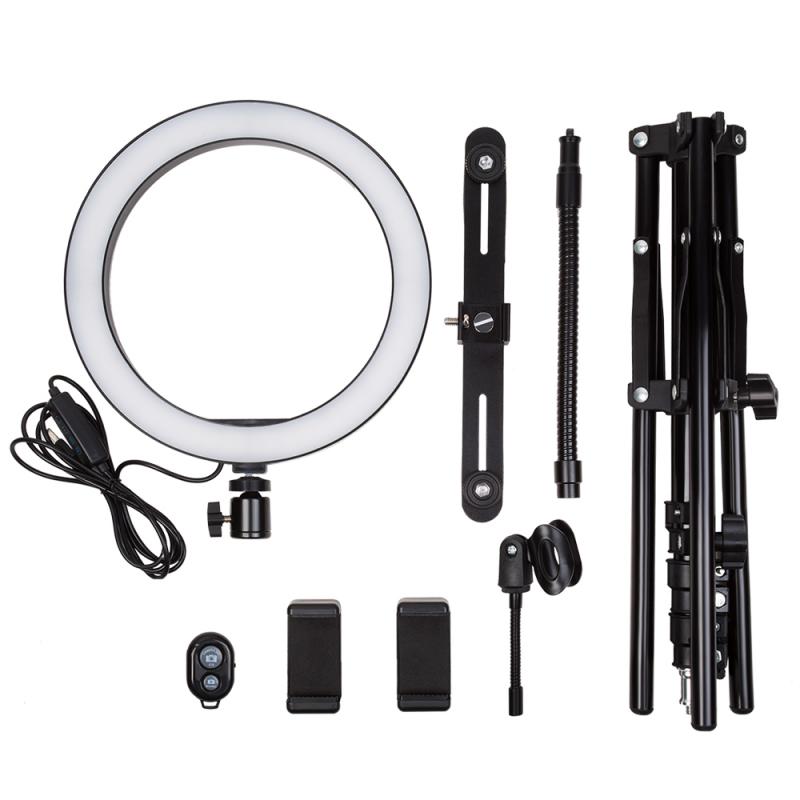
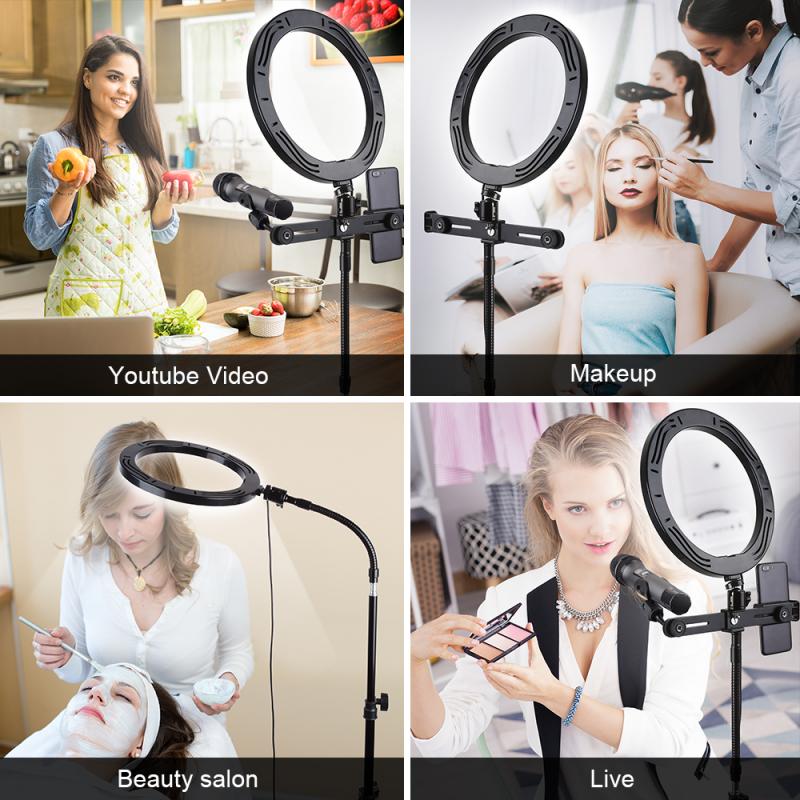
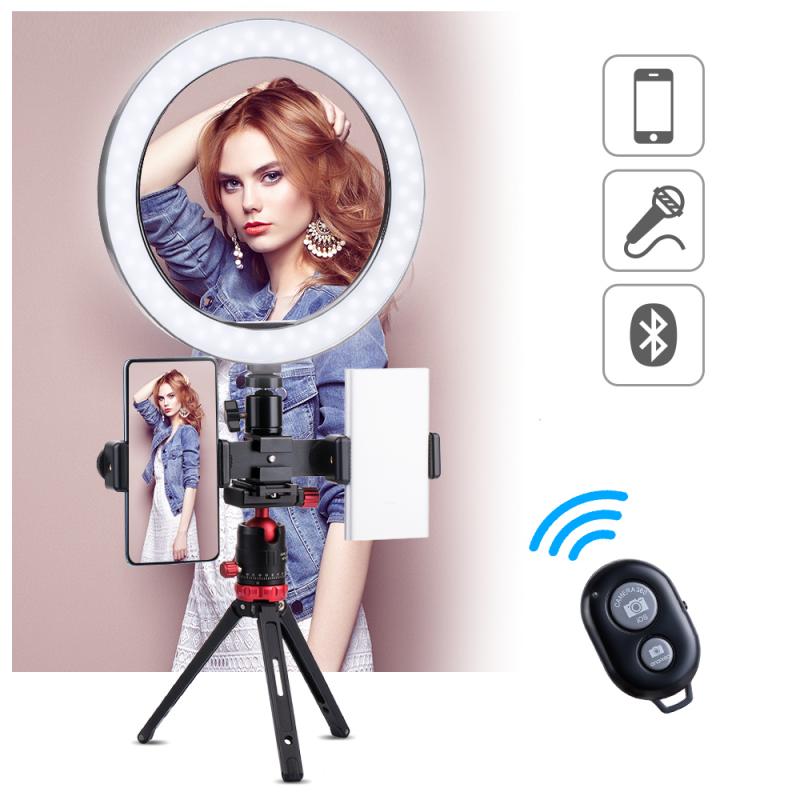
- Artificial Light: This includes studio lights, LED panels, flash units, and other light fixtures. Artificial light offers more control over the lighting conditions and can be manipulated to achieve the desired effect.
Types of Lighting in Photography
Ambient Lighting
Ambient lighting refers to the natural or pre-existing light in a scene. This could be sunlight coming through a window, street lights, or even the glow from a computer screen. It's usually soft and diffused, creating a natural look. However, relying solely on ambient light can be challenging due to its variability.
Key Light
The key light is the primary source of illumination, often the most intense light in the setup. It's used to highlight the subject and shape the image. Positioning and modifying the key light's intensity will significantly affect the photograph's overall impact.
Fill Light
Fill light serves to soften the shadows created by the key light. It's generally placed opposite the key light and is less intense. Fill light helps balance the exposure, ensuring the shadows aren't too harsh and maintaining detail in the darker areas.
Back Light
Back light, also known as rim light or hair light, is placed behind the subject. This light helps in creating a separation between the subject and the background, adding depth to the image. It often highlights the edges of the subject, making it stand out distinctly.
Tools and Techniques for Effective Lighting
Softboxes and Diffusers
Softboxes and diffusers spread the light evenly, reducing harsh shadows and creating a soft, flattering illumination. They are especially useful in portrait and product photography.
Reflectors
Reflectors bounce light back onto the subject, helping fill in shadows without the need for additional light sources. They are versatile and come in different colors (white, silver, gold) to provide varying effects.
Light Modifiers
Modifiers such as grids, gobos, and barn doors shape and direct the light, providing creative control over illumination. They are essential tools for creating specific moods and effects.
Practical Tips for Achieving the Right Lighting
Shoot During Golden Hour
The golden hour, shortly after sunrise and before sunset, provides soft, warm, and highly photogenic light. This time of day offers a flattering lighting environment perfect for portraits, landscapes, and many other types of photography.
Use Window Light
For indoor shooting, window light can be an excellent source of natural light. Position your subject near the window and use curtains or diffusers to moderate the light. Window light offers soft illumination that is ideal for portraits, still life, and food photography.
Experiment with Angles
The angle of light dramatically influences the mood and composition of a photograph. Side lighting can add depth and dimension, while front lighting creates a flat but evenly lit image. Backlighting can produce silhouettes and highlights the contours of the subject.
Adjust the White Balance
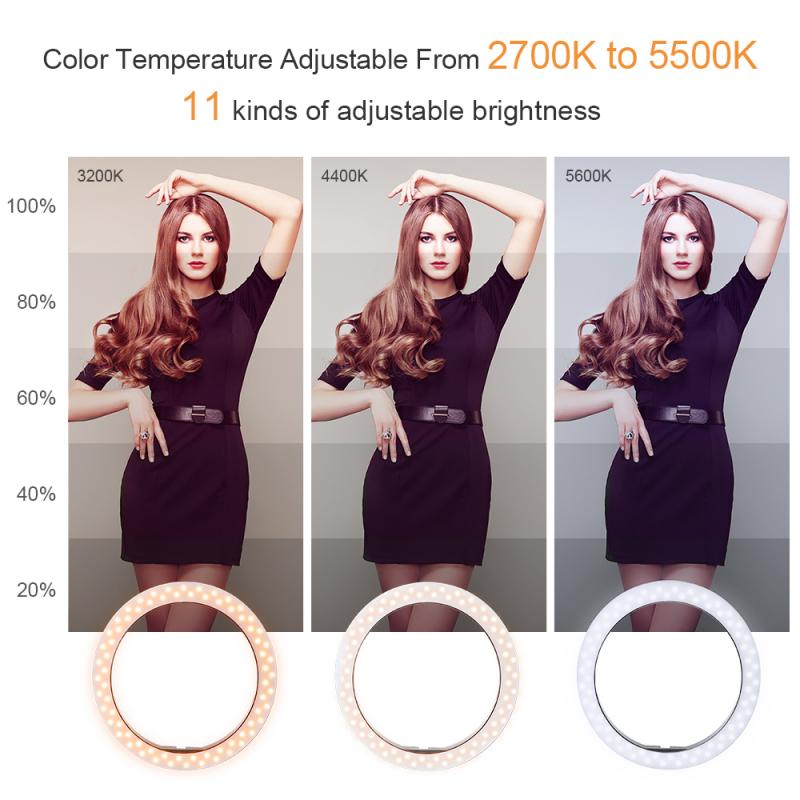
White balance settings in your camera adjust the color temperature of your light sources. Proper white balance ensures that your colors are accurate and not overly warm or cool. Experimenting with white balance can also create artistic effects.
Mastering Flash Photography
Using flash effectively requires understanding how to balance it with ambient light. Techniques such as bouncing the flash off surfaces, using diffusers, and adjusting flash power help create natural-looking illumination without the harshness typically associated with direct flash.
Common Lighting Setups in Photography
Three-Point Lighting
A classic technique used in portrait photography and videography, the three-point lighting setup includes key light, fill light, and backlight. This setup provides a balanced and well-defined image, highlighting the subject's features and creating depth.
Rembrandt Lighting
Named after the Dutch painter, Rembrandt lighting uses a single key light placed at approximately 45 degrees to the side and raised above the subject's eye level. This creates a distinctive triangle of light on the opposite cheek, adding drama and intrigue to portraits.
Butterfly Lighting
Butterfly lighting, also known as paramount lighting, places the key light directly in front and above the subject, casting a shadow under the nose that resembles a butterfly. This style is often used in glamour and beauty photography for its flattering effects.
Troubleshooting Common Lighting Issues
Overexposure and Underexposure
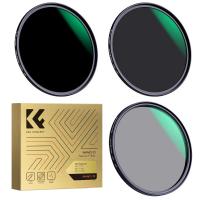
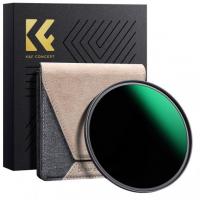
Overexposure leads to loss of detail in the bright areas of the photo, while underexposure causes details to be lost in the shadows. Adjusting your camera’s exposure settings (shutter speed, aperture, ISO) and using graduated neutral density filters can help balance your exposure.
Harsh Shadows
Harsh shadows can be softened by diffusing your light source or using fill light to balance the shadows. Reflectors can also be a quick and easy way to fill in unwanted shadows.
Mixed Lighting
When working with multiple light sources with different color temperatures, mixed lighting can cause color casts. Adjust your white balance settings manually or use color correction gels on your lights to harmonize the color temperatures.
Getting the right lighting for photography involves both a technical understanding of light and a creative application of it. From natural to artificial light, from basic setups to advanced techniques, mastering lighting can significantly improve your photography. By experimenting, observing, and continually learning, you can find the lighting setups that work best for your style and subject matter. Don't be afraid to push boundaries and use lighting to tell your stories in a more compelling and visually captivating way.


