How To Get Your Voice On Screen Recording?
Getting your voice on a screen recording is a common requirement whether you're creating tutorials, recording meetings, or making presentations. Successfully capturing both your screen and your voice can make your recordings more engaging and effective. In this article, we will delve into the practical steps to achieve this using various tools and software applications available across different platforms.
Understanding Your Requirements
Before diving into the methods, it’s essential to understand your specific needs:
1. Purpose: Identifying the purpose of your screen recording—be it for educational purposes, business presentations, or personal use—helps determine the kind of software and tools required.
2. Platform: Are you using Windows, macOS, or other platforms? Each has different capabilities and software compatibility.
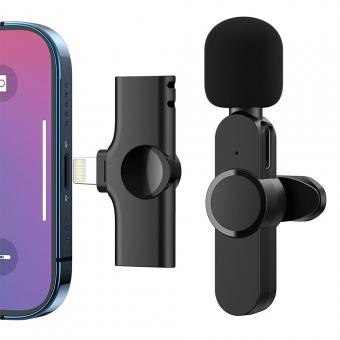
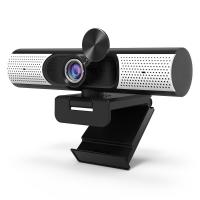
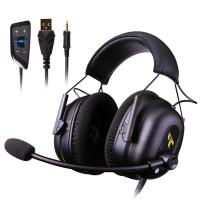
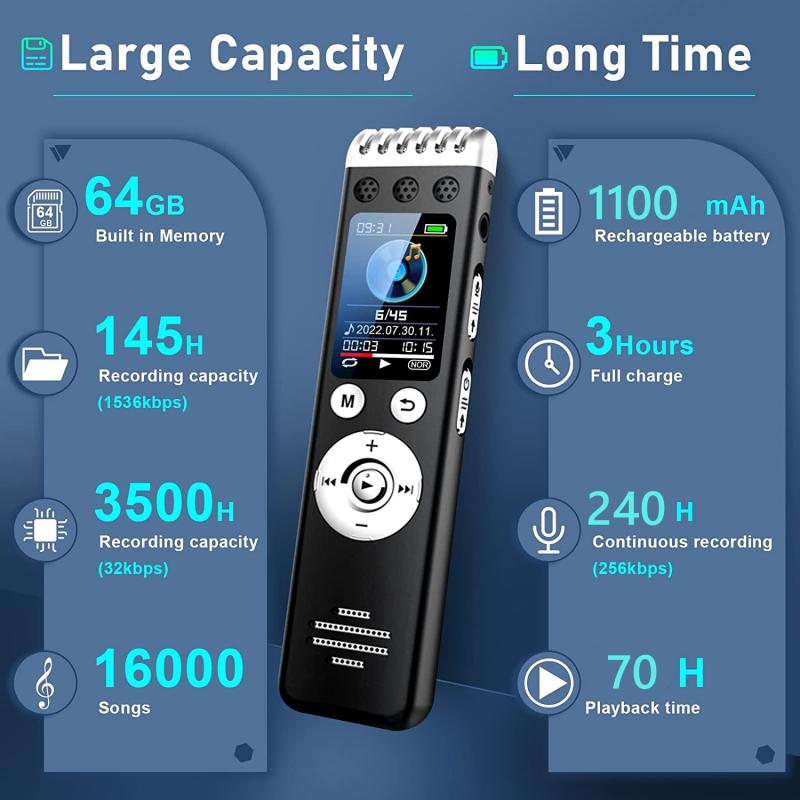
3. Hardware: Ensure you have a functional microphone for capturing your voice. Built-in microphones can suffice, but an external mic often provides better audio quality.
Step-by-Step Guide to Recording Voice with Screen on Different Platforms
Windows
Using Built-in Game Bar (Windows 10 and later)
1. Enable Game Bar: Go to `Settings > Gaming > Xbox Game Bar` and toggle it on.
2. Open Game Bar: Press `Win + G` to launch the Game Bar overlay.
3. Start Recording:
- Click on the microphone icon to ensure your voice is recorded.
- Click on the recording icon to start capturing your screen and voice simultaneously.
4. Save Recording: Once done, click the stop button. Your recording will be saved in the Videos > Captures folder.
Using OBS Studio
1. Install OBS Studio: Download and install OBS Studio from the official website.
2. Configure Settings:
- Open OBS and go to `Settings > Audio` to ensure your microphone is selected.
- Click on `Sources`, then `+`, and select `Display Capture` to record your screen.
3. Start Recording: Click `Start Recording` on the main interface.
4. Stop and Save Recording: Click `Stop Recording` and OBS will save the file to the designated output location.
macOS
Using QuickTime Player
1. Open QuickTime Player: Launch QuickTime from the Applications folder.
2. New Screen Recording: Go to `File > New Screen Recording`.
3. Microphone Selection: Click the arrow next to the record button and select your microphone.
4. Start Recording: Click the record button to begin.
5. Stop and Save: Click the stop button in the menu bar and save your recording.
Using ScreenFlow (for advanced features)
1. Install ScreenFlow: Download and install ScreenFlow from the official website.
2. Configure Audio and Video:
- Open ScreenFlow, then choose `Configure Recording`.
- Enable `Record Computer Audio`, `Record Desktop from`, and select your microphone under `Record Audio From`.
3. Start Recording: Hit the record button.
4. Editing and Exporting: Once recording finishes, you can edit the video and audio before exporting the final product.
Mobile Devices
iOS and iPadOS
1. Enable Screen Recording: Go to `Settings > Control Center > Customize Controls` and add Screen Recording.
2. Start Recording:
- Open Control Center by swiping down from the top-right corner of the screen.
- Long press the Screen Recording button and tap the microphone icon to enable it.
3. Begin and End Recording: Press `Start Recording`. To stop, open Control Center again and press the stop button. The recording will be saved in the Photos app.
Android
Different Android manufacturers have different built-in screen recording tools. Here’s a general approach:
1. Enable Screen Recording:
- Swipe down to access Quick Settings.
- Find and tap `Screen Recorder`.
- Enable microphone recording.
2. Start Recording: Tap the record button.
3. Stop and Save: End the recording from the notification panel. The video is saved in the gallery.
Advanced Tips
1. Audio Quality: Using a high-quality external microphone can significantly improve your audio clarity.
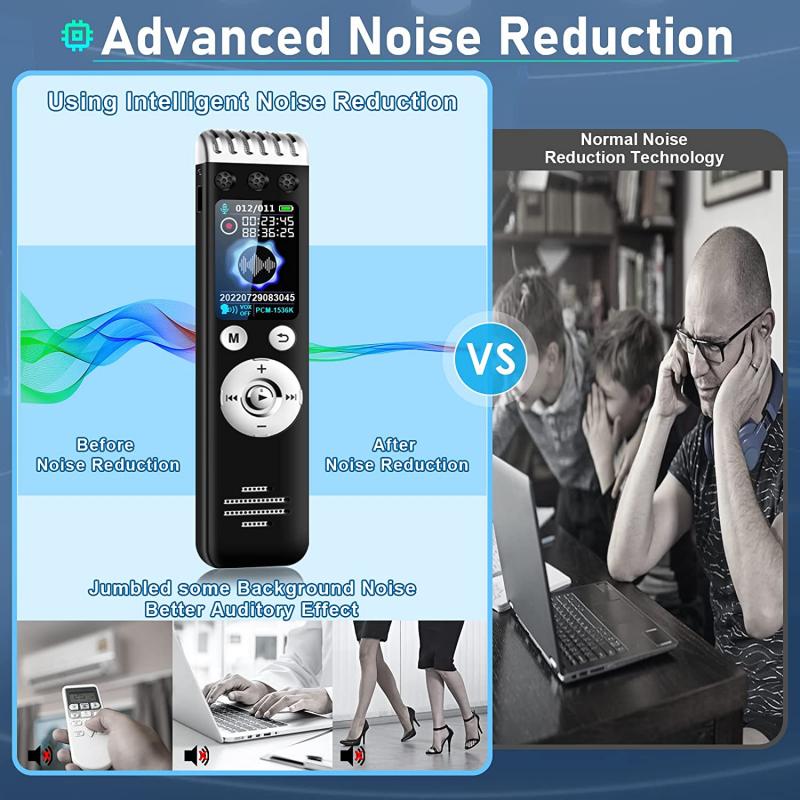
2. Noise Reduction: Select a quiet recording environment to minimize background noise.
3. Script and Practice: Pre-plan and practice your speech to ensure a smooth recording session.
4. Editing Software: Post-processing your video with software like Adobe Premiere Pro or Final Cut can enhance both visual and audio elements of your recording.
Troubleshooting Common Problems
1. No Sound: Ensure your microphone is selected in the recording software settings.
2. Poor Audio Quality: Check for interference or background noise. Use noise-canceling features if available.
3. Software Crashes: Keep your recording software and operating system updated to the latest versions for optimal stability.
Recording your voice along with your screen has never been easier with the plethora of tools available today. Whether you are using built-in features like the Windows Game Bar and macOS QuickTime or advanced solutions like OBS Studio and ScreenFlow, you can seamlessly create high-quality screen recordings with clear audio. By understanding your needs, selecting the right tools, and following best practices, you can produce professional-grade recordings for any purpose. Happy recording!

