How To Have A Clear Voice When Recording?
Recording a clear voice is a fundamental skill for podcasters, singers, voice-over artists, and anyone involved in audio production. A pristine vocal recording can make a significant difference in the quality of the final product. This article will delve into the various techniques and tools that can help you achieve a clear voice when recording, ensuring that your message is conveyed effectively and professionally.
Understanding the Basics
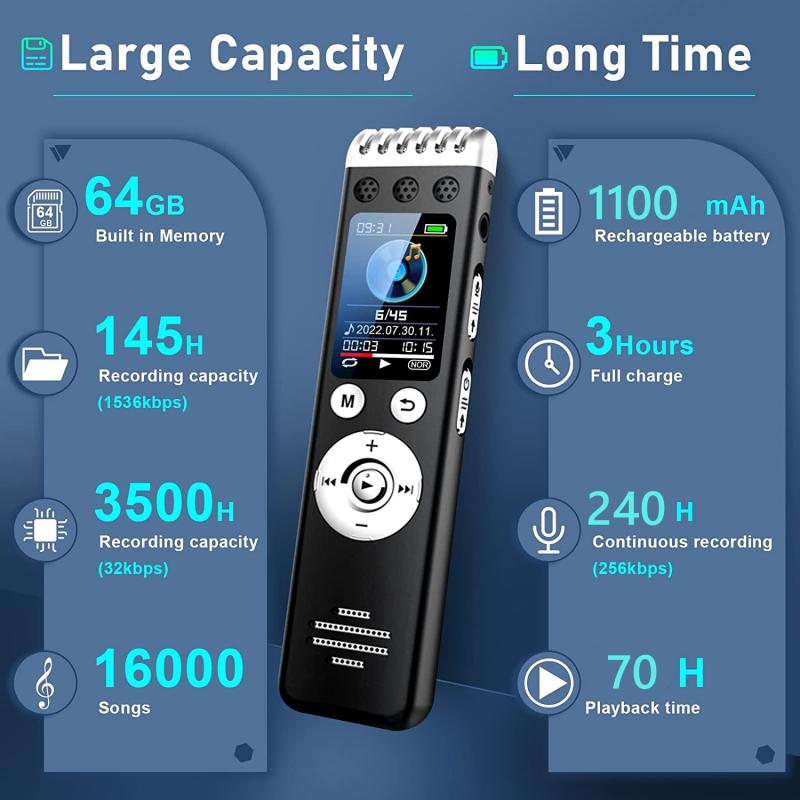
Before diving into the specifics, it's crucial to understand the basics of sound and recording. Sound is a vibration that travels through the air and is captured by a microphone. The clarity of your voice recording can be influenced by several factors, including your vocal technique, the equipment you use, and the environment in which you record.
Preparation and Vocal Warm-Up
One of the most overlooked aspects of achieving a clear voice is proper vocal preparation. Just as athletes warm up before a game, your vocal cords need to be warmed up before recording. Here are some essential steps:
1. Hydration: Drink plenty of water to keep your vocal cords hydrated. Avoid caffeine and alcohol, as they can dry out your voice.
2. Vocal Exercises: Perform vocal exercises such as humming, lip trills, and scales to prepare your voice. This helps in reducing strain and improving vocal clarity.
3. Rest: Ensure you get adequate rest. A tired voice can sound weak and strained.
Choosing the Right Equipment

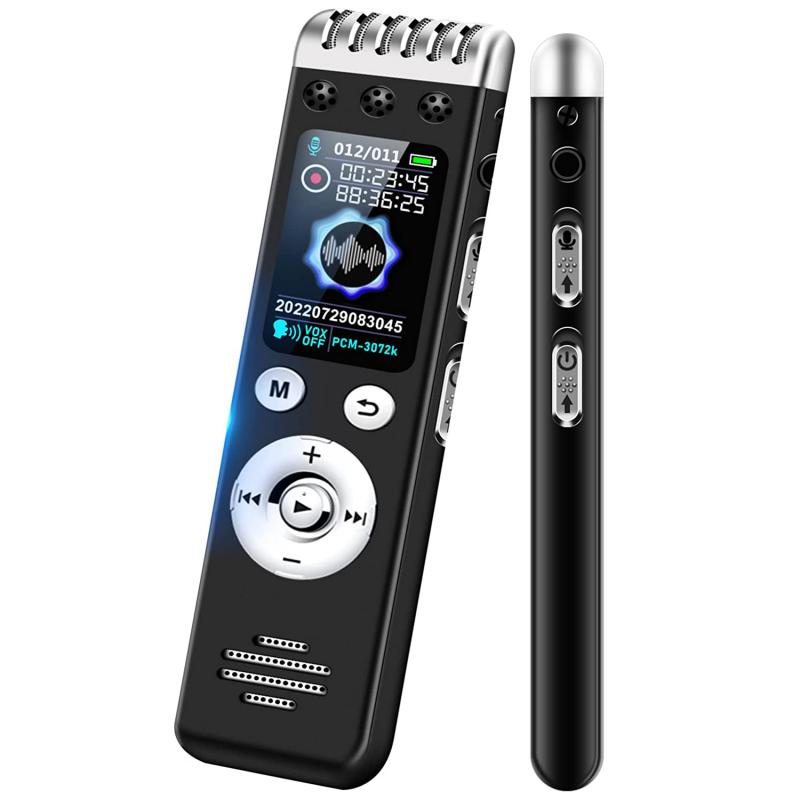
The quality of your recording equipment plays a significant role in capturing a clear voice. Here are some key pieces of equipment to consider:
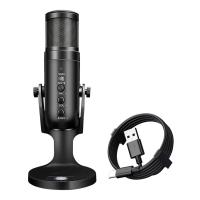
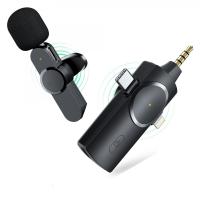
1. Microphone: Invest in a high-quality microphone. There are various types of microphones, such as dynamic, condenser, and ribbon, each with its characteristics. For voice recording, a condenser microphone is often preferred due to its sensitivity and ability to capture detailed sound.
2. Pop Filter: A pop filter helps to eliminate plosive sounds (like the 'p' and 'b' sounds) that can cause distortion. It is an inexpensive accessory that can make a significant difference.
3. Audio Interface: An audio interface converts your voice into a digital signal. High-quality interfaces offer better sound quality and lower latency.
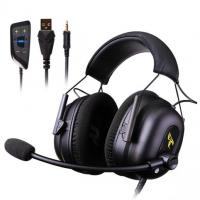
4. Headphones: Use closed-back headphones to monitor your recording. This will help you hear any issues in real-time and make necessary adjustments.
Setting Up Your Recording Environment
Your recording environment can significantly impact the clarity of your voice. Here’s how to optimize your space:
1. Soundproofing: Minimize background noise by soundproofing your recording space. This can be done with foam panels, heavy curtains, or even recording in a closet filled with clothes.
2. Acoustic Treatment: Treat your recording space to reduce echoes and reverberation. Acoustic panels, bass traps, and diffusers can help in creating a controlled recording environment.
3. Microphone Placement: Position your microphone correctly. Typically, placing the microphone 6-12 inches away from your mouth and slightly off-axis can reduce plosives and sibilance.
Vocal Technique and Performance
Even with the best equipment and environment, poor vocal technique can result in unclear recordings. Here are some tips to improve your vocal performance:
1. Posture: Maintain good posture. Stand or sit up straight to allow for proper breath control and projection.
2. Breath Control: Practice diaphragmatic breathing. This type of breathing supports sustained and stable vocal production.
3. Articulation: Enunciate your words clearly. Pay attention to the consonants and vowels, ensuring that each sound is crisp and clear.
4. Consistent Volume: Maintain a consistent volume throughout your recording. Avoid sudden loud or soft parts, as they can cause distortion or be challenging to balance in post-production.
Recording Techniques
Recording techniques can also affect the clarity of your voice. Here are some methods to consider:
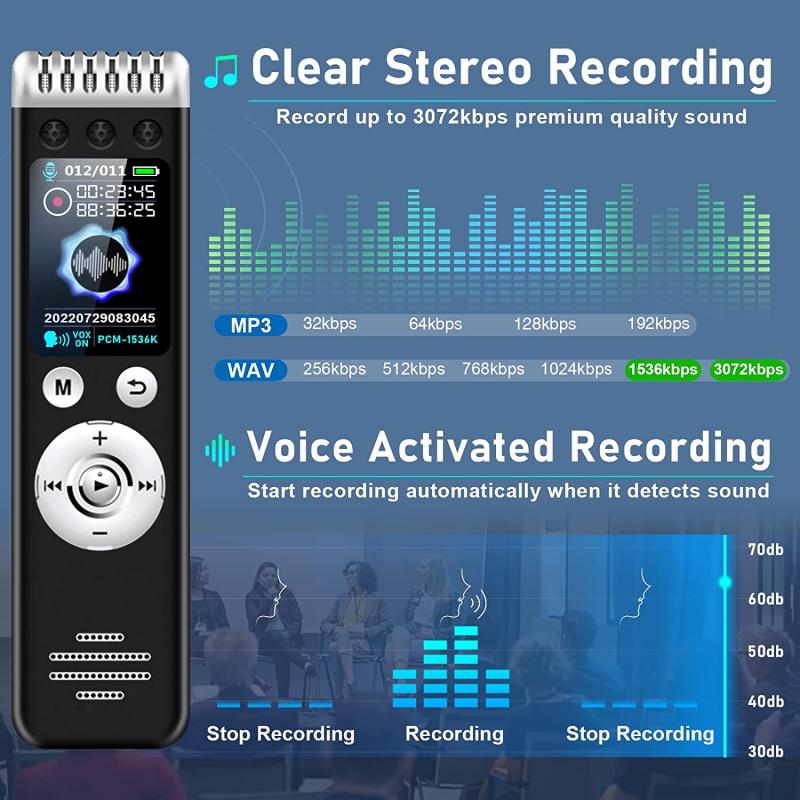
1. Gain Staging: Set the input gain correctly on your audio interface. Aim for a level where your voice peaks around -6 dB to -12 dB. This ensures that your recording is clear without clipping.
2. Multiple Takes: Record multiple takes of the same line or section. This gives you options to choose the best performance and can also be useful for comping in post-production.
3. Monitoring: Use direct monitoring to hear your voice in real-time. This helps in making on-the-fly adjustments to your performance and microphone techniques.
Post-Production
Post-production is an essential step in ensuring a clear and professional-sounding recording. Here are some key processes:
1. Editing: Remove any unwanted noise, breaths, or mistakes using editing software. Software like Audacity, Adobe Audition, and Pro Tools offers powerful editing tools.
2. EQ (Equalization): Use EQ to balance the frequencies of your voice. Roll off the low end to remove any rumble and boost the mid and high frequencies to add clarity and presence.
3. Compression: Apply compression to even out the dynamic range of your recording. This ensures that the quieter parts are audible and the louder parts are controlled.
4. De-essing: Use a de-esser to reduce harsh sibilance sounds (like 's' and 'sh'). This can make your recording more pleasant to listen to.
5. Reverb and Delay: Use reverb and delay sparingly. While they can add a sense of space, too much can obscure the clarity of your voice.
Final Tips and Best Practices
1. Practice: Like any skill, practice makes perfect. Regularly record and listen to your voice to identify areas for improvement.
2. Feedback: Get feedback from others. Fresh ears can often catch issues that you might miss.
3. Stay Healthy: A healthy lifestyle contributes to a healthy voice. Avoid smoking and limit exposure to pollutants.
4. Consistent Routine: Develop a consistent recording routine. This helps in maintaining a good performance and optimal recording conditions.
Achieving a clear voice when recording is an art that combines good vocal technique, high-quality equipment, a suitable recording environment, and proficient post-production. By following the tips and practices outlined in this article, you can significantly improve the clarity and quality of your voice recordings, whether you're a podcaster, singer, or voice-over artist. Remember, clarity takes practice and patience, but with diligence, your recordings will sound professional and be well-received by your audience.


