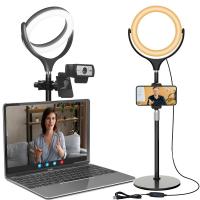
How To Have Your Voice In Screen Recording?
Screen recording has become an essential tool for a variety of purposes, from creating tutorials and presentations to capturing gameplay and conducting remote work. One of the most common questions people have when it comes to screen recording is how to include their voice in the recording. This article will provide a comprehensive guide on how to achieve this, covering various devices and software options, as well as tips for ensuring high-quality audio.
Understanding the Basics

Before diving into the specifics, it's important to understand the basic requirements for including your voice in a screen recording. Essentially, you need three main components:
1. Screen Recording Software: This is the tool that captures the visual content on your screen.
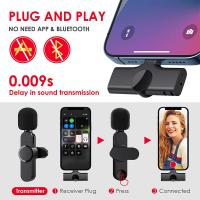
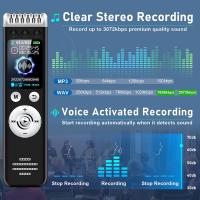
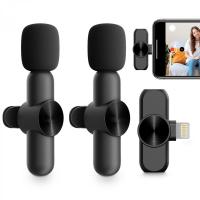
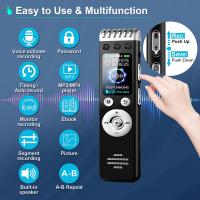
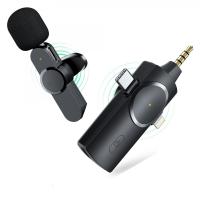
2. Microphone: This captures your voice. It can be built into your device or an external one.
3. Audio Settings: Proper configuration to ensure that the microphone input is recorded along with the screen.
Choosing the Right Screen Recording Software
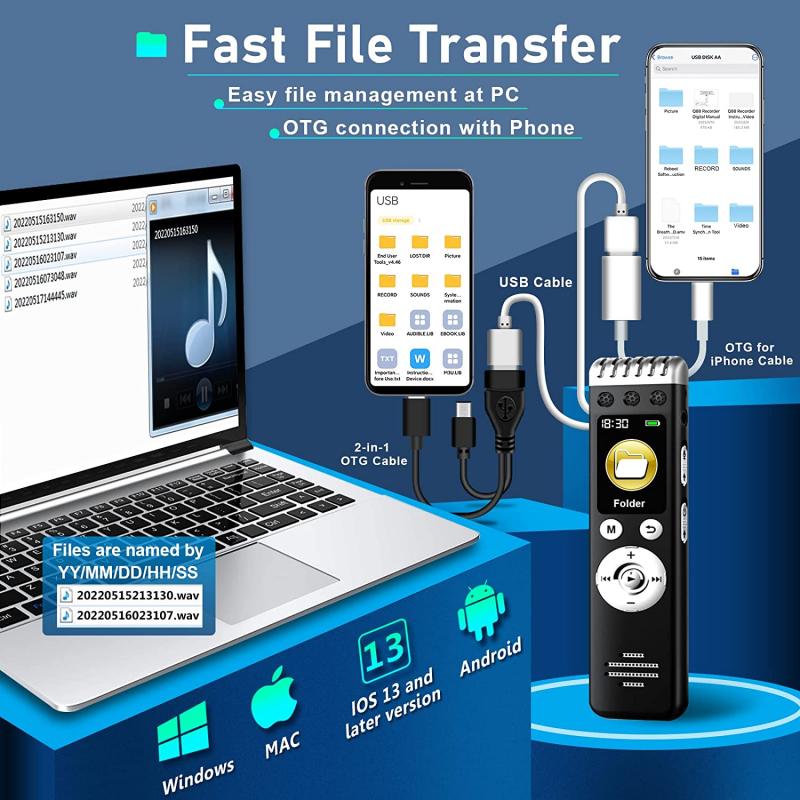
There are numerous screen recording software options available, each with its own set of features. Here are some popular choices:
- OBS Studio: A free, open-source software that offers extensive customization options.
- Camtasia: A paid software known for its user-friendly interface and powerful editing tools.
- QuickTime Player: A free option for Mac users that offers basic screen recording capabilities.
- Bandicam: A paid software that is popular among gamers for its high-quality recording.
- Screencast-O-Matic: A web-based tool that offers both free and paid versions with various features.
Setting Up Your Microphone
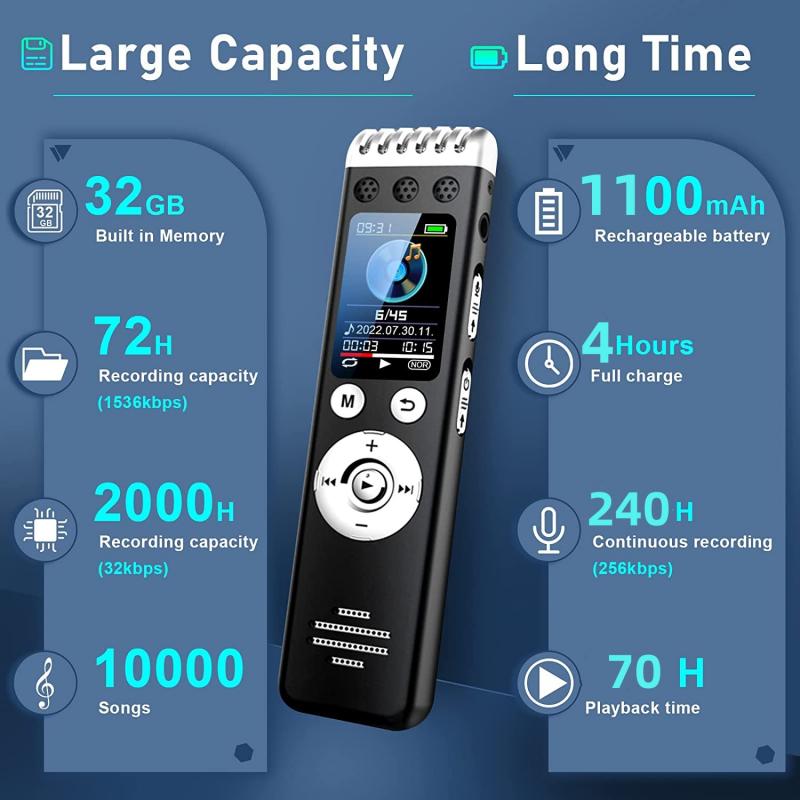
Regardless of the software you choose, the first step is to ensure that your microphone is properly set up. Here’s how to do it:
1. Check Your Microphone: Make sure your microphone is working and properly connected to your device. If you’re using an external microphone, ensure it’s plugged in and recognized by your system.
2. Adjust Microphone Settings: Go to your device’s audio settings to adjust the microphone volume and ensure it’s set as the default input device. On Windows, you can find this in the Control Panel under "Sound." On Mac, go to "System Preferences" and then "Sound."
Configuring Screen Recording Software
Once your microphone is set up, the next step is to configure your screen recording software to include audio input from the microphone. Here’s how to do it for some of the popular software options:
OBS Studio
1. Add Audio Input: Open OBS Studio and go to the "Sources" panel. Click the "+" button and select "Audio Input Capture."
2. Select Microphone: Choose your microphone from the list of available devices.
3. Adjust Audio Levels: Use the audio mixer to adjust the microphone volume to ensure it’s not too loud or too soft.
Camtasia
1. Enable Microphone: Open Camtasia and start a new recording. In the recording toolbar, ensure the microphone icon is enabled.
2. Select Microphone: Click the drop-down menu next to the microphone icon to select your preferred microphone.
3. Test Audio: Use the audio meter to test and adjust the microphone volume.
QuickTime Player
1. New Screen Recording: Open QuickTime Player and select "New Screen Recording" from the "File" menu.
2. Select Microphone: Click the drop-down arrow next to the record button and select your microphone from the list.
3. Start Recording: Click the record button to start your screen recording with audio.
Bandicam
1. Enable Microphone: Open Bandicam and go to the "Video" tab. Under "Settings," ensure the "Record sound" option is checked.
2. Select Microphone: Click the "Settings" button next to "Record sound" and select your microphone from the list.
3. Adjust Audio Levels: Use the audio settings to adjust the microphone volume.
Screencast-O-Matic
1. Enable Microphone: Open Screencast-O-Matic and start a new recording. Ensure the microphone icon is enabled.
2. Select Microphone: Click the microphone icon to select your preferred microphone.
3. Test Audio: Use the audio meter to test and adjust the microphone volume.
Tips for High-Quality Audio
Including your voice in a screen recording is only half the battle; ensuring high-quality audio is equally important. Here are some tips to help you achieve the best possible sound:
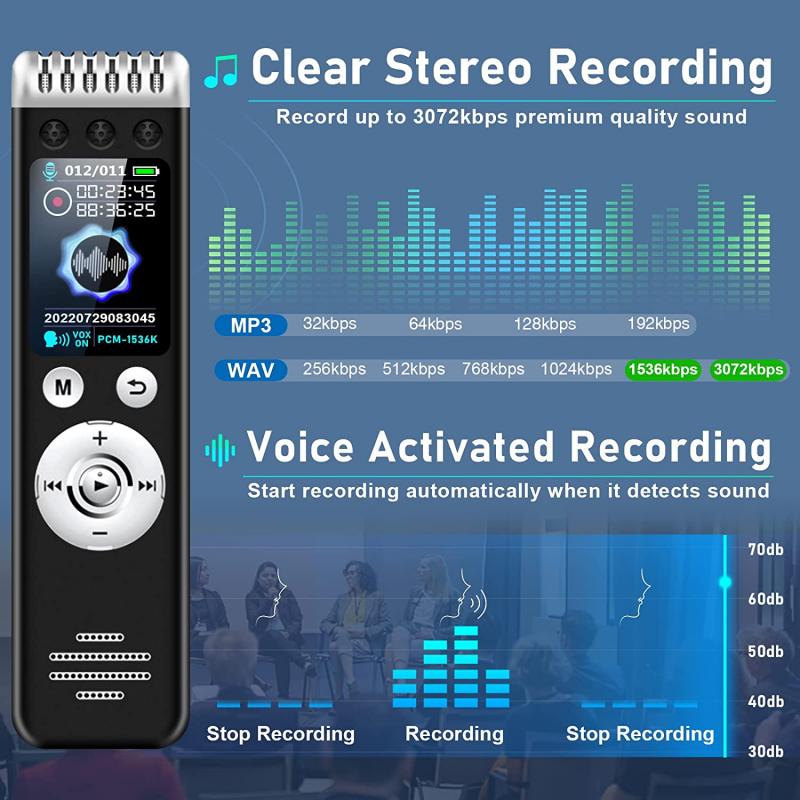
1. Use a Good Microphone: While built-in microphones can work in a pinch, an external microphone will generally provide much better audio quality.
2. Reduce Background Noise: Find a quiet place to record and minimize background noise as much as possible. Close windows, turn off fans, and ask others to keep noise to a minimum.
3. Use Pop Filters: If you’re using an external microphone, consider using a pop filter to reduce plosive sounds (like "p" and "b" sounds) that can cause distortion.
4. Monitor Audio Levels: Keep an eye on your audio levels while recording to ensure they’re not too high (which can cause clipping) or too low (which can make your voice hard to hear).
5. Speak Clearly: Speak clearly and at a consistent volume. If you’re recording a tutorial or presentation, consider scripting your content to ensure clarity and coherence.
Troubleshooting Common Issues
Even with the best preparation, you may encounter some issues when trying to include your voice in a screen recording. Here are some common problems and how to fix them:
1. No Audio Recorded: If your screen recording has no audio, double-check that your microphone is properly connected and selected in your recording software. Also, ensure that the microphone volume is not muted or set too low.
2. Poor Audio Quality: If the audio quality is poor, try using a different microphone or adjusting the microphone settings. Reducing background noise and using a pop filter can also help.
3. Audio Out of Sync: If the audio is out of sync with the video, try restarting your recording software and ensuring that your computer’s performance is not being hindered by other running applications.
Including your voice in a screen recording can greatly enhance the effectiveness of your content, whether you’re creating tutorials, presentations, or gameplay videos. By choosing the right screen recording software, properly setting up your microphone, and following best practices for high-quality audio, you can ensure that your recordings are clear, professional, and engaging. With the tips and techniques outlined in this article, you’ll be well on your way to creating screen recordings that effectively communicate your message and captivate your audience.

