How To Improve Sound Quality Of Recorded Video?
Improving the sound quality of recorded video is a crucial aspect of creating professional and engaging content. Whether you are a vlogger, filmmaker, or simply someone who enjoys making videos, high-quality audio can significantly enhance the viewer's experience. In this article, we will explore various methods and techniques to improve the sound quality of your recorded videos, addressing common issues and providing practical solutions.
Understanding the Importance of Sound Quality
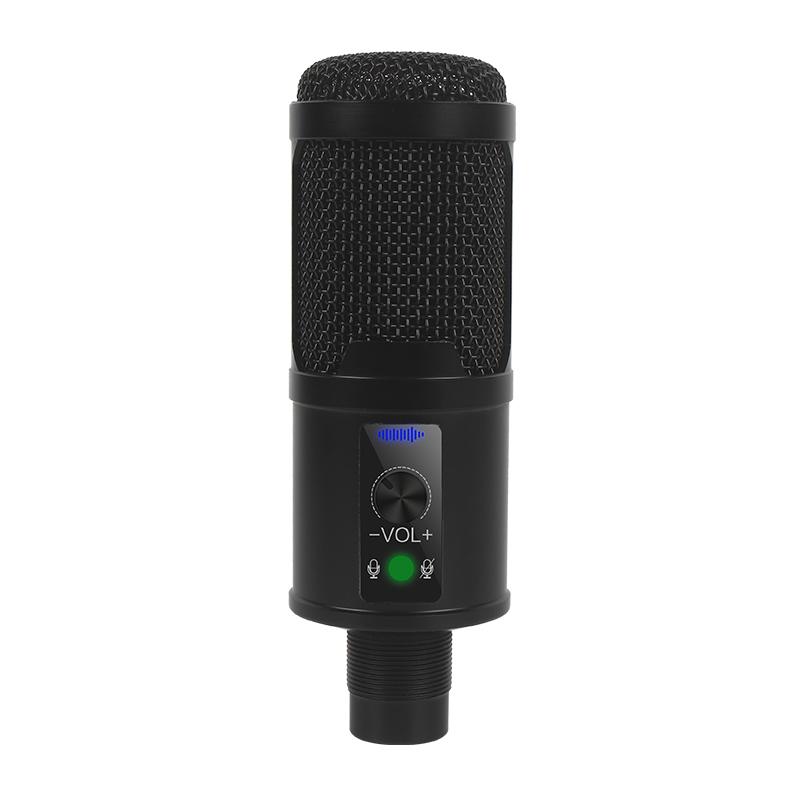
Before diving into the techniques, it's essential to understand why sound quality is so important. Poor audio can distract viewers, making it difficult for them to focus on the content. In contrast, clear and crisp audio can make your videos more enjoyable and professional. Good sound quality can also convey emotions and nuances that visuals alone cannot.
Choosing the Right Microphone
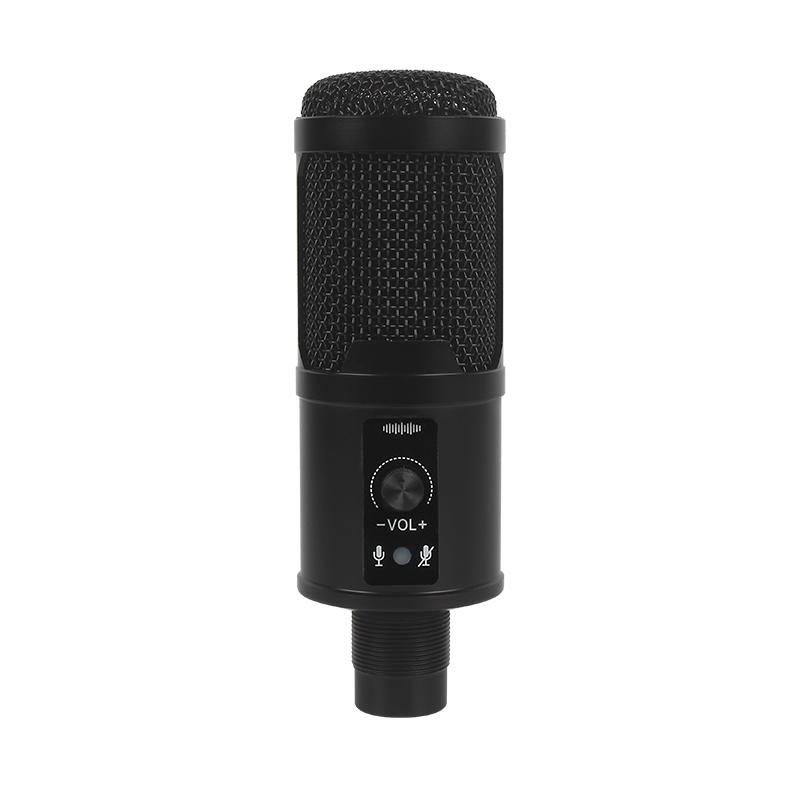
The first step in improving sound quality is selecting the right microphone. The built-in microphones on most cameras and smartphones are not designed for high-quality audio recording. Here are some types of microphones to consider:
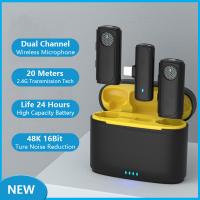
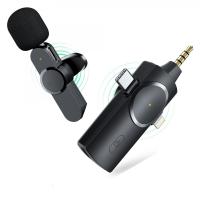
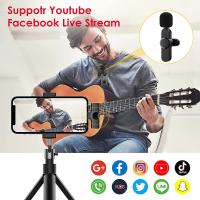
1. Lavalier Microphones: These small, clip-on microphones are ideal for interviews and vlogs. They are discreet and can capture clear audio from the person speaking.
2. Shotgun Microphones: These directional microphones are perfect for capturing sound from a specific direction while minimizing background noise. They are commonly used in filmmaking and outdoor recording.
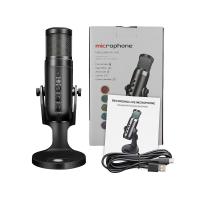
3. Condenser Microphones: These are highly sensitive microphones that can capture a wide range of frequencies. They are suitable for studio recordings and voiceovers.
4. Dynamic Microphones: These are durable and less sensitive to background noise, making them ideal for live performances and noisy environments.
Proper Microphone Placement
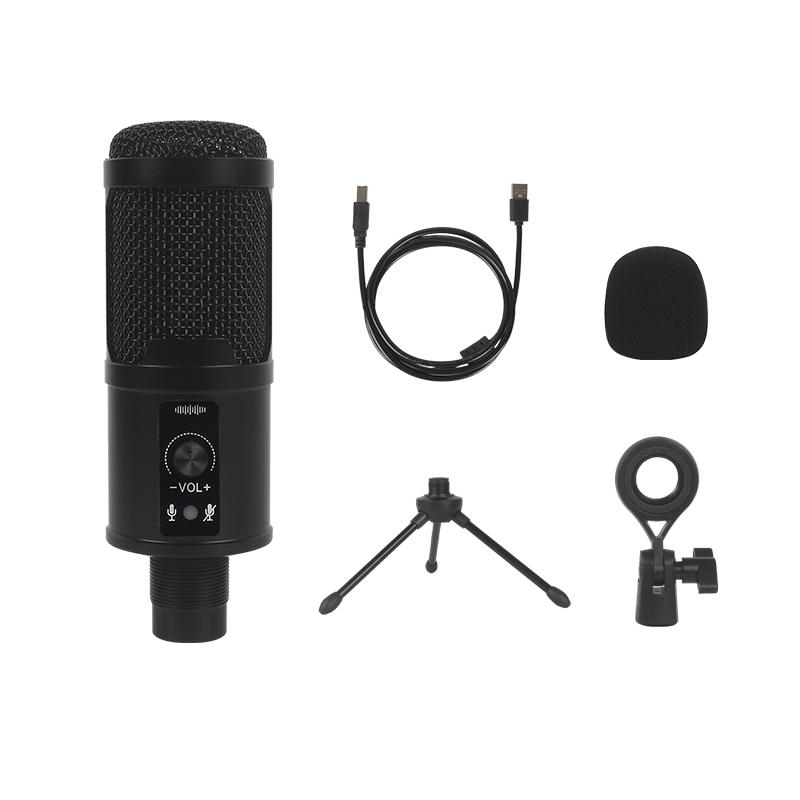
Once you have chosen the right microphone, proper placement is crucial. Here are some tips for optimal microphone placement:
1. Distance: Keep the microphone as close to the sound source as possible without causing distortion. This helps in capturing clear audio and reducing background noise.
2. Angle: Position the microphone at an angle to avoid plosive sounds (like "p" and "b" sounds) that can cause distortion.
3. Isolation: Use a shock mount or isolation mount to reduce vibrations and handling noise.
Using External Audio Recorders
In some cases, using an external audio recorder can significantly improve sound quality. External recorders often have better preamps and more control over audio settings compared to built-in camera microphones. Syncing the audio from an external recorder with your video during post-production can result in superior sound quality.
Reducing Background Noise
Background noise can be a significant issue in video recordings. Here are some strategies to minimize it:
1. Choose a Quiet Location: Whenever possible, record in a quiet environment to reduce unwanted noise.
2. Use Soundproofing Materials: Acoustic panels, foam, and blankets can help absorb sound and reduce echo in a recording space.
3. Wind Protection: If recording outdoors, use a windscreen or deadcat cover on your microphone to reduce wind noise.
4. Noise Reduction Software: In post-production, use noise reduction tools available in audio editing software to clean up background noise.
Monitoring Audio Levels
Monitoring audio levels during recording is essential to ensure consistent sound quality. Use headphones to listen to the audio in real-time and adjust levels as needed. Avoid peaking, which occurs when the audio signal is too strong and causes distortion. Aim for levels that are neither too low nor too high.
Post-Production Techniques
Post-production is where you can fine-tune your audio to achieve the best possible sound quality. Here are some techniques to consider:
1. Equalization (EQ): Use EQ to adjust the balance of different frequency ranges. This can help enhance vocals and reduce unwanted frequencies.
2. Compression: Compression can help even out the dynamic range of your audio, making quiet sounds louder and loud sounds quieter. This results in a more balanced and professional sound.
3. Reverb and Echo: Use reverb and echo effects sparingly to add depth and space to your audio. However, overuse can make the audio sound unnatural.
4. Audio Syncing: If you used an external recorder, ensure that the audio is perfectly synced with the video. Most video editing software has tools to help with this process.
Investing in Quality Equipment
While techniques and software can significantly improve sound quality, investing in high-quality equipment is also essential. Here are some recommendations:
1. Microphones: Invest in a good-quality microphone that suits your recording needs. Brands like Rode, Shure, and Sennheiser offer excellent options.
2. Audio Interfaces: If you are recording in a studio, an audio interface can provide better sound quality and more control over your recordings.
3. Headphones: Use high-quality headphones for monitoring audio during recording and editing. This ensures you can hear all the details and make necessary adjustments.
Practical Tips for Different Scenarios
Different recording scenarios require different approaches to achieve the best sound quality. Here are some practical tips for common situations:
1. Interviews: Use lavalier microphones for each participant and ensure they are positioned correctly. Monitor audio levels to avoid clipping.
2. Outdoor Recording: Use a shotgun microphone with a windscreen to reduce wind noise. Choose a location with minimal background noise.
3. Voiceovers: Use a condenser microphone in a soundproofed room. Apply EQ and compression during post-production to enhance clarity.
4. Live Events: Use dynamic microphones to handle high sound pressure levels. Monitor audio levels continuously to avoid distortion.
Improving the sound quality of recorded video is a multifaceted process that involves choosing the right equipment, proper recording techniques, and effective post-production. By paying attention to these aspects, you can significantly enhance the audio quality of your videos, making them more professional and enjoyable for your audience. Remember, great audio can elevate your content and leave a lasting impression on your viewers.



















There are no comments for this blog.