How To Improve The Quality Of Recorded Voice?
How to Improve the Quality of Recorded Voice: A Comprehensive Guide
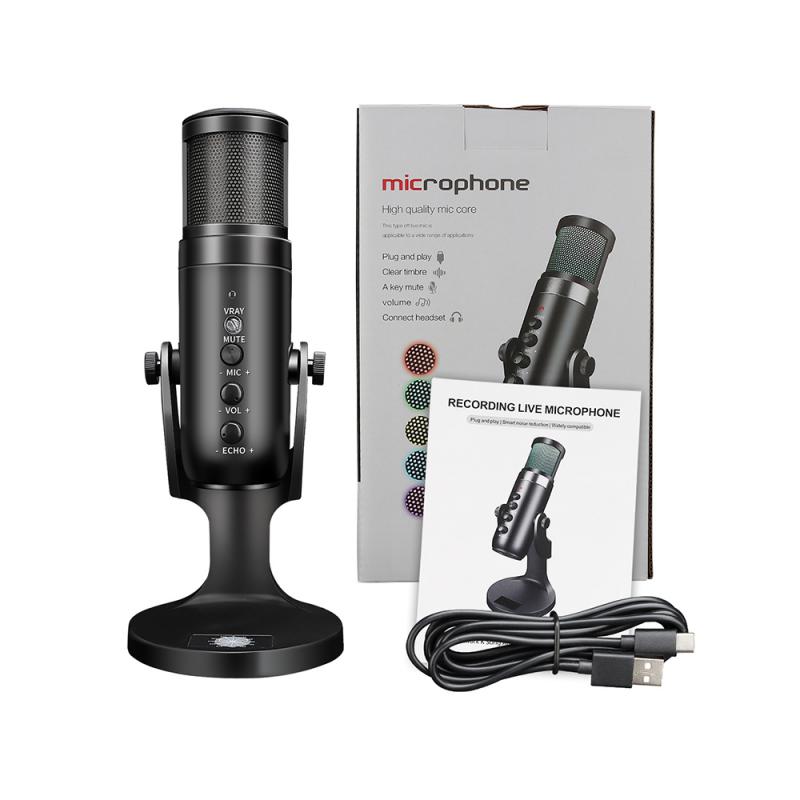
Recording high-quality voice is crucial whether you're a podcaster, content creator, voice-over artist, or just someone who needs to make clear, professional recordings. Poor sound quality can undermine your message, diminish listener engagement, and make your work seem less professional. Fortunately, with the right techniques, tools, and strategies, you can significantly improve the quality of your recorded voice.
In this article, we will cover various aspects of voice recording and sound quality improvement. We'll explore essential equipment choices, environmental factors, software settings, and post-processing techniques to help you achieve the best possible results.
---
1. Choose the Right Microphone
The quality of your microphone has the most direct impact on your recording. While it's tempting to use your computer's built-in microphone or a cheap headset, investing in a high-quality microphone can make a world of difference.
Types of Microphones
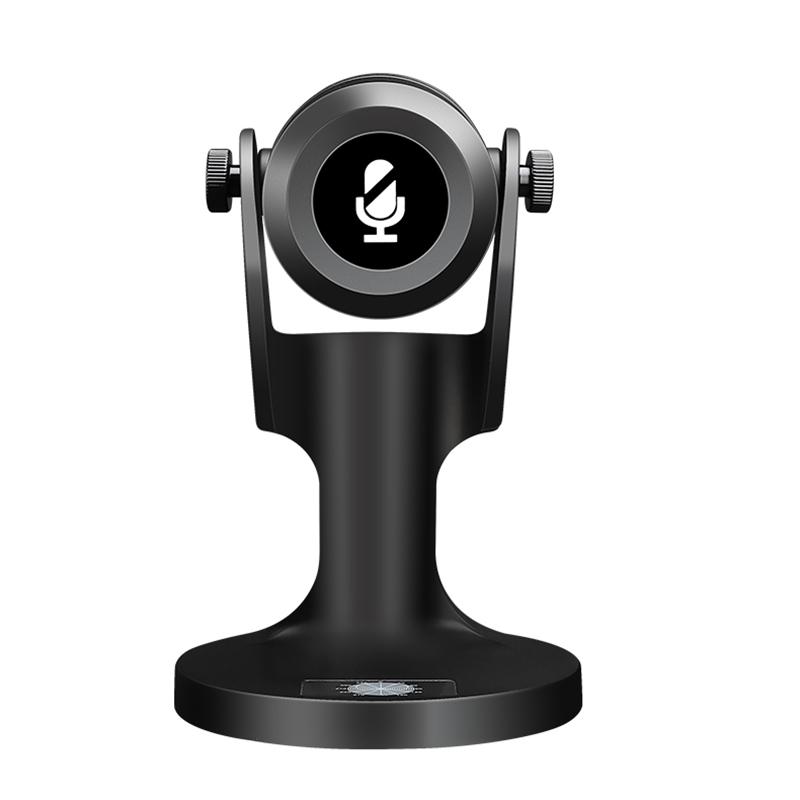
- Dynamic Microphones: These are great for general use and environments where there’s some background noise. Dynamic microphones, such as the Shure SM7B, are robust and less sensitive to room acoustics, which makes them a popular choice for podcasts and broadcasting.
- Condenser Microphones: These microphones are more sensitive and capture a broader frequency range, making them ideal for voice-over work, studio recordings, or singing. They tend to pick up more ambient noise, so they are best used in controlled environments. The Audio-Technica AT2020 is a great example of an affordable condenser microphone.
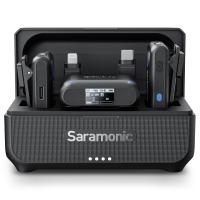
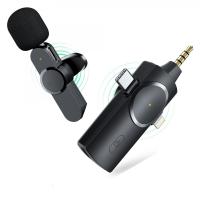
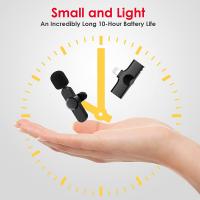
- Lavalier Microphones: Small, clip-on microphones often used in interviews or video shoots. While they don’t deliver the same high-quality sound as condenser microphones, they are still effective in reducing room noise.
Features to Look For:
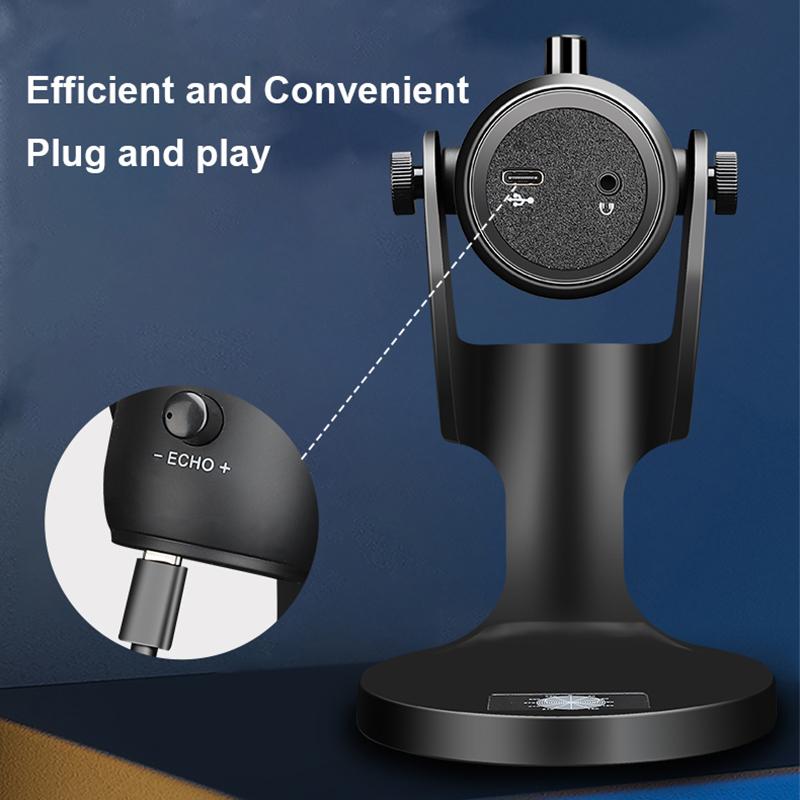
- Cardioid Pickup Pattern: This pattern captures sound primarily from the front of the microphone and rejects noise from the sides and back. This is essential for voice recordings where you want to isolate the speaker’s voice from ambient sounds.
- Frequency Response: A broad frequency response range ensures the microphone captures the full spectrum of your voice. Look for microphones with a response range between 20 Hz and 20 kHz.
- Sensitivity: Higher sensitivity is good for capturing subtle nuances in your voice, but it also means the microphone will pick up more background noise. For most voice recordings, moderate sensitivity is preferable.
---
2. Optimize Your Recording Environment
Even the best microphones won’t perform well in poor acoustic conditions. Reducing background noise, echo, and reverberation is key to achieving high-quality recordings.
Soundproofing and Acoustic Treatment
- Choose a Quiet Room: Find a room with minimal external noise, such as a closet, bedroom, or even a bathroom. Ideally, choose a space with soft furnishings like carpets, curtains, and padded furniture that absorb sound.
- Acoustic Panels: Installing foam panels or diffusers on walls can help reduce echo and reverb, creating a more controlled sound environment. You don’t need to turn your room into a recording studio, but having a few key panels in corners or on the walls will make a noticeable difference.
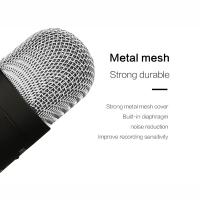
- Pop Filter and Windscreen: A pop filter is a screen placed in front of your microphone that reduces plosive sounds (like "p" and "b") that can cause distortion. A foam windscreen also helps by reducing air turbulence that could lead to unwanted noise.
- Minimize Background Noise: Turn off any appliances, air conditioning, or electronics that might create hums or buzzes in the background. If you can, use a directional microphone that focuses on your voice while rejecting peripheral noise.
---
3. Position Your Microphone Properly
The way you position your microphone can have a significant effect on sound quality. Proper positioning ensures that your voice is captured clearly without distortion or muffling.
Key Positioning Tips:
- Distance: Ideally, you should place the microphone about 6 to 8 inches away from your mouth. Being too close can result in distortion and popping noises, while being too far away can result in weak audio with poor clarity.
- Angle: Place the microphone at an angle that avoids directly capturing your breath. A slight tilt or offset from your mouth can help avoid "wind" sounds.
- Avoid Handling Noise: If you have a microphone with a stand, avoid touching it while speaking. Any vibrations or handling noises can be picked up and ruin the recording quality.
---
4. Use High-Quality Audio Interface or Recorder
The device you use to capture the sound from your microphone is just as important as the microphone itself. An audio interface (for USB microphones) or a field recorder can make a noticeable difference in your recording quality.
- Audio Interface: If you use an XLR microphone, you’ll need an audio interface to convert the microphone’s analog signal into digital data for your computer. The Focusrite Scarlett 2i2 is a popular and affordable option that provides excellent sound quality.
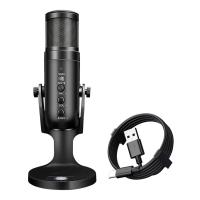
- USB Microphones: If you opt for a USB microphone (such as the Blue Yeti), these microphones come with a built-in sound card, so you don’t need a separate audio interface. While convenient, higher-end audio interfaces provide better sound quality.
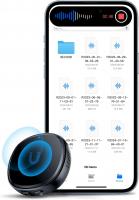
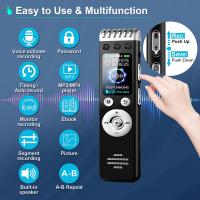
- Field Recorders: If you’re recording outdoors or need portability, field recorders like the Zoom H5 or Tascam DR-40X are excellent choices for capturing clear, high-quality audio in a variety of environments.
---
5. Adjust Recording Settings and Levels
Once you have your equipment set up, it’s important to configure the recording settings on your computer or audio software to optimize sound quality.
Key Settings:
- Input Levels: Set the input level so that the loudest part of your voice doesn’t cause clipping. Clipping occurs when the audio signal is too strong, causing distortion. Aim for a consistent level that stays in the middle of the recording meter, typically around -6 dB to -3 dB.
- Sample Rate and Bit Depth: For the best quality, record at 44.1 kHz (the standard for audio CDs) or higher, with a bit depth of at least 16-bit. Higher sample rates and bit depths capture more detail, which is useful for post-processing and ensuring clarity.
- Gain Control: Use gain to adjust the sensitivity of your microphone. However, avoid boosting the gain too much, as this increases the risk of picking up background noise and distortion.
- Avoid Overuse of Software Filters: While digital filters and noise reduction software can be useful in post-production, it's best to aim for the cleanest possible recording from the start. Excessive filtering can reduce the natural quality of your voice.
---
6. Edit and Post-Process Your Recording
Post-production is a powerful tool for enhancing your recordings. Using software like Audacity (free), Adobe Audition, or Logic Pro X, you can clean up noise, adjust levels, and add effects to make your voice sound polished and professional.
Essential Editing Techniques:
- Noise Reduction: Use noise reduction tools to eliminate background hums, hisses, or electrical noise. In Audacity, for example, you can sample the noise and remove it from the entire recording.
- Equalization (EQ): EQ allows you to adjust the frequency balance of your voice. For a more natural sound, boost the mid-range frequencies (around 1-4 kHz) to enhance clarity and reduce unwanted bass or treble.
- Compression: Compression smooths out the dynamic range of your recording, making softer sounds louder and preventing loud sounds from distorting. Aim for a gentle compression setting with a ratio of 3:1 or 4:1 to avoid an overly processed sound.
- Normalization: After adjusting levels, normalize your recording to ensure that it reaches a consistent volume level without distortion.
- Reverb Removal: If your recording has too much reverb or echo, use a de-reverb plugin to smooth it out.
---
7. Final Checks and Exporting
After editing your recording, it’s important to listen to the entire track from start to finish. Ensure that all the edits sound natural and that there’s no noticeable distortion or unwanted noise.
Exporting:
- File Format: Export your recording in a high-quality audio format like WAV or FLAC for the best sound quality. MP3 is acceptable for most uses but will reduce quality due to compression.
- Bitrate: If you choose MP3, use a high bitrate (at least 192 kbps, though 320 kbps is preferable) to preserve audio quality.
---
Improving the quality of your recorded voice requires a blend of good equipment, a well-prepared recording environment, proper technique, and post-processing skills. From choosing the right microphone to editing your audio for clarity, each step plays a vital role in ensuring your voice sounds its best.
With these strategies, you'll be well-equipped to record professional-quality audio for podcasts, voice-overs, presentations, or any other project that requires clear, crisp, and engaging sound. By focusing on the details—from room acoustics to editing techniques—you can elevate your audio to a whole new level. Whether you're a beginner or an experienced content creator, these improvements will help you stand out and captivate your audience with every word.















There are no comments for this blog.