How To Insert Memory Card In Macbook Pro?
Inserting a memory card into a MacBook Pro can be a straightforward process, but it can also be a bit confusing if you're not familiar with the specific model of your MacBook Pro and the type of memory card you are using. This article will guide you through the steps to successfully insert a memory card into your MacBook Pro, troubleshoot common issues, and provide tips for managing your data effectively.
Understanding Your MacBook Pro Model
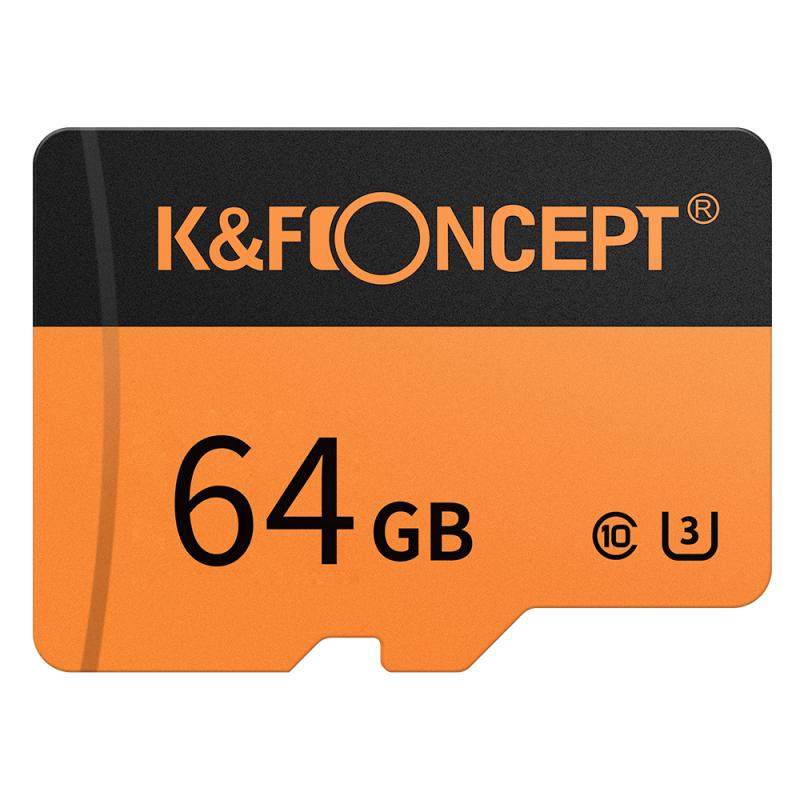
Before you can insert a memory card into your MacBook Pro, it's essential to know which model you have. MacBook Pro models vary in terms of the ports they offer. Older models (pre-2016) typically come with an SD card slot, while newer models (2016 and later) may require an adapter due to the absence of an SD card slot.
1. Identify Your MacBook Pro Model:
- Click on the Apple logo in the top-left corner of your screen.
- Select "About This Mac."
- Note the model and year of your MacBook Pro.
Types of Memory Cards
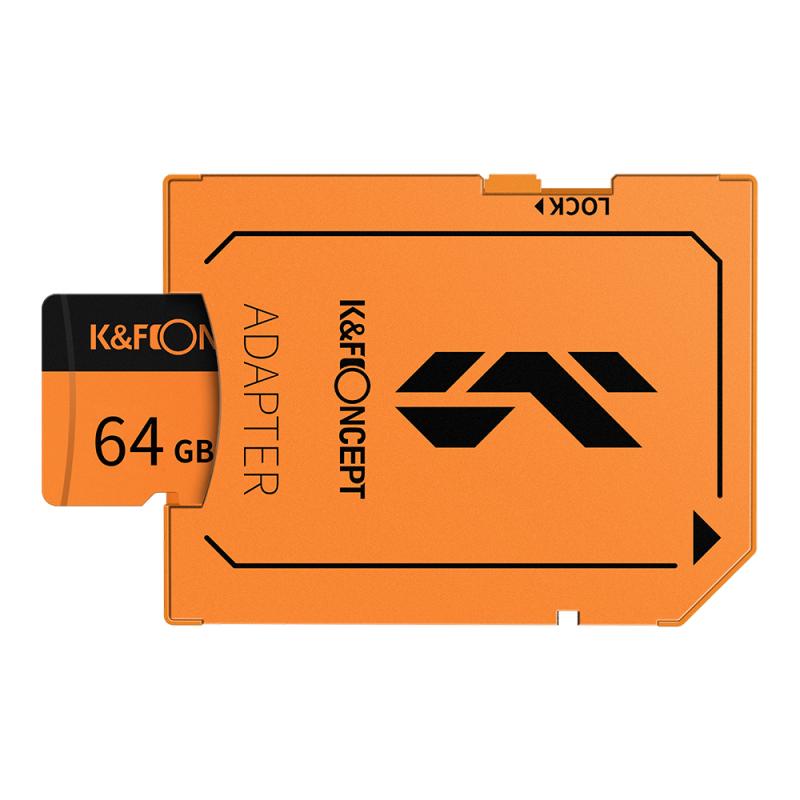
The most common type of memory card used with MacBook Pros is the SD card. However, there are different sizes and types of SD cards, including:
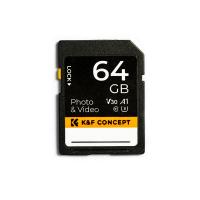
- Standard SD Cards: These are the most common and are used in many cameras and other devices.
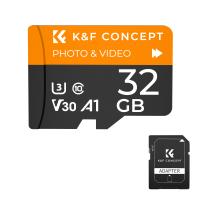
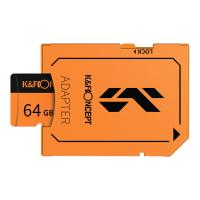
- microSD Cards: These are smaller and often used in smartphones and tablets. They require an adapter to fit into a standard SD card slot.
- miniSD Cards: These are less common and also require an adapter.
Inserting a Memory Card into Older MacBook Pro Models (Pre-2016)
If you have an older MacBook Pro with a built-in SD card slot, follow these steps:
1. Locate the SD Card Slot:
- The SD card slot is typically located on the side of the MacBook Pro.
2. Insert the SD Card:
- Hold the SD card with the label facing up and the metal contacts facing down.
- Gently insert the card into the slot until it clicks into place.
3. Access the SD Card:
- Once inserted, the SD card should appear on your desktop or in the Finder under "Devices."
- You can now access the files on the SD card.
Inserting a Memory Card into Newer MacBook Pro Models (2016 and Later)
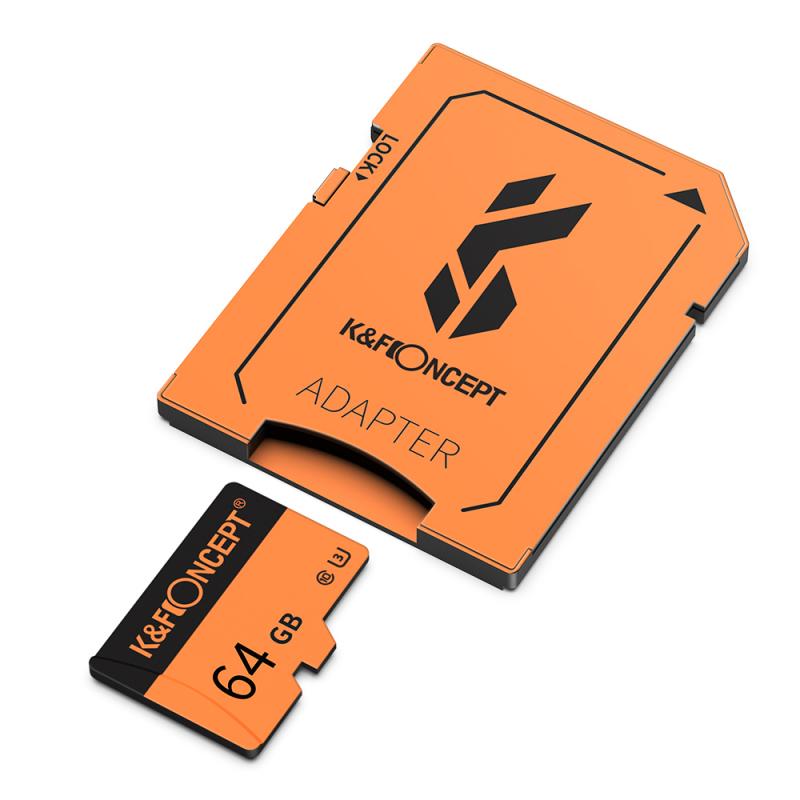
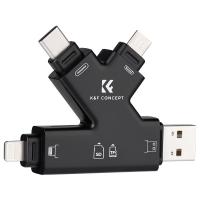
Newer MacBook Pro models do not have a built-in SD card slot, so you will need an adapter. Here’s how to proceed:
1. Purchase an SD Card Adapter:
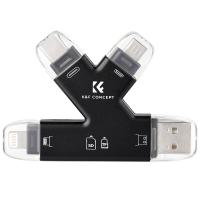
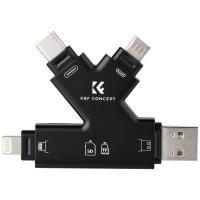
- Look for a USB-C to SD card adapter, as newer MacBook Pros primarily use USB-C ports.
2. Connect the Adapter:
- Plug the adapter into one of the USB-C ports on your MacBook Pro.
3. Insert the SD Card:
- Insert the SD card into the adapter, ensuring the label is facing up and the metal contacts are facing down.
4. Access the SD Card:
- The SD card should appear on your desktop or in the Finder under "Devices."
- You can now access the files on the SD card.
Troubleshooting Common Issues
Sometimes, you may encounter issues when trying to insert or access a memory card. Here are some common problems and solutions:
1. SD Card Not Recognized:
- Ensure the SD card is fully inserted.
- Try a different SD card to rule out a faulty card.
- Restart your MacBook Pro.
- Check for any software updates that might address compatibility issues.
2. Adapter Not Working:
- Ensure the adapter is properly connected to the USB-C port.
- Try a different USB-C port.
- Test the adapter with another device to ensure it’s functioning correctly.
3. File Access Issues:
- Ensure the SD card is not write-protected. Some SD cards have a small switch on the side that can be toggled to enable or disable write protection.
- Check the file system format of the SD card. MacBook Pros typically work best with exFAT or FAT32 formats. You can reformat the card using Disk Utility if necessary (note that reformatting will erase all data on the card).
Tips for Managing Your Data
Once you have successfully inserted and accessed your memory card, here are some tips for managing your data effectively:
1. Organize Your Files:
- Create folders to organize your files by type, date, or project. This will make it easier to find what you need.
2. Backup Important Data:
- Regularly back up important files to an external hard drive or cloud storage service to prevent data loss.
3. Eject the SD Card Properly:
- Always eject the SD card properly before removing it from your MacBook Pro. Right-click on the card icon on your desktop and select "Eject," or drag the icon to the Trash.
4. Keep Your SD Card Clean:
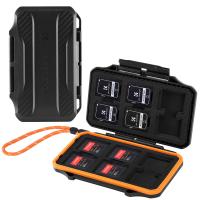
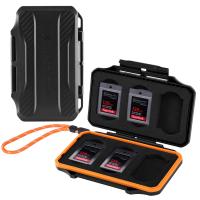
- Store your SD card in a protective case when not in use to prevent damage and keep it free from dust and debris.
Inserting a memory card into a MacBook Pro is a simple process once you know the specifics of your model and the type of memory card you are using. Whether you have an older model with a built-in SD card slot or a newer model that requires an adapter, following the steps outlined in this article will help you access and manage your data efficiently. By troubleshooting common issues and following best practices for data management, you can ensure a smooth and productive experience with your MacBook Pro and memory card.











There are no comments for this blog.