How To Insert Sd Card Into Akaso Camera?
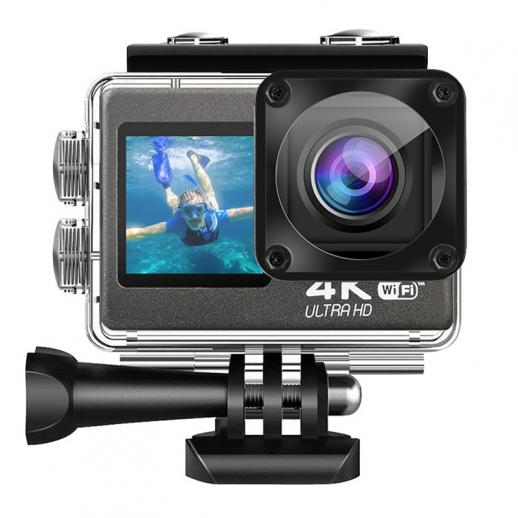
If you’ve just purchased an AKASO action camera, you're probably eager to start capturing high-quality footage right away. Before diving into the action, however, it's essential to ensure you have a properly inserted SD card, as it serves as the storage medium for all your photos and videos. In this article, we’ll walk you through the process of inserting an SD card into an AKASO camera, troubleshooting common issues, and offering tips on managing your storage efficiently.
Step 1: Choose the Right SD Card for Your AKASO Camera
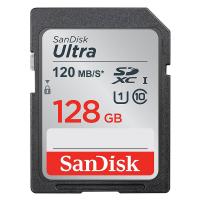
Before we dive into the physical process of inserting an SD card into your AKASO camera, it’s important to make sure you’re using a compatible card. Different AKASO camera models may have different storage capacity limits or recommended specifications, so it's crucial to select the right SD card to avoid issues like corrupted footage or camera malfunctions.
Here are some general guidelines:
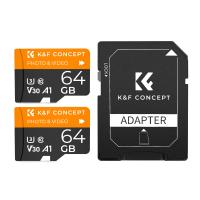
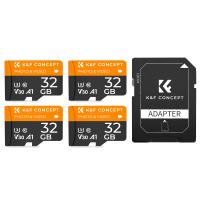
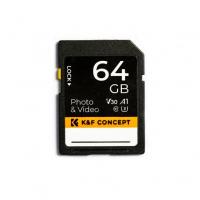
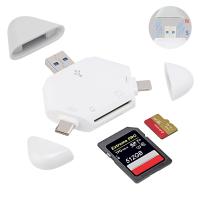
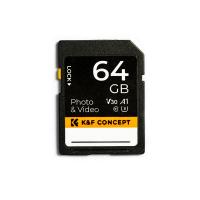
- Type: Most AKASO cameras support microSD cards. Ensure that you’re using a microSDHC or microSDXC card.
- Speed Class: The speed class indicates how fast the card can read and write data. For smooth video recording, especially in high-definition or 4K modes, a Class 10, UHS-I U1, or UHS-I U3 SD card is recommended.
- Capacity: Depending on your camera model, the capacity of the SD card can range from 8GB to 256GB. Higher-capacity cards will allow for longer recording times, but ensure that your specific camera model supports the storage size you’re choosing.
Consult your camera's manual or check the manufacturer's website for detailed compatibility information to avoid issues later on.
Step 2: Power Off the Camera
Before inserting or removing any storage device, it’s crucial to ensure that the camera is powered off. This prevents any potential damage to the SD card or the camera’s internal components. Most AKASO cameras have a power button on the side or front, depending on the model. Simply hold down the button for a few seconds until the camera turns off.
Step 3: Locate the SD Card Slot
Once your AKASO camera is powered off, the next step is to locate the SD card slot. The location of the SD card slot may vary slightly depending on the camera model, but in most AKASO cameras, it is typically found on the side or under a flap near the battery compartment.
Here’s how you can generally locate the SD card slot:
- Open the Battery Compartment: If the SD card slot is inside the battery compartment, open the compartment door. Some AKASO cameras have a simple sliding door, while others might require you to unclip a latch.
- Side Slot: If your camera has a side slot, look for a small, rectangular opening with a symbol or label next to it to indicate where the SD card should go.
In some models, there may be a separate compartment for the battery and the SD card, while others may have a combined slot. Always refer to your camera’s manual for precise instructions on your specific model.
Step 4: Insert the SD Card
Now that you’ve found the SD card slot, it’s time to insert the card. Follow these instructions carefully:
- Orientation: The SD card has a specific orientation. You should insert it with the metal contacts facing the back of the camera or towards the lens (depending on the model). If the card isn’t going in easily, it may be in the wrong orientation.
- Push the SD Card In: Gently insert the SD card into the slot. Most AKASO cameras use a spring-loaded mechanism that will click into place once the card is fully inserted. You should feel some resistance as the card slides in.
- Check for Secure Insertion: Ensure that the SD card is seated properly and doesn’t stick out from the slot. If it’s not fully inserted, it may not be recognized by the camera.
Step 5: Power On the Camera and Format the SD Card
Once the SD card is properly inserted, it’s time to power on the camera. Hold down the power button to turn the camera back on. If this is the first time you’re using the SD card with your AKASO camera, you’ll likely need to format the card.
Formatting the SD card ensures that it’s set up for use with the camera, and helps avoid issues with file system compatibility. Follow the on-screen prompts or navigate to the camera’s settings menu to format the card. This process will erase any existing data on the card, so make sure to back up any important files beforehand.
Step 6: Verify the SD Card is Working
After formatting, it’s a good idea to check that the SD card is functioning properly. You can do this by checking the available storage space through the camera’s menu. Most AKASO cameras display the total storage available and the remaining capacity on the screen. If the camera recognizes the card and shows the available storage correctly, it means the SD card is inserted and functioning properly.
In some cases, the camera might display an error message indicating issues with the card. Common issues can include:
- Incompatible SD Card: If the SD card is not supported by your camera, it won’t be recognized.
- Corrupted Files: If the SD card was previously used in another device, it may have corrupted data that needs to be cleared.
If you face any issues with SD card recognition, try removing the card, re-inserting it, or using a different SD card to see if the problem persists.
Troubleshooting Common Issues
Here are some common problems users face when inserting an SD card into an AKASO camera, along with some troubleshooting tips:
1. Camera Not Recognizing the SD Card:
- Ensure the SD card is properly formatted.
- Try using a different SD card if the current one is not being recognized.
- Check that the SD card is inserted correctly.
- Make sure the SD card is compatible with your camera.
2. Insufficient Storage Space:
- If you find that the camera is showing low storage despite having a large-capacity card, check if there are any hidden files or settings preventing new recordings.
- Consider deleting unnecessary files from the card to free up space or use a card with higher capacity.
3. Error Messages:
- If you receive error messages like “Card Error” or “Format Card,” try formatting the card using the camera settings.
- If the card still doesn’t work, try reformatting it using a computer and a card reader, then reinsert it into the camera.
4. Slow Video Recording:
- Slow or interrupted video recording could indicate that the SD card’s write speed is not fast enough for high-definition video. Use a higher-class SD card (e.g., UHS-I U3) for recording in 4K or high-frame-rate modes.
Additional Tips for Managing SD Card Storage
To get the most out of your SD card and avoid running into storage issues, here are a few tips:
- Regular Backups: Regularly back up your footage to your computer or cloud storage. This helps free up space on your SD card for new recordings and prevents data loss.
- Delete Unnecessary Files: If you have files that you no longer need, delete them directly from the camera to keep the SD card from getting full.
- Use Multiple SD Cards: If you’re planning on recording long video sessions or extended adventures, consider carrying multiple SD cards with you. Switching cards as you fill them up will ensure you never run out of storage space.
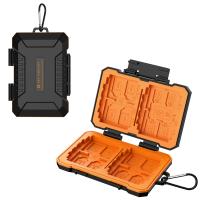
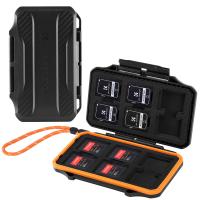
- Keep the Card Clean: Dust, dirt, or moisture can affect the SD card’s performance. Keep the card’s contacts clean and store it in a protective case when not in use.
Inserting an SD card into an AKASO camera is a straightforward process, but selecting the right card, ensuring proper insertion, and managing your storage effectively can make a big difference in the quality and reliability of your footage. By following the steps outlined above, you can quickly get your camera up and running, ensuring you're ready to capture stunning photos and videos during your next adventure.
Remember to always use high-quality, compatible SD cards, keep your storage organized, and back up your footage regularly to prevent data loss. With these tips, you’ll be able to maximize your AKASO camera’s performance and enjoy a seamless experience capturing memories that last a lifetime.


