How To Install A Wireless Security Camera?
Installing a wireless security camera system can significantly enhance the safety and security of your home or business. This article is structured to help you understand the step-by-step process, address common queries, and ensure a successful installation.
Understanding Wireless Security Cameras
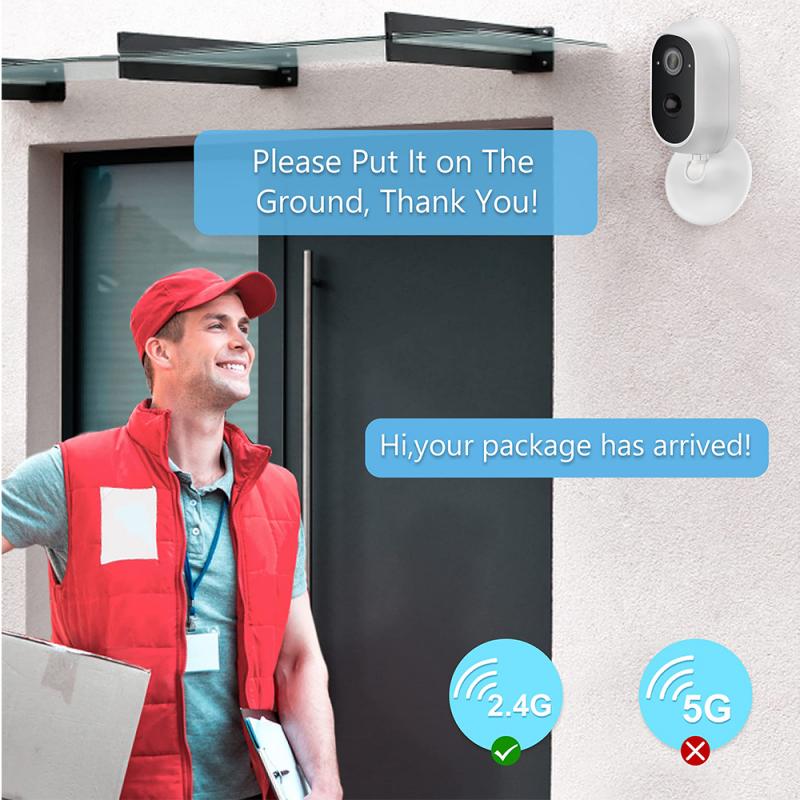
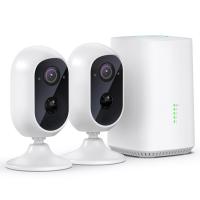
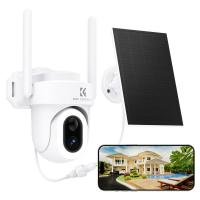
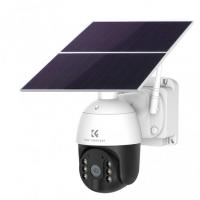
Before diving into the installation steps, let's clarify what a wireless security camera is. These cameras connect to Wi-Fi, allowing you to monitor your home or office remotely through a smartphone or computer. They don't require extensive wiring for data transmission, making them easier and less intrusive to install compared to their wired counterparts.
Essential Equipment and Preparations

To begin the installation, you'll need the following items:
1. Wireless Security Camera
2. Wi-Fi Network
3. Smartphone or Computer
4. Power Source
5. Mounting Tools (screws, anchors, drill, screwdriver)
6. User Manual
Step-by-Step Installation Guide
1. Choose the Right Location
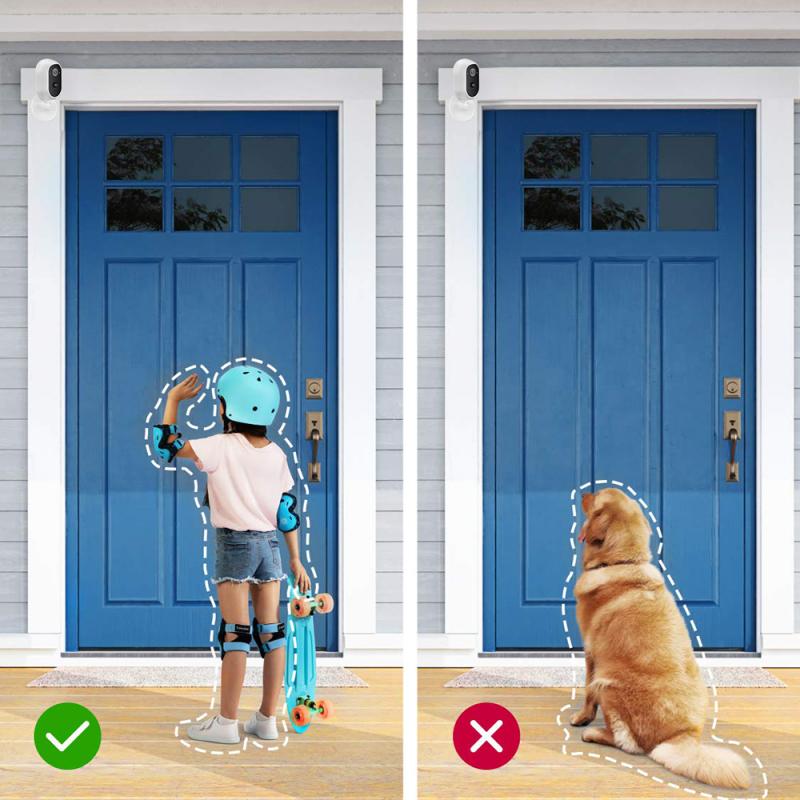
The first step is to determine where you want to install the camera. Consider the following factors:
- Field of View: Ensure the camera covers all necessary areas, avoiding blind spots.
- Height: Position the camera high enough to be out of reach but still able to capture clear images.
- Weather Conditions: For outdoor cameras, make sure they are weatherproof and can endure environmental conditions.
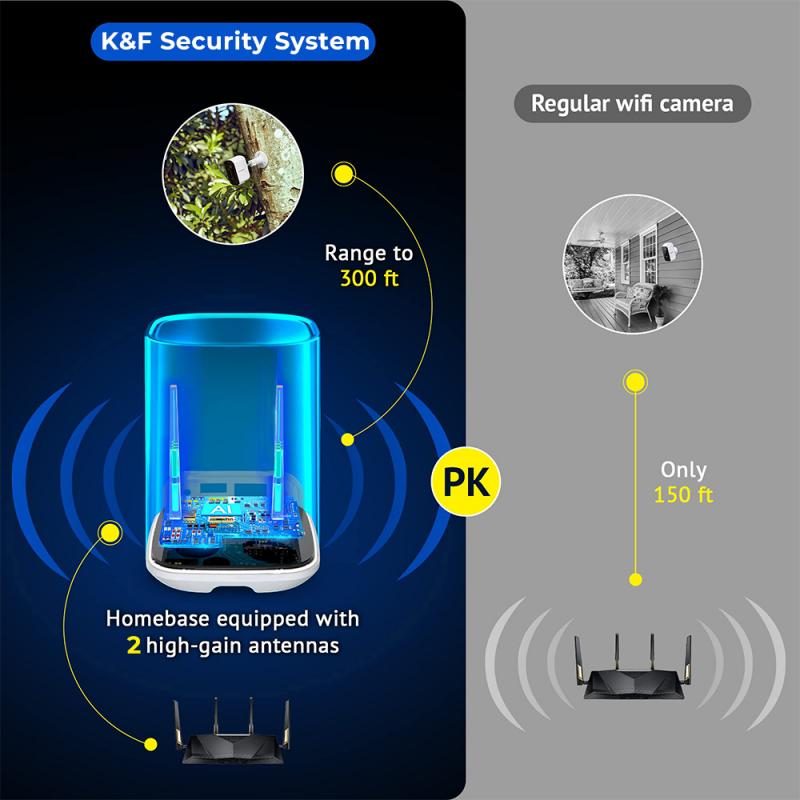
Choosing a location close to a power source is also crucial unless the camera is battery-operated. Keep in mind the effective range of your Wi-Fi network to ensure a stable connection.
2. Set Up the Camera
Unbox the camera and read through the user manual. This will provide specific instructions and settings pertinent to your model. Generally, the process is as follows:
- Power Up: Connect the camera to a power source.
- Download the App: Most wireless security cameras come with a companion app. Download it on your smartphone or computer.
- Create an Account: Register and create an account within the app. This step will allow you to access the camera remotely.
3. Connect to Wi-Fi
Follow the prompts in the app to connect your camera to your Wi-Fi network. For most models:
- Ensure your Wi-Fi network is up and running.
- Use the app to select the network and enter the password.
- Wait for the camera to establish a connection. This may take a few minutes.
4. Configure Camera Settings
Once the camera is connected, configure the settings within the app:
- Resolution: Adjust the video quality to your preference.
- Motion Detection: Enable motion detection and customize the sensitivity.
- Notifications: Set up alerts for specific events such as motion detection or sound.
- Storage: Decide where the video footage will be stored—locally on an SD card or in the cloud.
5. Mount the Camera
Now that your camera is configured, you can mount it in the pre-selected location. Follow these steps:
- Mark Holes: Use a pencil to mark where the screws will go.
- Drill Holes: Drill holes at the marked points.
- Insert Anchors: Insert wall anchors if mounting on drywall or a similar surface.
- Attach Mount: Screw the mounting bracket to the wall.
- Secure Camera: Attach the camera to the mounted bracket.
Ensure the camera is securely fastened and angles correctly to cover your desired field of view.
6. Test the Camera
Once everything is set up, test the camera:
- Live View: Open the app and check the live feed.
- Motion Detection: Test the motion detection settings by moving in front of the camera.
- Notifications: Ensure you receive alerts on your phone.
Common Troubleshooting Tips
- Weak Wi-Fi Signal: If the Wi-Fi signal is weak, consider installing a Wi-Fi extender.
- No Picture: Ensure that the camera is powered and connected to the network.
- Delayed Notifications: Check the app settings and Wi-Fi connectivity.
- Blurry Video: Adjust the focus manually (if possible) or clean the camera lens.
Benefits of Wireless Security Cameras
Ease of Installation
Wireless cameras eliminate the need for extensive wiring, simplifying the installation process. This is particularly beneficial for rented properties where structural modifications may not be allowed.
Remote Monitoring
With wireless security cameras, you can monitor your property from anywhere in the world. This is particularly valuable for frequent travelers or those with multiple properties.
Scalability
Expand your security system easily by adding more wireless cameras. This flexibility can be useful as your security needs evolve.
Final Recommendations
When choosing a wireless security camera, consider factors such as video quality, the field of view, night vision capabilities, and price. Review customer feedback and expert reviews to make an informed choice.
Additionally, it’s essential to periodically update the camera firmware to ensure you benefit from the latest security features and patches. Regular maintenance, like cleaning the lenses and ensuring the cameras remain securely mounted, can also prolong their lifespan.
Installing a wireless security camera system is a practical, effective way to enhance the security of your home or business. By following the steps outlined in this article, you can ensure a smooth installation process and enjoy the peace of mind that comes with knowing your property is well-protected. Remember, choosing the right location and settings for your camera is just as important as the installation itself. Happy monitoring!














There are no comments for this blog.