How To Install Baby Monitor On Wall?
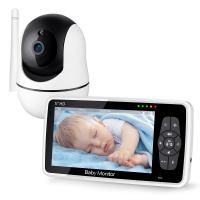
Installing a baby monitor on the wall can be a practical solution for ensuring your child's safety while keeping your home organized and clutter-free. This guide will walk you through the process, providing detailed steps and tips to help you achieve a secure and effective installation. Whether you're a first-time parent or looking to upgrade your current setup, this article will cover everything you need to know.
Why Wall-Mounting a Baby Monitor is Beneficial
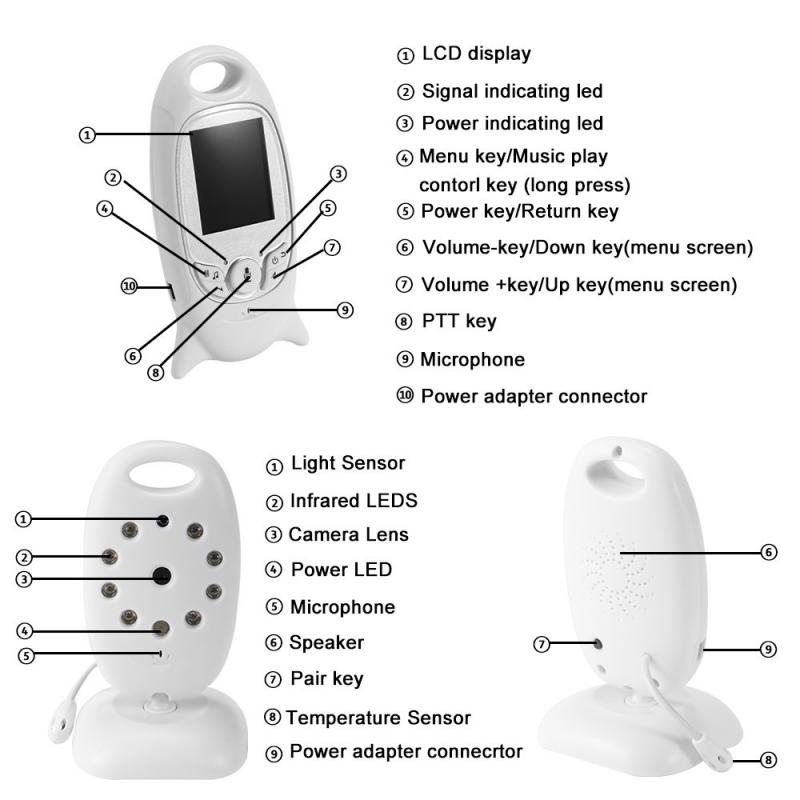
Before diving into the installation process, it's important to understand why wall-mounting a baby monitor can be advantageous:
1. Optimal Viewing Angle: Wall-mounting allows you to position the camera at an ideal angle to capture the entire crib or room.
2. Safety: Keeping the monitor out of reach of your baby reduces the risk of accidental damage or injury.
3. Aesthetics: A wall-mounted monitor can help keep your nursery tidy and free from unnecessary wires and devices.
Tools and Materials Needed

To install a baby monitor on the wall, you will need the following tools and materials:
- Baby monitor with wall-mounting capability
- Mounting bracket (usually included with the monitor)
- Screws and wall anchors (typically provided)
- Screwdriver or drill
- Level
- Pencil
- Measuring tape
- Stud finder (optional but recommended)
Step-by-Step Installation Guide
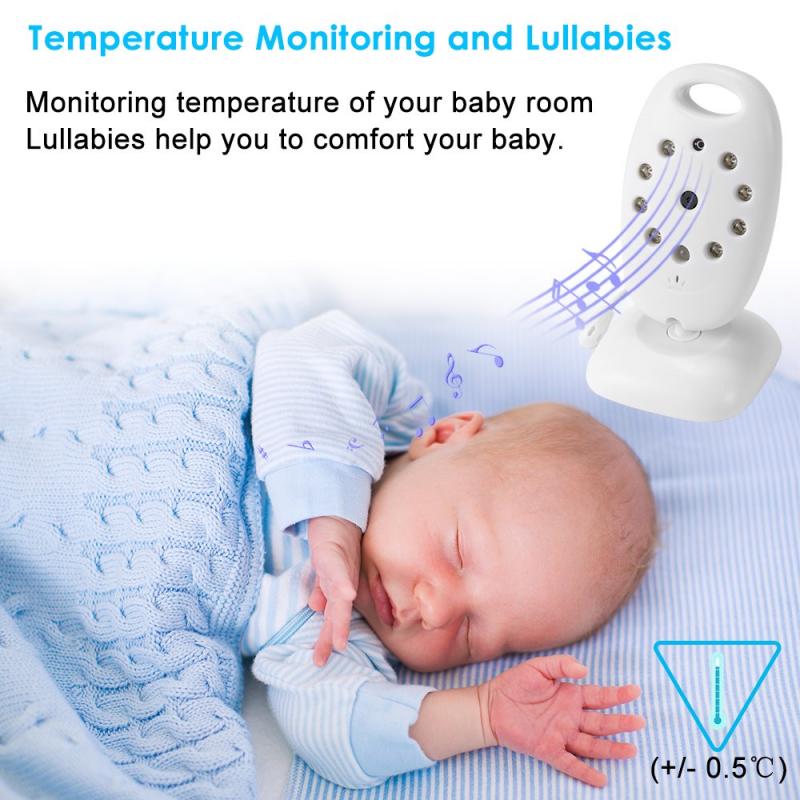
Step 1: Choose the Right Location
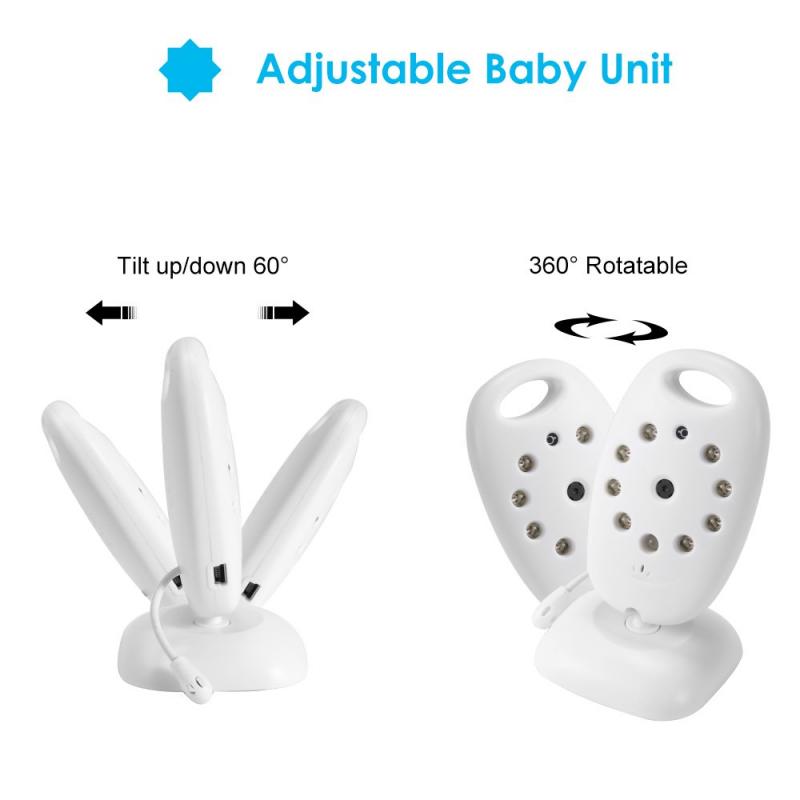
Selecting the right location for your baby monitor is crucial. Consider the following factors:
- View: Ensure the camera has a clear, unobstructed view of the crib or play area.
- Height: Mount the camera high enough to avoid tampering by your baby but low enough to capture a clear image.
- Power Source: Ensure the monitor can be plugged into a nearby power outlet without creating a tripping hazard.
Step 2: Mark the Mounting Spot
Once you've chosen the location, use a pencil to mark the exact spot where you will install the mounting bracket. Use a level to ensure the marks are straight.
Step 3: Drill Holes for the Mounting Bracket
If your wall is made of drywall, use a stud finder to locate the studs. Mounting the bracket into a stud will provide extra stability. If you can't find a stud, use wall anchors to ensure the bracket is securely attached.
- Drill Holes: Use a drill to create holes at the marked spots. If using wall anchors, insert them into the holes after drilling.
- Attach the Bracket: Align the mounting bracket with the drilled holes and use screws to secure it to the wall.
Step 4: Attach the Baby Monitor
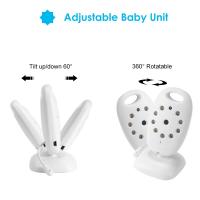
Once the bracket is securely attached, follow the manufacturer's instructions to mount the baby monitor onto the bracket. Ensure it is firmly in place and adjust the angle as needed.
Step 5: Manage Cables
To keep the installation neat and safe, use cable clips or a cable management system to secure any loose wires. This will prevent them from becoming a tripping hazard or being pulled by your baby.
Step 6: Test the Monitor
After installation, turn on the baby monitor and check the video feed to ensure it provides a clear view of the desired area. Make any necessary adjustments to the camera angle or position.
Tips for a Successful Installation
- Read the Manual: Always refer to the manufacturer's instructions for specific details about your baby monitor model.
- Safety First: Ensure all screws and brackets are securely fastened to prevent the monitor from falling.
- Regular Checks: Periodically check the monitor and mounting bracket to ensure they remain secure and functional.
Troubleshooting Common Issues
Even with careful planning, you may encounter some issues during or after installation. Here are some common problems and solutions:
- Poor Signal: If the monitor's signal is weak, try repositioning the camera or receiver. Avoid placing them near other electronic devices that may cause interference.
- Unstable Mount: If the bracket feels loose, double-check that the screws are tight and properly anchored. If necessary, use larger wall anchors for added stability.
- Obstructed View: Ensure there are no objects blocking the camera's view. Adjust the angle or height if needed.
Installing a baby monitor on the wall is a straightforward process that can greatly enhance the safety and convenience of your nursery. By following the steps outlined in this guide, you can achieve a secure and effective installation that provides peace of mind. Remember to regularly check the monitor and its mounting to ensure it continues to function properly. With the right tools and a bit of effort, you can create a safe and organized environment for your baby.













There are no comments for this blog.