How To Install Outdoor Web Camera?
Installing an outdoor web camera can be a valuable addition to your home security system, providing you with real-time surveillance and peace of mind. Whether you want to monitor your property, keep an eye on wildlife, or simply stay connected with what's happening outside your home, an outdoor web camera can be a versatile tool. In this article, we will guide you through the process of installing an outdoor web camera, covering everything from selecting the right camera to setting it up and ensuring it functions optimally.
Selecting the Right Outdoor Web Camera
Before diving into the installation process, it's crucial to choose the right outdoor web camera that meets your specific needs. Here are some factors to consider:
1. Weather Resistance: Ensure the camera is designed for outdoor use and can withstand various weather conditions, such as rain, snow, and extreme temperatures.
2. Resolution: Higher resolution cameras provide clearer images. Look for cameras with at least 1080p resolution for detailed video quality.
3. Night Vision: If you need to monitor your property at night, opt for a camera with infrared (IR) night vision capabilities.
4. Field of View: Consider the camera's field of view (FOV). A wider FOV allows you to cover more area with a single camera.
5. Connectivity: Decide whether you want a wired or wireless camera. Wireless cameras are easier to install but may require a strong Wi-Fi signal.
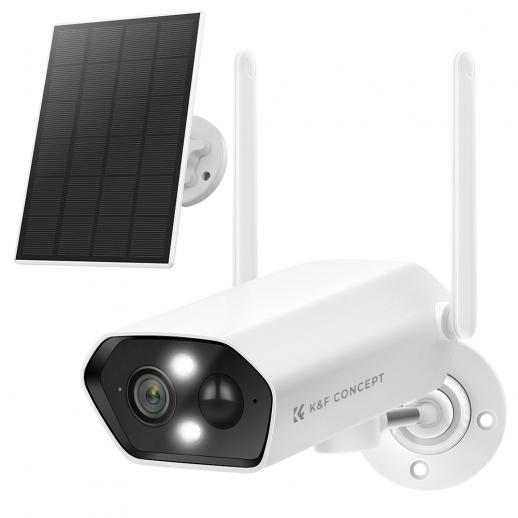
6. Power Source: Determine if the camera is battery-powered, solar-powered, or requires a direct power source. Each option has its pros and cons.
7. Storage Options: Check if the camera offers cloud storage, local storage (e.g., SD card), or both. Cloud storage often comes with a subscription fee.
Tools and Materials Needed
Once you've selected the right camera, gather the necessary tools and materials for installation:
- Outdoor web camera
- Mounting brackets and screws (usually included with the camera)
- Power drill and drill bits
- Screwdriver
- Ethernet cable (for wired cameras)
- Wi-Fi extender (if needed for wireless cameras)
- Ladder (if mounting the camera at a height)
- Weatherproof cable covers (for wired cameras)
- Smartphone or computer for camera setup
Step-by-Step Installation Guide
1. Choose the Installation Location
Select a strategic location for your camera that provides a clear view of the area you want to monitor. Common locations include above entryways, garages, and backyards. Ensure the camera is mounted at a height that prevents tampering but still captures the desired field of view.
2. Mount the Camera
- Mark the Mounting Points: Use the camera's mounting bracket to mark the screw holes on the wall or surface where you want to install the camera.
- Drill Holes: Use a power drill to create holes at the marked points. If you're mounting the camera on a brick or concrete surface, use appropriate drill bits.
- Attach the Bracket: Secure the mounting bracket to the wall using screws. Ensure it is firmly attached and level.
- Mount the Camera: Attach the camera to the bracket according to the manufacturer's instructions. Adjust the camera angle to cover the desired area.
3. Connect the Camera
- Wired Cameras: If you're using a wired camera, run the Ethernet cable from the camera to your router or network switch. Use weatherproof cable covers to protect the cable from the elements.
- Wireless Cameras: For wireless cameras, ensure they are within range of your Wi-Fi network. You may need a Wi-Fi extender if the signal is weak.
4. Power the Camera
- Direct Power Source: If the camera requires a direct power source, plug it into an outdoor power outlet. Use weatherproof covers to protect the connection.
- Battery-Powered: For battery-powered cameras, insert the batteries and ensure they are fully charged.
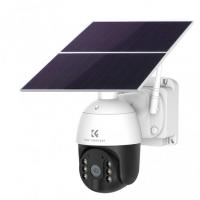
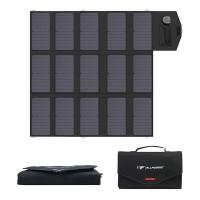
- Solar-Powered: Position the solar panel in a location that receives ample sunlight and connect it to the camera.
5. Configure the Camera
- Download the App: Most outdoor web cameras come with a companion app. Download the app on your smartphone or computer.
- Create an Account: Sign up for an account if required and follow the app's instructions to add your camera.
- Connect to Wi-Fi: For wireless cameras, connect the camera to your Wi-Fi network through the app.
- Adjust Settings: Configure the camera settings, such as motion detection sensitivity, recording schedules, and notification preferences.
6. Test the Camera
Once the camera is installed and configured, test it to ensure it functions correctly:
- Live View: Check the live view on the app to ensure the camera captures the desired area.
- Motion Detection: Test the motion detection feature by walking in front of the camera. Ensure you receive notifications if enabled.
- Night Vision: Test the night vision capabilities by viewing the camera feed in low-light conditions.
Maintenance and Troubleshooting
To keep your outdoor web camera functioning optimally, perform regular maintenance and address any issues promptly:
- Clean the Lens: Periodically clean the camera lens to ensure clear video quality. Use a soft cloth and avoid abrasive materials.
- Check Connections: Inspect the power and network connections to ensure they are secure and protected from the elements.
- Update Firmware: Keep the camera's firmware up to date to benefit from the latest features and security enhancements.
- Monitor Battery Levels: For battery-powered cameras, regularly check the battery levels and recharge or replace them as needed.
Installing an outdoor web camera can significantly enhance your home security and provide valuable insights into your property's surroundings. By carefully selecting the right camera, following the installation steps, and performing regular maintenance, you can ensure your camera operates effectively and reliably. Whether you're a tech enthusiast or a homeowner looking to boost security, this guide provides the essential knowledge to successfully install and manage an outdoor web camera.

