How To Install Sd Card On Nintendo Switch?
Installing an SD card on your Nintendo Switch is a necessary step to expand the console's storage, allowing more room for game downloads, screenshots, and other data. The growing library of games and updates available means that an increasing number of users find themselves requiring additional storage space. Luckily, the process of installing an SD card is straightforward and can be accomplished in a few simple steps. This article provides a step-by-step guide designed to be accessible to both new and veteran Nintendo Switch users, ensuring that you have the maximum storage possible for your gaming needs.
Introduction to SD Cards for Nintendo Switch

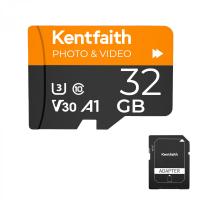
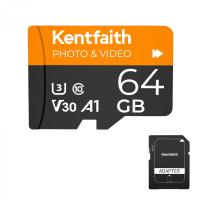
The Nintendo Switch is compatible with microSD, microSDHC, and microSDXC cards. The main difference between these cards lies in their storage capacities:
- MicroSD: Up to 2GB
- MicroSDHC: 4GB to 32GB
- MicroSDXC: 64GB and above
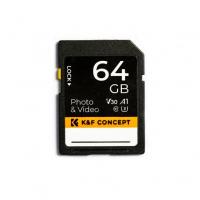
Before you begin the installation process, make sure that you have chosen a microSDXC card from a reputable brand with sufficient storage capacity to meet your gaming needs. This will provide the most value and longevity for your investment.
Step-by-Step Guide to Installing an SD Card on a Nintendo Switch

Step 1: Power Off the Nintendo Switch

Always ensure that you power off your Nintendo Switch entirely before installing the SD card. This prevents any potential data corruption or system issues. To do this, hold down the power button (located on the top-left side of the console) for a few seconds until the power options menu appears. Select “Power Options,” then choose “Turn Off.”
Step 2: Locate the SD Card Slot
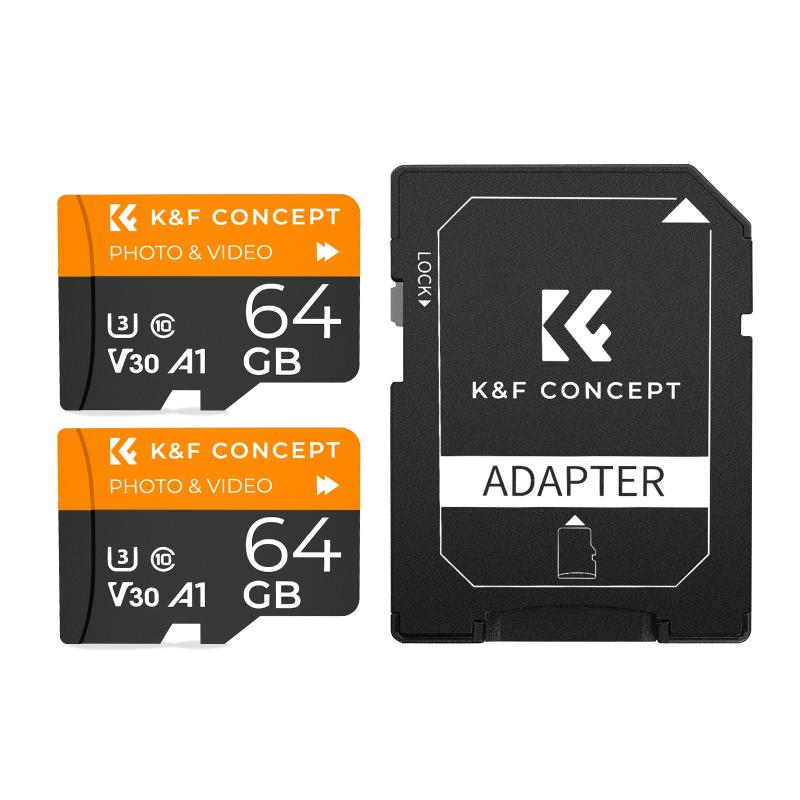
The SD card slot on the Nintendo Switch is somewhat hidden for aesthetic and packaging reasons. It is located underneath the kickstand at the back of the console. Place the console on a soft surface to avoid any damage, gently open the kickstand, and you’ll see the SD card slot.
Step 3: Insert the SD Card
Take your microSD card and ensure it is facing the right direction—gold contacts should be facing downwards, and the label side should face upwards. Insert the SD card into the slot until you hear or feel a slight click, indicating that it is securely in place. Be careful not to apply too much pressure as this could damage the delicate components.
Step 4: Power On the Nintendo Switch
Once the SD card is securely in place, power on your Nintendo Switch by holding the power button until the Nintendo logo appears. The system will automatically recognize the new SD card. In most cases, the device will display a notification confirming that the SD card is now in use.
Step 5: Format the SD Card (If Necessary)
Sometimes, the SD card may require formatting before it can be used. If your Switch prompts you to format the card, follow the on-screen instructions to do so. Note that formatting will erase all data on the SD card, so ensure there’s nothing important on the card before proceeding.
To manually format the SD card, navigate to:
1. System Settings (the gear icon on the Home menu)
2. Scroll down to “System”
3. Select “Formatting Options”
4. Choose “Format microSD Card”
Step 6: Confirm the SD Card’s Functionality
After installing the SD card and formatting it if necessary, you can confirm that the Nintendo Switch recognizes the new storage space. To do this:
1. Go to System Settings
2. Scroll down to “Data Management”
3. Select “Manage Software”
Here, you’ll see the available storage space on both the internal memory and the SD card. If you see an increase in your available storage, the SD card is working correctly.
Managing Your Data
Once the SD card is installed, you will likely want to move existing data to utilize the additional space effectively. Nintendo Switch does not provide an in-system method to transfer data between the console's internal memory and the SD card, so this will need to be done manually using a computer:
1. Power off the Nintendo Switch and remove the SD card
2. Use an SD card reader to access the SD card on your computer
3. Copy the Nintendo folder to your computer
4. Insert the new, larger SD card into the reader
5. Transfer the Nintendo folder onto the new SD card
Re-insert the new SD card into your Nintendo Switch and power it on, and it should recognize the data without any issues.
Choosing the Right SD Card
When selecting an SD card for your Nintendo Switch, consider the following factors:
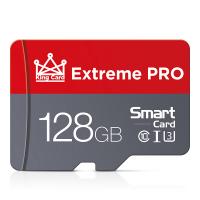
- Capacity: Choose a card with a storage amount appropriate to your gaming habits. A minimum of 128GB is advisable for moderate gamers, while heavy gamers may want 256GB or more.
- Speed: For optimal performance, select a card with a high-speed rating, such as UHS-I (Ultra High Speed). This will ensure faster read/write speeds, reducing loading times and increasing overall game performance.
- Brand Reliability: Stick to well-known brands like SanDisk, Samsung, or Kingston, which offer durable and high-performing SD cards.
Troubleshooting
If your Nintendo Switch does not recognize the SD card:
1. Ensure that the card is inserted correctly.
2. Confirm that the card is not damaged by testing it in another device.
3. Check for any updates to your Nintendo Switch system software that may improve compatibility with newer SD card models.
Expanding your Nintendo Switch storage by installing a microSD card is a simple yet impactful way to enhance your gaming experience. Following the steps outlined in this guide will ensure smooth installation and efficient use of your new storage space. Enjoy the freedom of downloading more games, taking screenshots, and saving exciting game moments without worrying about storage limitations. With the right SD card, your Nintendo Switch experience can be as expansive and enjoyable as you want it to be.















There are no comments for this blog.