How To Install Security Camera System?
Installing a security camera system can be an essential step toward keeping your home or business secure. Whether you are setting up a small camera to cover your porch or an extensive network for a commercial building, understanding the process is critical. This article will guide you through everything you need to know about installing a security camera system, with a detailed, step-by-step approach.
Understanding Your Needs
Before diving into the installation process, it is crucial to evaluate and understand your specific needs. Determine the areas you wish to monitor and the types of cameras that best suit these areas. Some common types are:
- Dome Cameras: Suitable for indoor use and offer a wide field of view.
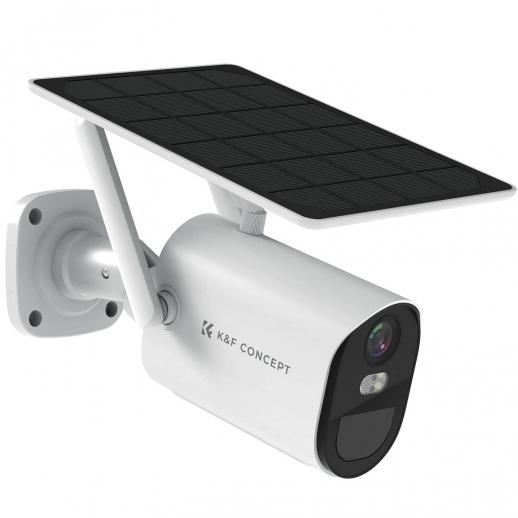
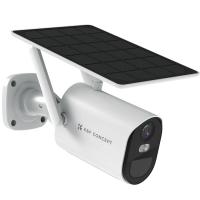
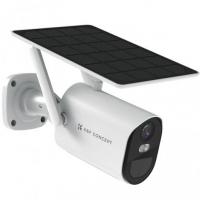
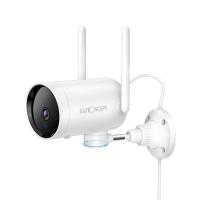
- Bullet Cameras: Ideal for outdoor use, often weatherproof and provide long-range visibility.
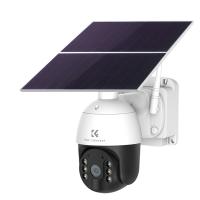
- PTZ Cameras: Pan, Tilt, and Zoom cameras for areas needing versatile, dynamic coverage.
Once you identify the right type of cameras, consider factors such as resolution, night vision, and whether you need wired or wireless cameras.
Planning Your Security Camera System
A well-laid plan is half the battle won. Here’s what you need to do during the planning stage:
1. Blueprints and Layout: Prepare a layout of your property and mark the points of interest where you need surveillance.
2. Cover All Entry Points: Ensure that all entry points like doors and windows are under surveillance to prevent unauthorized access.
3. Overlapping Coverage: Plan for some overlap between camera fields of view to eliminate blind spots.
4. Cable Routes: For wired systems, plan how you'll run the cables to prevent them from being easily tampered with.
Equipment and Tools Needed
Gather all the necessary equipment and tools before starting the installation. Your basic checklist should include:
- Cameras
- DVR/NVR (Digital/Network Video Recorder)
- Cables and Connectors
- Power Supplies or Adapters
- Monitor or Computer for setting up
- Drill and appropriate bits
- Screwdrivers
- Anchors and Screws
- Cable Clips or Wire Mouldings
- Ethernet Cables for IP Cameras
- Ladder
Step-by-Step Installation Guide
1. Mounting the Cameras
- Choose the Right Height and Angles: Install cameras at a height that prevents tampering and gives a clear view of the area.
- Fix the Mount: Use a drill to make holes for screws and anchors. Attach the camera mount securely.
- Position the Camera: Attach the camera to the mount and adjust it to cover the desired field of view.
2. Running Cables (For Wired Systems)
- Route the Cables to Your DVR/NVR: Identify paths through the attic, crawl-space, or along baseboards to keep the cables hidden and protected.
- Use Conduits: For external routing, use PVC conduits to shield cables from weather and wear.
- Secure the Cables: Use cable clips and wire mouldings to secure the cables and avoid tripping hazards.
3. Connecting the System
- Connect Cameras to DVR/NVR: Use the necessary cables to connect your cameras to your DVR/NVR. In most cases, this will involve coaxial cables for analog systems and Ethernet cables for IP systems.
- Power Up the Cameras: Take care of the power supply for each camera, ensuring they are connected to an appropriate power source, using power adapters or a central power source.
4. Setting Up the DVR/NVR
- Hook Up to Monitor: Connect the DVR/NVR to a monitor via an HDMI or VGA cable for configuration and monitoring.
- Configure Settings: Follow the user manual to configure the DVR/NVR settings. This includes setting up resolution, recording schedules, and motion detection zones.
- Network Setup: For remote access, connect your DVR/NVR to your router using an Ethernet cable and complete the network configuration steps.
5. Testing and Adjustments
- Initial Power-On: Switch on the system and check each camera’s feed on the monitor. Ensure all angles and fields of view meet your requirements.
- Adjust Camera Angles: Fine-tune the positioning of your cameras based on the displayed feed to optimize coverage.
- Test Features: Verify that night vision, motion detection, and alerts are working as expected.
Wireless Camera Systems
For wireless systems, the steps are more straightforward but similar in principle:
- Mount the cameras as described above.
- Connect the cameras to Wi-Fi by following the manufacturer’s setup guide.
- Sync the cameras with your NVR or monitoring app.
- Ensure all cameras have a stable power source, either through batteries or nearby outlets.
Maintenance and Upgrades
A security camera system requires regular maintenance to ensure ongoing functionality:
- Cleaning: Regularly clean camera lenses to ensure clear images.
- Firmware Updates: Keep your DVR/NVR and camera firmware up to date to secure against vulnerabilities.
- Check Connections: Periodically inspect cables and connections for wear and ensure they remain secure.
- Battery Checks: If using battery-powered cameras, maintain a schedule for checking and replacing batteries.
Conclusion
Installing a security camera system may seem daunting at first, but with the right plan and understanding of the steps involved, it can be a manageable and rewarding project. Start with a clear plan, gather the necessary tools and equipment, follow the installation guide meticulously, and ensure regular maintenance to keep your system running smoothly. Whether for a residential or commercial setting, a well-installed security camera system is an indispensable asset for ensuring safety and peace of mind.















There are no comments for this blog.