How To Install Security Camera With No Wifi?
Installing a security camera without Wi-Fi can be a practical solution for those who either do not have access to a reliable internet connection or prefer a more secure, offline surveillance system. This guide will walk you through the steps and considerations necessary to set up a security camera system that operates independently of Wi-Fi.
Understanding the Basics
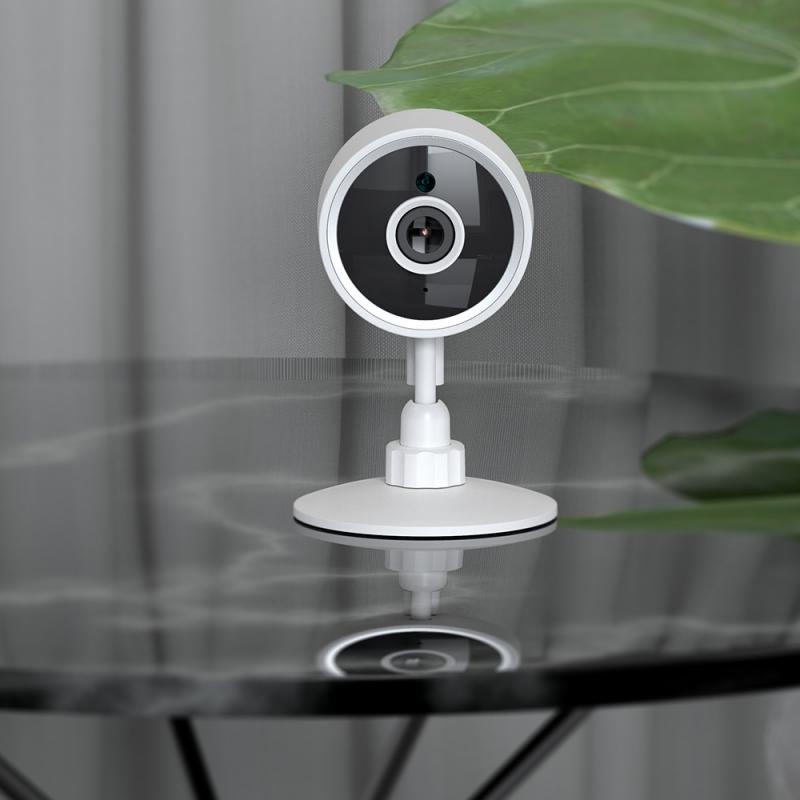
Before diving into the installation process, it’s essential to understand the types of security cameras available and how they function without Wi-Fi. There are primarily two types of security cameras that can operate without an internet connection:
1. Wired Security Cameras: These cameras are connected to a recording device, such as a Digital Video Recorder (DVR) or Network Video Recorder (NVR), via cables. They are reliable and offer high-quality video but require more effort to install due to the need for running cables.
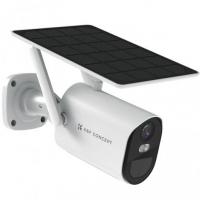
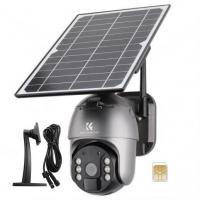
2. Battery-Powered Cameras with Local Storage: These cameras are wireless in terms of data transmission but rely on batteries for power. They store footage on local storage devices like SD cards or external hard drives.
Step-by-Step Installation Guide
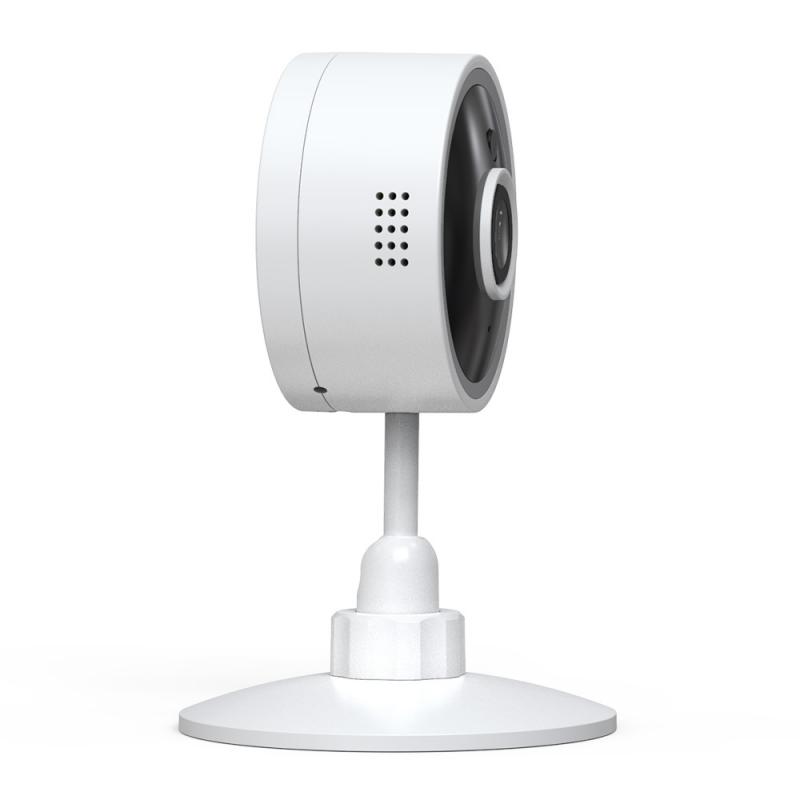
1. Planning Your System
The first step in installing a security camera system without Wi-Fi is to plan your setup. Consider the following:
- Coverage Area: Identify the areas you want to monitor. This will help you determine the number of cameras needed and their placement.
- Power Source: Ensure that you have access to power outlets if you are using wired cameras. For battery-powered cameras, plan for regular battery maintenance.
- Recording Device Location: Decide where you will place your DVR or NVR. It should be in a secure location, preferably indoors, to protect it from tampering and environmental damage.
2. Choosing the Right Equipment
Select cameras and recording devices that meet your needs. Here are some factors to consider:
- Resolution: Higher resolution cameras provide clearer images but require more storage space.
- Night Vision: If you need to monitor areas in low light, choose cameras with good night vision capabilities.
- Storage Capacity: Ensure that your DVR or NVR has sufficient storage capacity to hold the footage for the desired period.
3. Installing Wired Security Cameras
If you opt for wired security cameras, follow these steps:
- Mount the Cameras: Use the provided brackets and screws to mount the cameras in the desired locations. Ensure they are securely fastened and positioned to cover the intended areas.
- Run the Cables: Connect the cameras to the DVR or NVR using the provided cables. This may involve drilling holes and running cables through walls or ceilings. Use cable clips or conduits to keep the cables organized and protected.
- Connect to Power: Plug the cameras into power outlets. If you are using PoE (Power over Ethernet) cameras, they will receive power through the Ethernet cables connected to the NVR.
- Set Up the DVR/NVR: Connect the DVR or NVR to a monitor or TV using an HDMI or VGA cable. Follow the manufacturer’s instructions to configure the system settings, such as date and time, recording schedules, and motion detection.
4. Installing Battery-Powered Cameras with Local Storage
For battery-powered cameras, the installation process is simpler:
- Mount the Cameras: Use the provided brackets and screws to mount the cameras in the desired locations. Ensure they are securely fastened and positioned to cover the intended areas.
- Insert Storage Media: Insert an SD card or connect an external hard drive to the camera for local storage. Follow the manufacturer’s instructions for formatting and setting up the storage media.
- Power On the Cameras: Insert the batteries and power on the cameras. Ensure that the batteries are fully charged or replaceable as needed.
- Configure the Cameras: Use the camera’s built-in interface or a mobile app (if available) to configure settings such as recording schedules, motion detection, and storage management.
5. Testing and Adjustments
Once the cameras are installed, it’s crucial to test the system to ensure everything is working correctly:
- Check Camera Angles: Verify that the cameras are capturing the desired areas and adjust their angles if necessary.
- Test Recording: Ensure that the cameras are recording footage and that the recordings are being saved to the local storage device.
- Motion Detection: Test the motion detection feature by walking in front of the cameras. Adjust the sensitivity settings if needed to avoid false alarms.
6. Maintenance and Monitoring
Regular maintenance is essential to keep your security camera system functioning optimally:
- Battery Maintenance: For battery-powered cameras, regularly check and replace the batteries as needed.
- Storage Management: Monitor the storage capacity of your DVR, NVR, or SD cards. Delete old footage or back it up to free up space.
- Camera Cleaning: Periodically clean the camera lenses to ensure clear video quality. Use a soft cloth and avoid harsh chemicals.
Advantages and Disadvantages
Advantages
- Enhanced Security: Without Wi-Fi, your security system is less vulnerable to hacking and cyber-attacks.
- Reliability: Wired systems are generally more reliable as they are not affected by Wi-Fi signal issues or internet outages.
- Privacy: Local storage ensures that your footage is not accessible online, providing greater privacy.
Disadvantages
- Installation Complexity: Wired systems require more effort to install due to the need for running cables.
- Limited Remote Access: Without internet connectivity, you cannot access the footage remotely. You will need to be physically present to view the recordings.
- Storage Limitations: Local storage devices have limited capacity, so you may need to manage storage space more actively.
Installing a security camera system without Wi-Fi is a viable option for those seeking enhanced security, reliability, and privacy. By carefully planning your system, choosing the right equipment, and following the installation steps, you can set up an effective surveillance system that meets your needs. Regular maintenance and monitoring will ensure that your system continues to function optimally, providing you with peace of mind and protection for your property.

















There are no comments for this blog.