How To Install Wireless Cameras At Home?
When it comes to enhancing home security, installing wireless cameras is one of the most effective and increasingly popular methods. Wireless cameras not only provide an essential layer of protection but also offer convenience and flexibility due to their wireless nature. In this comprehensive guide, we will walk you through the step-by-step process of installing wireless cameras in your home, ensuring you get reliable performance and security coverage.
Understanding the Basics of Wireless Cameras
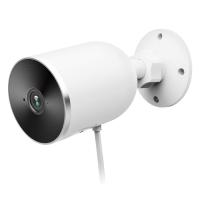
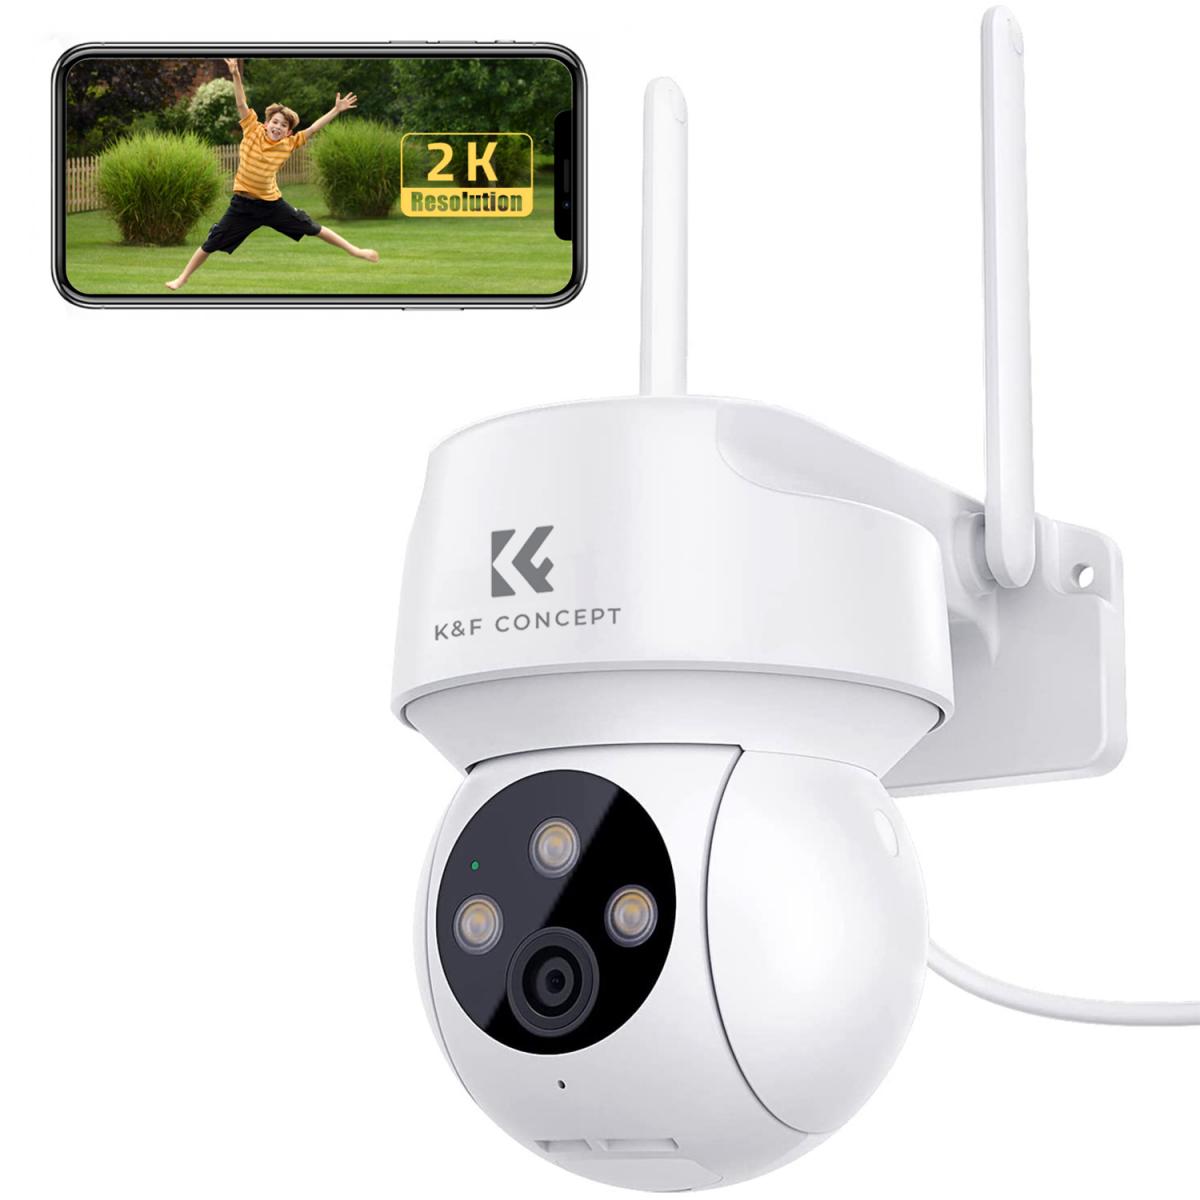
Before diving into installation, it's crucial to grasp the fundamentals of wireless cameras. Unlike their wired counterparts, wireless security cameras transmit video and audio data via Wi-Fi. This type of camera can be seamlessly integrated into your home network, enabling you to monitor through smartphones, tablets, or computers.
Step-by-Step Installation Guide
1. Planning Your Camera Setup
Location Selection: The first step is to determine where you want to install the cameras. It's important to cover all entry points, such as front and back doors, ground-level windows, and any other vulnerable areas. Additionally, consider locations that offer a clear, unobstructed view.
Power Supply Consideration: Although these cameras are termed 'wireless' for their connectivity, most require a power source. Opt for locations near power outlets to ensure continuous operation. Alternatively, choose models with rechargeable batteries for more flexibility.
2. Selecting the Right Camera
Different cameras offer varying features such as high-definition video, night vision, motion detection, and two-way audio. Make sure to select a camera that meets your specific needs.
Resolution: Higher resolution cameras provide clearer images. Opt for at least 1080p video quality for effective monitoring.
Field of View: A wider field of view (FOV) ensures broader coverage. Cameras with 120-degree or higher FOV are recommended for outdoor settings.
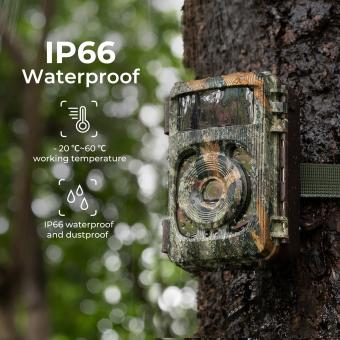
Weather Resistance: For outdoor cameras, ensure they are weatherproof to withstand different climatic conditions.
3. Installing the Cameras
Mounting the Cameras:
- Indoor Installation: Ideal locations include living rooms, hallways, and near main entrances. Use screws or adhesive mounts to secure the cameras in place.
- Outdoor Installation: Install cameras high enough to avoid tampering, and consider using protective casings for additional security. Place cameras under eaves or awnings to shield them from weather elements.
Tools Needed:
- Power drill
- Screwdrivers
- Mounting brackets (usually supplied with the camera)
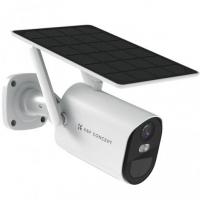
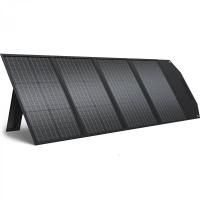
Powering the Cameras: Plug the cameras into nearby power outlets or ensure batteries are fully charged. Some models support solar power options, which are especially useful for outdoor settings without immediate access to electrical outlets.
4. Connecting to the Network
Wi-Fi Setup: Ensure your Wi-Fi network is strong and stable. Position your cameras within the optimal range of your router. Weak Wi-Fi signals can lead to unreliable camera feeds.
Syncing the Cameras:
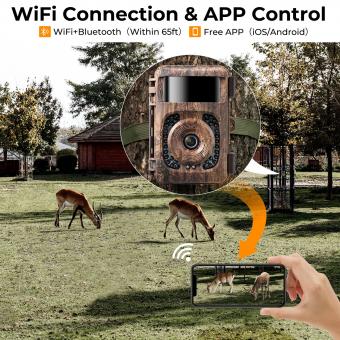
- Follow the manufacturer's instructions to connect each camera to your home Wi-Fi network. This typically involves downloading a companion app and following on-screen prompts to sync the cameras.
Setting Up the App: The surveillance app serves as your control center.
- Create an account on the app.
- Add your cameras by following the instructions—usually, this involves scanning a QR code or entering the camera’s serial number.
5. Optimizing Camera Performance
Adjusting Camera Settings: Customize settings such as motion detection sensitivity, alert notifications, and recording schedules to suit your needs.
Positioning and Angling: Ensure cameras are angled correctly to capture the desired area. Avoid facing cameras towards direct sunlight or reflective surfaces to prevent glare and false alerts.
Regular Maintenance: Periodically clean camera lenses to ensure a clear view. Check battery levels or power supplies to maintain consistent operation.
Ensuring Secure Access
Password Protection: Always change the default passwords of your cameras and app. Use strong, unique passwords to prevent unauthorized access.
Firmware Updates: Regularly update your camera's firmware to benefit from the latest security features and improvements.
Encryption: Enable encryption features if available. This ensures that the video feeds are secure from hacking attempts.
Integrating with Smart Home Systems
Many wireless cameras are compatible with smart home ecosystems such as Amazon Alexa, Google Assistant, or Apple HomeKit. Integrating your cameras with these systems provides an added layer of convenience, allowing you to control and monitor your cameras using voice commands and automation.
Troubleshooting Common Issues
Connectivity Issues:
- Ensure the cameras are within range of the Wi-Fi router.
- Reboot the router and cameras if they become unresponsive.
- Check for interference from other wireless devices.
Poor Video Quality:
- Verify that your internet bandwidth is sufficient.
- Adjust camera positioning to avoid obstacles and interference.
- Update the camera firmware and app for the best performance.
Power-related Issues:
- Use uninterrupted power supply (UPS) units for critical cameras, especially outdoors.
- Regularly check and replace batteries if you use battery-powered cameras.
Installing wireless cameras at home can be a straightforward and rewarding process when done correctly. By planning carefully, selecting appropriate equipment, and following the step-by-step installation guide, you can significantly enhance your home's security. Moreover, understanding how to maintain and troubleshoot your system ensures long-term reliability and peace of mind. Protecting your home has never been more accessible, thanks to modern wireless camera technologies—so take the step today and fortify your home with confidence.


