How To Install Wireless Video Cameras?
Installing wireless video cameras can be a straightforward process if you are aware of the steps involved and the considerations needed to ensure the setup is successful and secure. Whether for home security, monitoring pets, or keeping an eye on your business premises, wireless video cameras provide a flexible and often cost-effective solution. Below, I’ll guide you through the essentials of installing wireless video cameras to meet various needs.
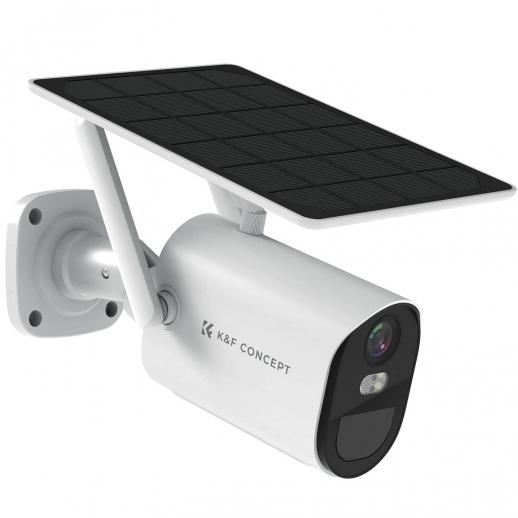
Understanding the Basics of Wireless Video Cameras
Wireless video cameras transmit video and audio signals to a receiver using a wireless network, such as Wi-Fi. This eliminates the need for extensive wiring and allows greater flexibility in camera placement. Modern wireless video cameras come with features like high-definition video, night vision, motion detection, and cloud storage, making them an appealing choice for security and surveillance.
Step-by-Step Guide to Installing Wireless Video Cameras
1. Plan Your Surveillance Layout
The first step in installing wireless video cameras is to determine the strategic locations where the cameras will be placed. Consider the following points:
- Entry Points: Cover all entry points to your property, including doors and windows.
- Vulnerable Areas: Include places that are less visible or have higher crime rates.
- High Traffic Areas: Monitor high traffic areas to track movement and activity.
Ensure that the areas you choose are within the Wi-Fi range of your router or have a strong signal. Use Wi-Fi extenders or mesh networks if necessary.
2. Select the Right Cameras
The next step is choosing the right cameras for your needs. Consider the following types:
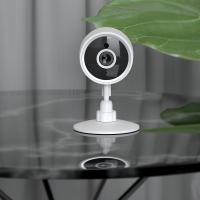
- Indoor Cameras: Ideal for indoor monitoring, often equipped with two-way audio.
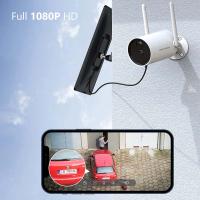
- Outdoor Cameras: Built to withstand weather conditions and usually feature night vision.
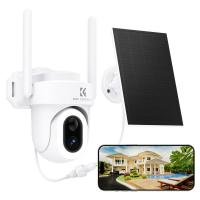
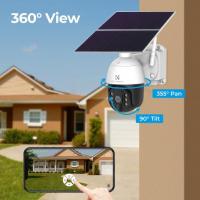
- PTZ Cameras: (Pan-Tilt-Zoom) Allow for remote control and cover larger areas.
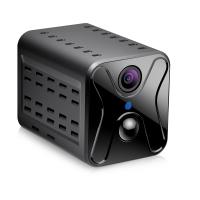
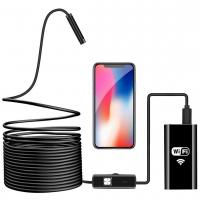
- Hidden Cameras: Ideal for discreet monitoring.
Evaluate features such as resolution, field of view, night vision capability, power source, and storage options before making a purchase.
3. Prepare Your Installation Tools
Ensure you have the necessary tools for installation:
- Screwdrivers: For mounting brackets.
- Drill: For making holes to secure mounts (if needed).
- Ladder: For reaching high places.
- Cable Clips or Ties: To manage and secure cables if any wired components are involved.
- Wi-Fi Extender: If the camera's location is far from the router.
4. Install the Cameras
Now let's move on to installing the video cameras:
- Mounting: Attach the mounting bracket to the desired location using screws. Ensure it’s secure and stable.
- Positioning: Attach the camera to the bracket and adjust it to cover the desired field of view.
- Power Up: Plug the camera into a power source. Some cameras may be battery-operated.
- Connect to Wi-Fi: Follow the manufacturer’s instructions to connect the camera to your Wi-Fi network. This often involves downloading an app and following setup prompts.
5. Configure the Cameras
Once all the cameras are installed and connected to Wi-Fi, you need to configure them:
- App Integration: Use the camera’s companion app to finish the setup.
- Set Up Alerts: Configure motion detection settings to receive alerts and notifications.
- Storage Options: Decide if you will use cloud storage, local storage (like a microSD card), or a dedicated Network Video Recorder (NVR).
- Privacy Settings: Adjust settings to ensure your cameras are not accessible by unauthorized individuals.
6. Test and Adjust
Perform a complete test of your system:
- Check Connectivity: Ensure each camera is connected to the network and accessible via the app.
- Field of View: Verify that the cameras cover the intended areas. Make adjustments if necessary.
- Night Vision: Test the camera’s night vision capability in low light conditions.
- Motion Detection Accuracy: Test and tweak the sensitivity of motion detection features.
Tips for a Successful Installation
- Optimal Router Placement: Place your router in a central location to ensure optimal signal strength throughout your property.
- Security Measures: Use strong passwords for your wireless network and camera accounts. Regularly update the firmware.
- Backup Power: Consider UPS (Uninterruptible Power Supply) units to keep cameras running during power outages.
- Environmental Considerations: For outdoor cameras, ensure they are weather-proof and consider using protective covers.
Common Pitfalls to Avoid
- Ignoring Wi-Fi Range and Signal Strength: Weak signals can cause poor video quality and connectivity issues.
- Overlooking Power Source: Ensure each camera has a reliable power source or that batteries are regularly checked and replaced.
- Insecure Wireless Network: An unprotected network can be an entry point for hackers.
- Improper Placement: Placing cameras too high, too low, or in areas with obstructions can reduce their effectiveness.
Advanced Considerations
For those looking to get the most out of their wireless video cameras, there are advanced features and integrations to consider:
- Smart Home Integration: Integrate your cameras with smart home systems like Amazon Alexa, Google Home, or Apple HomeKit.
- Artificial Intelligence: Some cameras offer AI capabilities like facial recognition and advanced motion detection.
- Cloud vs. Local Storage: Weigh the pros and cons of using cloud storage versus local storage based on your security needs and budget.
By following this comprehensive guide, you can successfully install and set up wireless video cameras that enhance the security and monitoring capabilities of your home or business. Ensure your system is tested thoroughly and maintained regularly to keep it in optimal working condition. Stay informed about the latest advancements in wireless camera technology to continuously improve your surveillance setup.










There are no comments for this blog.