How To Light Back Background Product Photography?
Product photography is an essential aspect of e-commerce and marketing, as it directly influences a customer's perception and decision-making process. One of the most challenging yet rewarding techniques in product photography is achieving a well-lit background. A well-lit background can make your product stand out, look more professional, and attract more customers. In this article, we will delve into the intricacies of lighting a background for product photography, covering various techniques, equipment, and tips to help you achieve the best results.
Understanding the Importance of Background Lighting
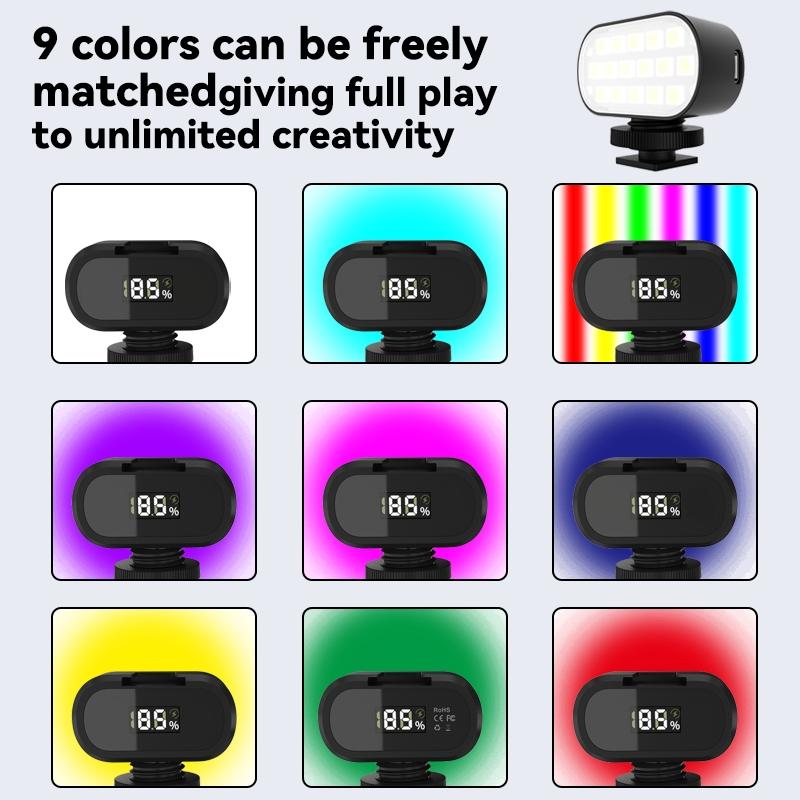
Before diving into the technical aspects, it's crucial to understand why background lighting is important. A well-lit background can:
1. Highlight the Product: Proper lighting ensures that the product is the focal point of the image.
2. Create a Professional Look: A clean, well-lit background gives a polished and professional appearance.
3. Enhance Details: Good lighting can bring out the details and textures of the product.
4. Improve Contrast: Proper background lighting can create a contrast that makes the product pop.
Types of Backgrounds
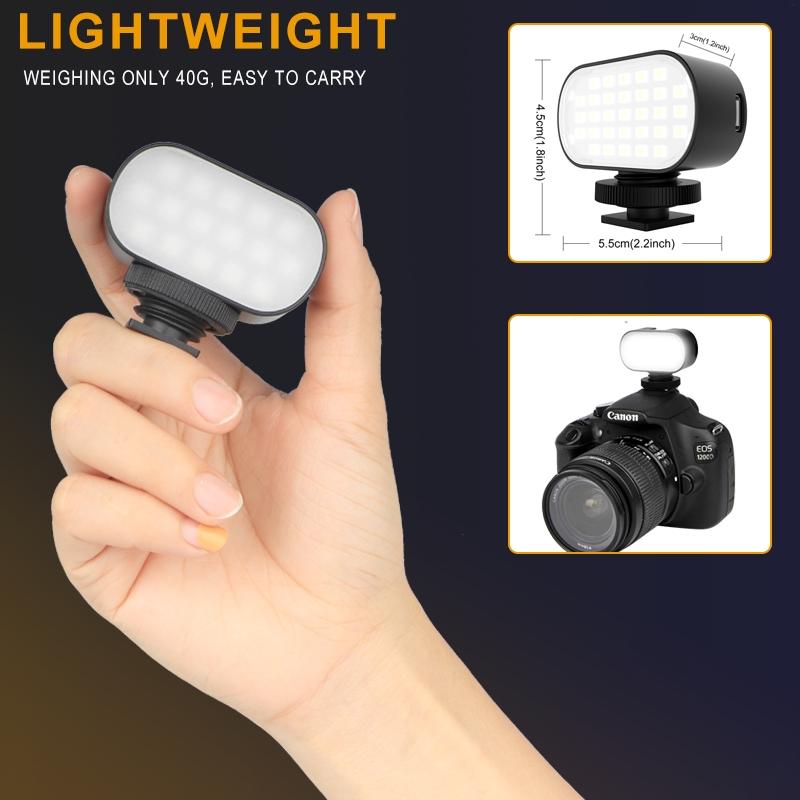
The type of background you choose will significantly impact your lighting setup. Here are some common types:
1. White Background: Ideal for a clean, minimalist look. It’s the most common background used in product photography.
2. Black Background: Perfect for creating a dramatic effect and highlighting the product.
3. Colored Background: Adds a creative touch and can be used to complement the product.
4. Textured Background: Adds depth and interest to the image.
Equipment Needed
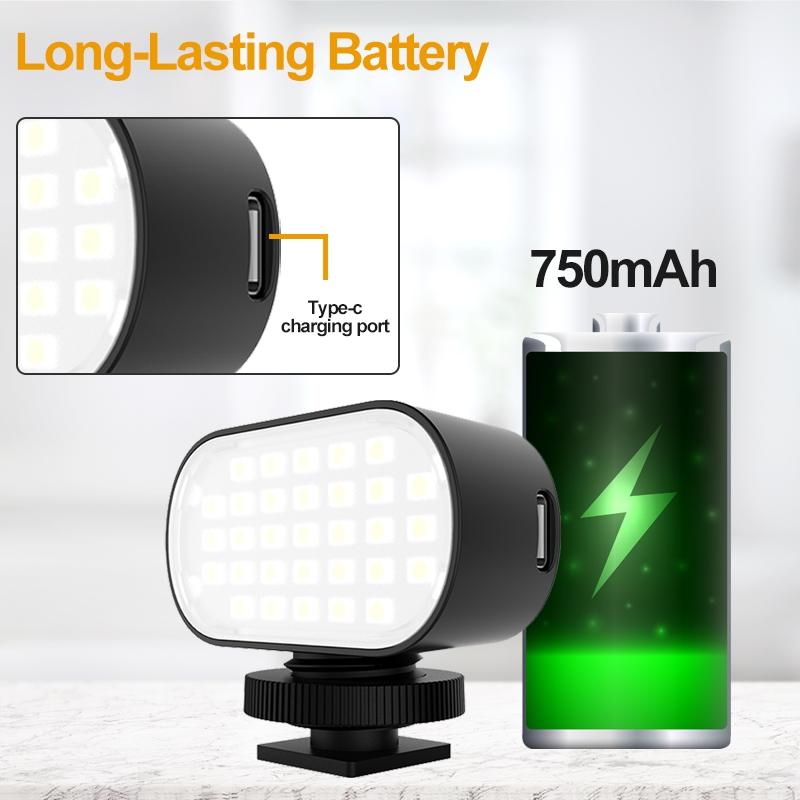
To achieve a well-lit background, you will need the following equipment:
1. Camera: A DSLR or mirrorless camera with manual settings.
2. Tripod: To keep the camera steady and avoid any blur.
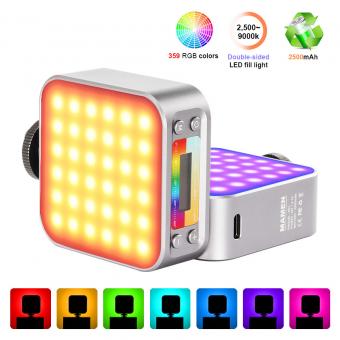
3. Lighting: Softboxes, LED panels, or strobe lights.
4. Light Modifiers: Reflectors, diffusers, and grids to control the light.
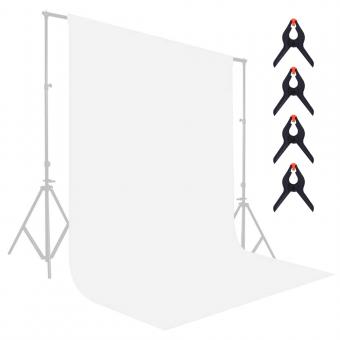
5. Background Material: Paper rolls, fabric, or vinyl backgrounds.
6. Light Stands: To hold your lights in place.
Lighting Techniques
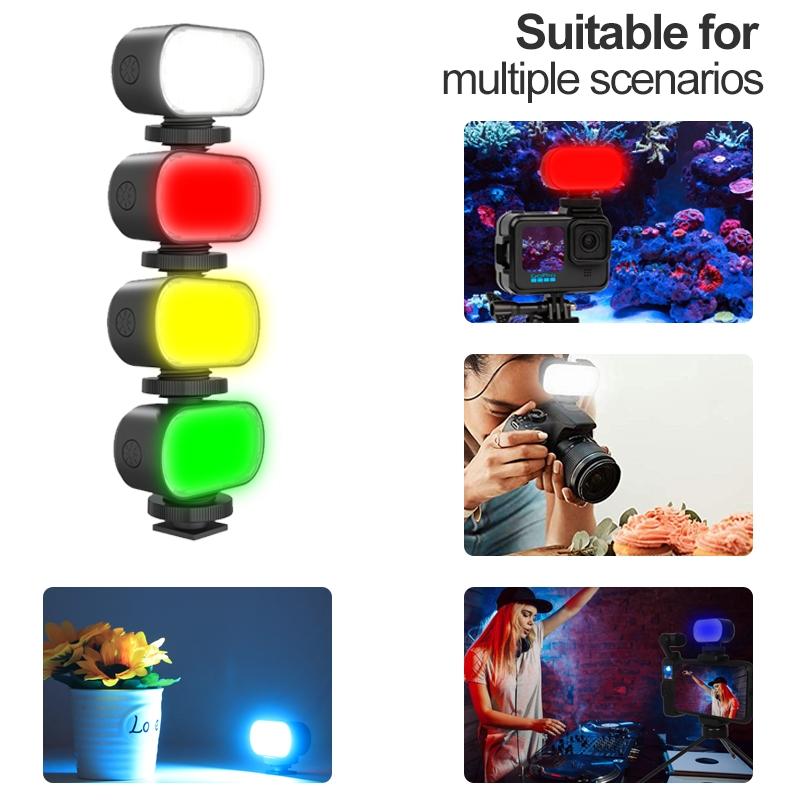
1. Three-Point Lighting
Three-point lighting is a standard technique in photography and videography. It involves three lights: the key light, fill light, and backlight.
- Key Light: The main light source, placed at a 45-degree angle to the product.
- Fill Light: Fills in the shadows created by the key light, placed on the opposite side.
- Backlight: Lights the background, placed behind the product.
This setup ensures that the product is well-lit from all angles, and the background is evenly illuminated.
2. High-Key Lighting
High-key lighting is used to create a bright and airy look. It involves using multiple light sources to eliminate shadows and create a uniformly lit background.
- Multiple Softboxes: Place softboxes on either side of the product to ensure even lighting.
- Overhead Light: Use an overhead light to eliminate any shadows on the background.
- Reflectors: Use reflectors to bounce light back onto the product and background.
3. Low-Key Lighting
Low-key lighting is used to create a dramatic and moody effect. It involves using minimal light sources and creating strong contrasts between light and shadow.
- Single Light Source: Use a single light source, such as a softbox or strobe light, placed at a 45-degree angle.
- Black Background: Use a black background to enhance the dramatic effect.
- Controlled Light: Use grids or snoots to control the light and focus it on the product.
Practical Tips
1. Avoid Shadows
Shadows can be distracting and take away from the product. To avoid shadows:
- Use Diffusers: Diffusers soften the light and reduce harsh shadows.
- Adjust Light Angles: Experiment with different angles to minimize shadows.
- Use Multiple Light Sources: Multiple light sources can help eliminate shadows.
2. Maintain Consistency
Consistency is key in product photography, especially if you are shooting multiple products.
- Use the Same Setup: Keep your lighting setup consistent for all products.
- Mark Positions: Mark the positions of your lights and camera to ensure consistency.
- Check White Balance: Ensure the white balance is consistent across all images.
3. Experiment with Angles
Different angles can create different effects and highlight various aspects of the product.
- Top-Down Angle: Ideal for flat-lay photography.
- 45-Degree Angle: Commonly used for most product photography.
- Side Angle: Can highlight the depth and texture of the product.
4. Post-Processing
Post-processing can enhance your images and correct any lighting issues.
- Adjust Exposure: Correct any underexposed or overexposed areas.
- Remove Blemishes: Use tools like the clone stamp or healing brush to remove any imperfections.
- Enhance Colors: Adjust the saturation and vibrance to make the product pop.
Common Mistakes to Avoid
1. Overexposure
Overexposure can wash out the product and background. To avoid overexposure:
- Use a Light Meter: A light meter can help you measure the correct exposure.
- Check Histogram: Use the histogram on your camera to ensure the exposure is balanced.
- Adjust Light Intensity: Reduce the intensity of your lights if needed.
2. Inconsistent Lighting
Inconsistent lighting can make your images look unprofessional. To maintain consistent lighting:
- Use the Same Light Sources: Stick to the same type of lights for all your shots.
- Check Light Positions: Ensure your lights are in the same position for each shot.
- Monitor Light Intensity: Keep the intensity of your lights consistent.
3. Ignoring Background Details
Background details can distract from the product. To keep the background clean:
- Use a Clean Background: Ensure your background is free of any marks or wrinkles.
- Blur the Background: Use a wide aperture to create a shallow depth of field and blur the background.
- Remove Distractions: Remove any objects or elements that may distract from the product.
Lighting the background for product photography is a skill that requires practice and experimentation. By understanding the importance of background lighting, choosing the right equipment, and employing various lighting techniques, you can create stunning product images that stand out. Remember to avoid common mistakes, maintain consistency, and use post-processing to enhance your images. With these tips and techniques, you’ll be well on your way to mastering the art of product photography.


