How To Make A Bird Feeder Camera?
How to Make a Bird Feeder Camera: A Step-by-Step Guide for Birdwatching Enthusiasts
Birdwatching is a delightful hobby, offering a unique window into the lives of our feathered friends. Whether you're an avid birdwatcher or just beginning to explore the world of birds, setting up a bird feeder with a camera can transform your backyard into a live nature documentary. It’s not just about feeding the birds; it's about observing their behaviors up close. In this guide, we’ll walk you through the process of building a bird feeder camera, from choosing the right materials to setting up the camera and ensuring everything runs smoothly for a seamless birdwatching experience.
Why Combine a Bird Feeder with a Camera?

A bird feeder camera combines the best of two worlds: the joy of feeding birds and the fascination of watching their behaviors in real-time. Traditional birdwatching can be limited by time and space, but with a camera-equipped bird feeder, you get to witness daily interactions, feeding habits, nesting behaviors, and sometimes even rare or unusual bird species that you might otherwise miss. The camera also provides an opportunity to learn about different bird species, their feeding patterns, and how they interact with their environment.
Moreover, capturing these moments on video can be rewarding in itself. You can share footage with friends, family, or fellow birdwatching enthusiasts or simply archive the experience to relive later. Let’s dive into how to make your own bird feeder camera system, step by step.
Step 1: Select Your Camera

The first step in creating a bird feeder camera is selecting the right camera. There are several options available, each with its own set of advantages and drawbacks. Your choice will depend on your budget, technical expertise, and desired features.
1.1. Wildlife Cameras (Trail Cameras)
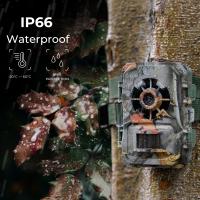
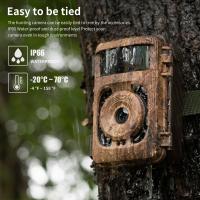
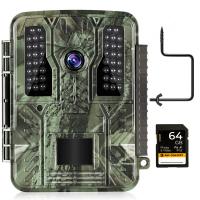
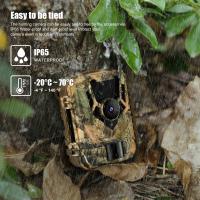
Trail cameras are an excellent option for setting up bird feeder cameras. They are designed to capture wildlife in motion, typically outdoors, and they often come with motion sensors to activate recording when something passes by. This makes them ideal for birdwatching since they won’t record unnecessary footage, like wind or rain, when no birds are around. Additionally, many trail cameras come with features such as night vision, which can be particularly useful for bird species that feed at dawn or dusk.
- Pros: Motion detection, night vision, weatherproof.
- Cons: Some models have lower video resolution and audio quality.
1.2. Wi-Fi Enabled Cameras
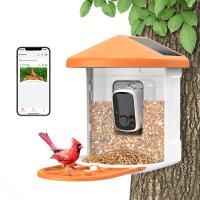
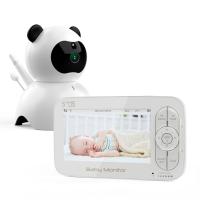
If you want a live-streaming option or easy access to real-time footage, Wi-Fi-enabled cameras are an excellent choice. These cameras can send footage directly to your phone or computer, allowing you to monitor bird activity from anywhere. Many of these cameras also offer high-definition (HD) video quality, which is ideal for capturing clear images of birds at the feeder.
- Pros: Real-time monitoring, high-quality video, remote access.
- Cons: Requires a reliable Wi-Fi connection, can be more expensive.
1.3. Action Cameras (e.g., GoPro)
Another option is using a small, action camera like a GoPro. These cameras are highly durable, waterproof, and compact, making them perfect for outdoor setups. With a GoPro, you can attach it to a tree or structure near the bird feeder and capture wide-angle shots of bird activity. Action cameras typically offer high-definition video and are great for more dynamic and interactive footage.
- Pros: High-definition video, durable, compact.
- Cons: Requires additional setup for motion detection or triggering.
1.4. Webcam and Raspberry Pi Setup
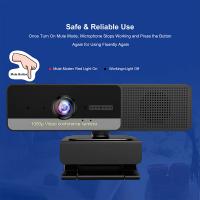
If you're comfortable with DIY projects and have some basic technical skills, you can set up a webcam connected to a Raspberry Pi. This setup allows for full customization, including remote streaming, image processing, and motion detection through programming. It’s a more involved process, but it’s a rewarding project for tech enthusiasts who want to experiment with their bird feeder camera.
- Pros: Highly customizable, cost-effective.
- Cons: Requires technical knowledge and setup time.
Step 2: Choose the Right Bird Feeder
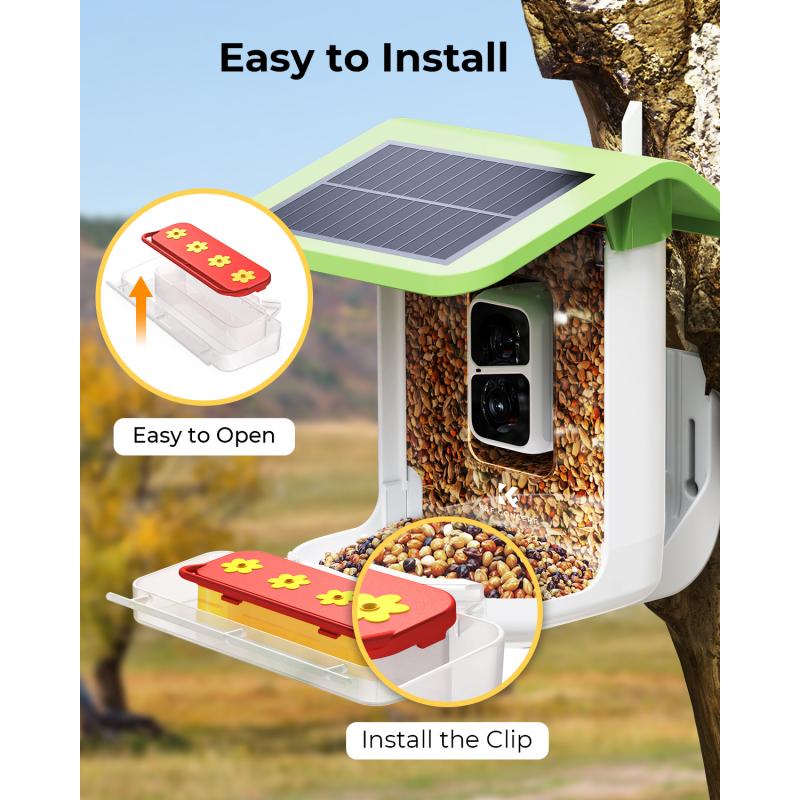
Once you’ve selected your camera, the next step is choosing the appropriate bird feeder. The type of bird feeder you choose will influence the kind of birds that visit, and it will affect the camera's placement and overall setup.
2.1. Tube Feeders
Tube feeders are one of the most popular choices for attracting small songbirds like chickadees, finches, and sparrows. They are compact and easy to hang, making them an ideal option for placing your camera nearby. If you choose a tube feeder, make sure to use a transparent one so the camera has a clear view of the birds.
2.2. Tray Feeders
Tray feeders are flat, open platforms that allow birds to feed freely from all directions. This type of feeder is excellent for attracting a wide range of species, including larger birds like doves and cardinals. Tray feeders also provide a more open space for camera placement, as you can mount the camera above or to the side to get a clear shot.
2.3. Suet Feeders
Suet feeders are designed to hold fat-based foods and are perfect for attracting woodpeckers, nuthatches, and other insect-eating birds. These feeders are often mounted on a pole or tree, which gives you a great vantage point for positioning your camera.
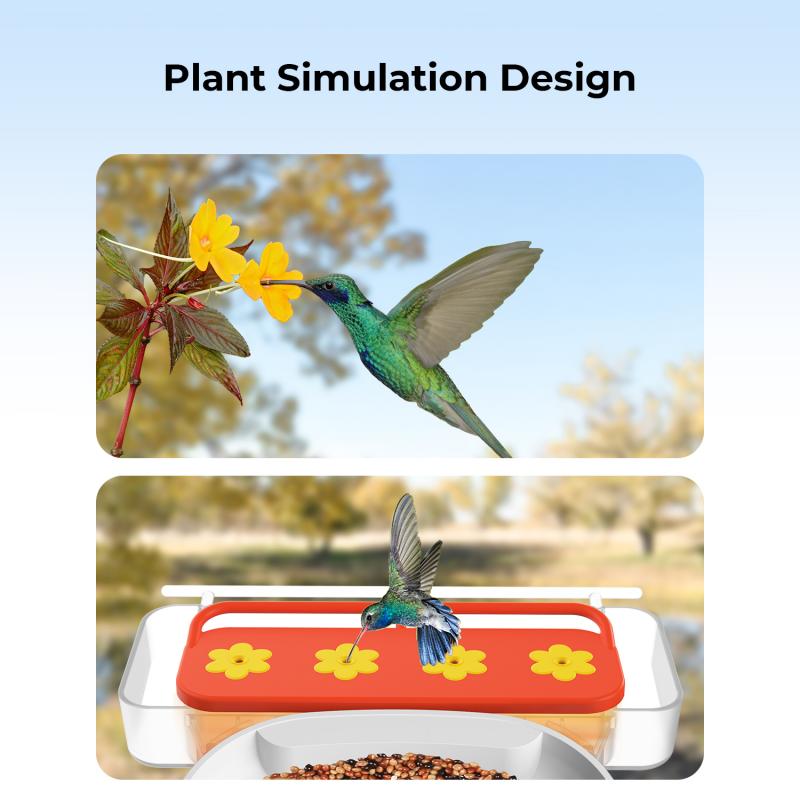
2.4. Hummingbird Feeders
For a more specialized setup, consider a hummingbird feeder. These feeders are designed with small openings to attract these fast, energetic birds. However, due to their speed, it can be more challenging to capture clear footage, especially with slower cameras. If you go this route, make sure your camera has fast shutter speeds or frame rates to capture their movements clearly.
Step 3: Mounting the Camera
Positioning your camera is key to ensuring good footage. Whether you’re using a trail camera, action camera, or a webcam setup, the goal is to place it in a way that provides an unobstructed view of the feeder and the surrounding area.
3.1. Distance and Angle
The camera should be close enough to capture detailed footage but far enough away to prevent scaring the birds away. A good starting point is to mount the camera about 4–6 feet away from the feeder, slightly above the feeding area. This angle allows you to capture the birds' approach and feeding behavior without interfering with their space.
3.2. Mounting Locations
There are various places to mount the camera:
- On a Pole: Mounting the camera on a pole provides stability and allows you to adjust the angle easily.
- On a Tree: If you have a suitable tree near the feeder, this can give a natural background while keeping the camera hidden.
- On the Feeder: In some cases, you can directly attach the camera to the bird feeder itself. This works well for tube feeders and certain tray feeders.
3.3. Weather Protection
If you're using an outdoor camera, ensure it is weatherproof or place it inside a protective case. Bird feeders are often outdoors, meaning the camera will be exposed to rain, wind, and potentially extreme temperatures. A protective housing will help extend the lifespan of your equipment.
Step 4: Powering the Camera
Cameras require power to function, and depending on your setup, you may need to plan ahead for power sources.
- Trail Cameras: These typically run on batteries, which is convenient for outdoor setups where power outlets are unavailable. Ensure you use high-quality rechargeable batteries or consider a solar panel option if your camera supports it.
- Wi-Fi Cameras: These often require an AC adapter, so make sure you have an accessible power outlet nearby, or use an extension cord if necessary.
- Action Cameras: Depending on the model, action cameras may have rechargeable batteries, but if you're recording for extended periods, it might be wise to use an external battery pack.
- Webcams: If you’re using a Raspberry Pi or a similar setup, ensure you have continuous power either through a USB power bank or an outlet.
Step 5: Test the Setup
Once everything is set up, test the system to make sure the camera is capturing clear footage and that the birds aren’t disturbed by its presence. Adjust the position or settings if needed, and make sure the camera is triggering at the right time to avoid unnecessary footage.
Step 6: Enjoy the Show!
With everything in place, it’s time to sit back and enjoy the natural show right in your backyard. Depending on your setup, you may choose to watch live footage on your phone, download clips to create a birdwatching montage, or simply observe in real-time.
Troubleshooting Tips
- Camera Doesn’t Trigger: Ensure motion detection is properly configured, or check the settings for sensitivity.
- Blurry Footage: Clean the camera lens and adjust the angle to avoid obstructions.
- Battery Life: If your camera is battery-operated, use rechargeable batteries and keep extras on hand. Some trail cameras allow you to connect a solar panel to extend battery life.
Setting up a bird feeder camera is a fun and rewarding project that enhances your birdwatching experience. By combining technology with nature, you can enjoy a front-row seat to the fascinating world of birds. Whether you’re a hobbyist or a serious birdwatcher, having a camera to capture and study bird behavior opens up endless possibilities. With a little preparation and some creativity, you’ll be on your way to a personalized bird-watching adventure that provides years of enjoyment.









There are no comments for this blog.