How To Make A Camera Detector?
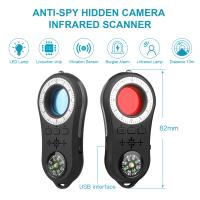
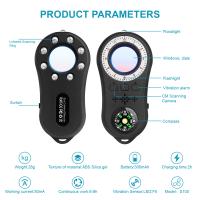
In today's world, privacy is a growing concern, and the ability to detect hidden cameras can be crucial for personal security. Whether you're staying in a hotel, renting an Airbnb, or simply want to ensure your home is free from surveillance, knowing how to make a camera detector can be incredibly useful. This article will guide you through the process of creating a simple yet effective camera detector using readily available materials and basic electronic components.
Understanding the Basics of Camera Detection
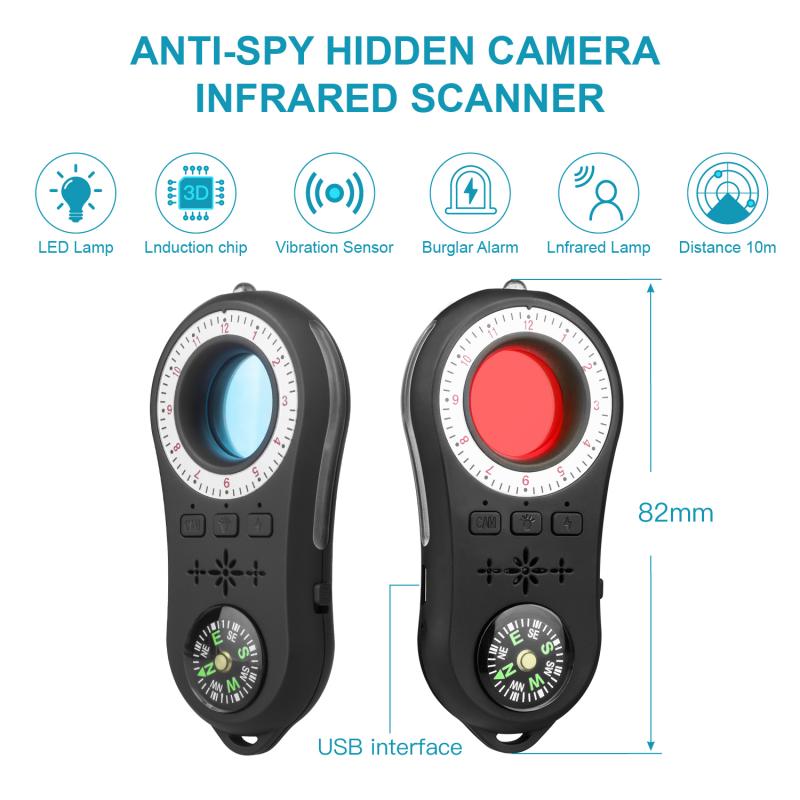
Before diving into the construction of a camera detector, it's essential to understand how hidden cameras work and how they can be detected. Most hidden cameras use a lens to capture images or videos, and this lens reflects light. This reflection can be detected using various methods, including infrared (IR) light, radio frequency (RF) detection, and visual inspection.
Methods of Camera Detection
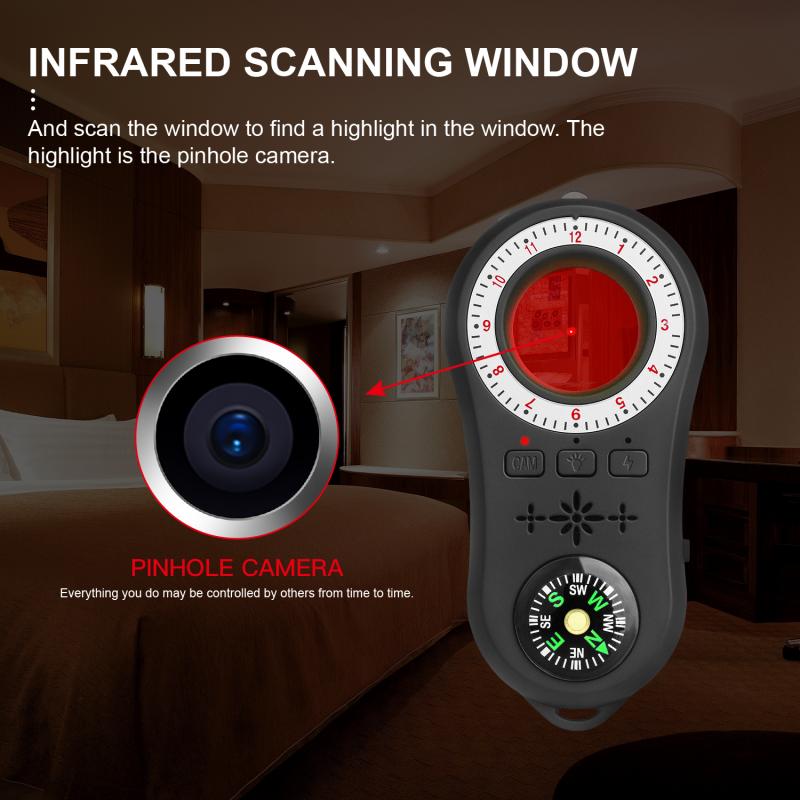
1. Infrared Detection: Many hidden cameras use IR LEDs for night vision. These LEDs emit infrared light, which is invisible to the naked eye but can be detected using an IR detector.
2. Radio Frequency Detection: Wireless cameras transmit data using RF signals. An RF detector can pick up these signals, indicating the presence of a camera.
3. Visual Inspection: Sometimes, the simplest method is to visually inspect the area for suspicious objects or lenses that might indicate a hidden camera.
Materials Needed
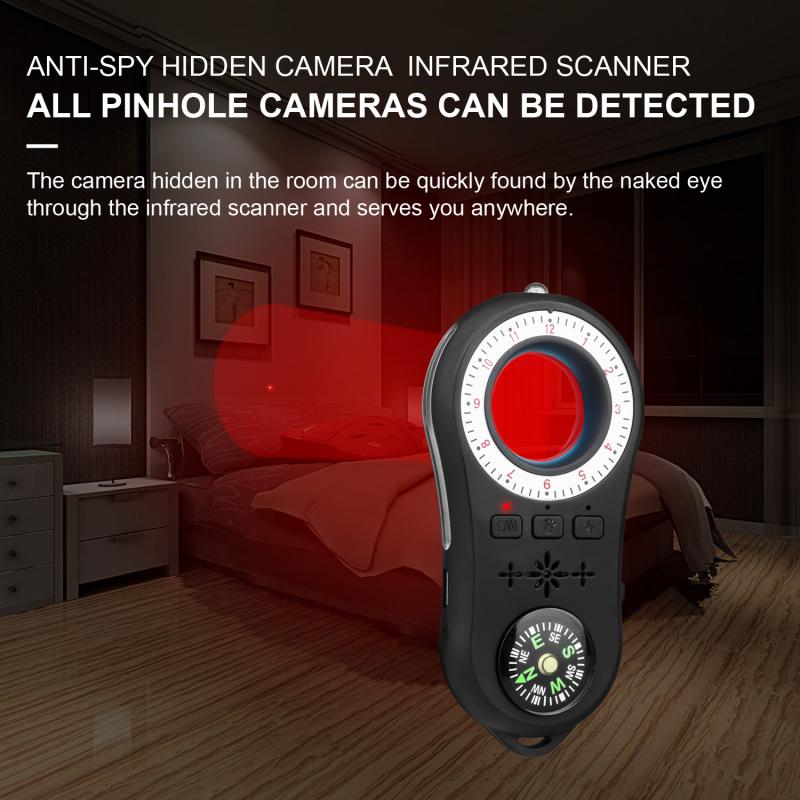
To build a basic camera detector, you will need the following materials:
- An infrared LED
- A photodiode or phototransistor
- A resistor (appropriate value for your circuit)
- A battery (9V or similar)
- A breadboard or PCB (Printed Circuit Board)
- Connecting wires
- A small buzzer or LED (for indication)
- A switch (optional)
Step-by-Step Guide to Building a Camera Detector
Step 1: Assemble the Infrared LED and Photodiode
The core of your camera detector will be the infrared LED and the photodiode. The infrared LED will emit IR light, and the photodiode will detect any reflected IR light from a camera lens.
1. Connect the Infrared LED: Place the infrared LED on the breadboard. Connect the positive leg (anode) to the positive rail of the breadboard and the negative leg (cathode) to a resistor. The other end of the resistor should be connected to the negative rail of the breadboard.
2. Connect the Photodiode: Place the photodiode on the breadboard. Connect the anode to the positive rail and the cathode to the negative rail through another resistor.
Step 2: Power the Circuit
1. Connect the Battery: Attach the battery to the breadboard, ensuring the positive terminal is connected to the positive rail and the negative terminal to the negative rail.
2. Add a Switch: If you are using a switch, connect it between the battery and the breadboard to control the power supply.
Step 3: Add an Indicator
1. Connect the Buzzer or LED: To indicate the presence of a hidden camera, connect a buzzer or an LED to the circuit. The positive leg of the buzzer or LED should be connected to the output of the photodiode, and the negative leg should be connected to the negative rail of the breadboard.
Step 4: Test the Circuit
1. Power On: Turn on the switch to power the circuit.
2. Test with a Known Camera: Point the infrared LED towards a known camera and observe the indicator. The buzzer should sound, or the LED should light up when the photodiode detects the reflected IR light from the camera lens.
Enhancing the Camera Detector
While the basic camera detector described above is functional, there are several ways to enhance its performance and usability:
1. Increase Sensitivity: Use a more sensitive photodiode or phototransistor to detect weaker reflections.
2. Add a Filter: Incorporate an IR filter to block out visible light and improve detection accuracy.
3. Use a Microcontroller: Integrate a microcontroller (e.g., Arduino) to process the signals and provide more advanced features, such as a digital display or adjustable sensitivity.
4. Portable Design: Create a compact, portable version of the detector using a small PCB and a battery holder.
Practical Applications and Tips
1. Regular Inspections: Use your camera detector regularly to inspect areas where privacy is a concern, such as hotel rooms, bathrooms, and changing rooms.
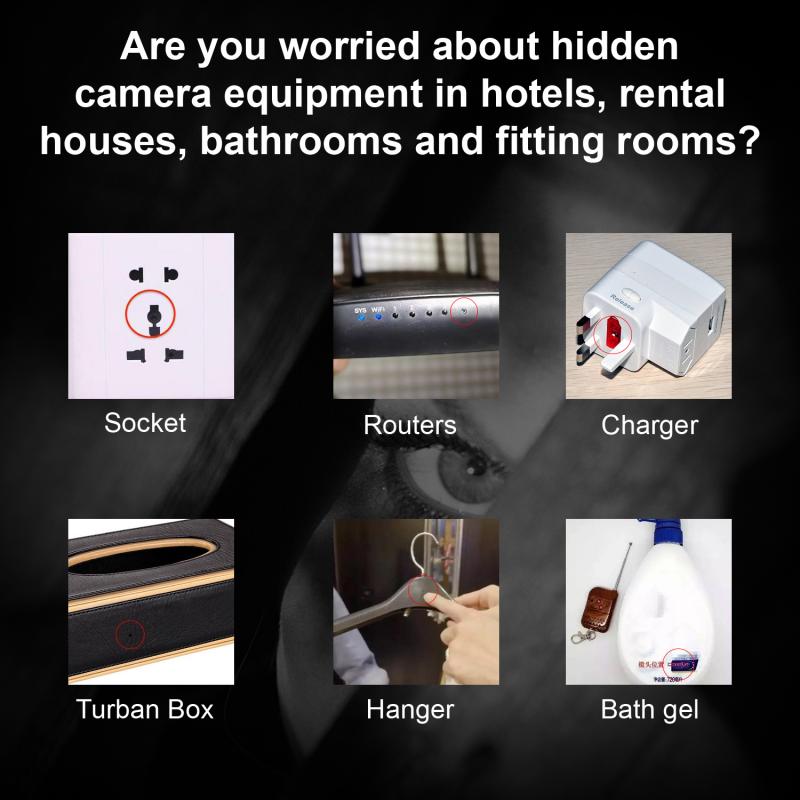
2. Check Common Hiding Spots: Hidden cameras are often placed in everyday objects like smoke detectors, clocks, and air purifiers. Pay extra attention to these items.
3. Use in Conjunction with Other Methods: Combine your camera detector with visual inspections and RF detectors for comprehensive surveillance detection.
Building a camera detector is a practical and rewarding project that can enhance your personal security and privacy. By understanding the principles of camera detection and following the steps outlined in this article, you can create an effective tool to identify hidden cameras. Remember to regularly inspect areas where privacy is crucial and stay vigilant for any signs of surveillance. With a homemade camera detector, you can take control of your privacy and ensure a safer environment for yourself and your loved ones.

















-200x200.jpg)
