How To Make A Camera Flash?
Creating a camera flash from scratch can be a fascinating and rewarding project for photography enthusiasts and DIY hobbyists. Whether you're looking to build a flash for a specific photography need or simply want to understand the inner workings of this essential camera accessory, this guide will walk you through the process. We'll cover the basic principles of how a camera flash works, the components you'll need, and the steps to assemble your own flash unit.
Understanding the Basics of a Camera Flash
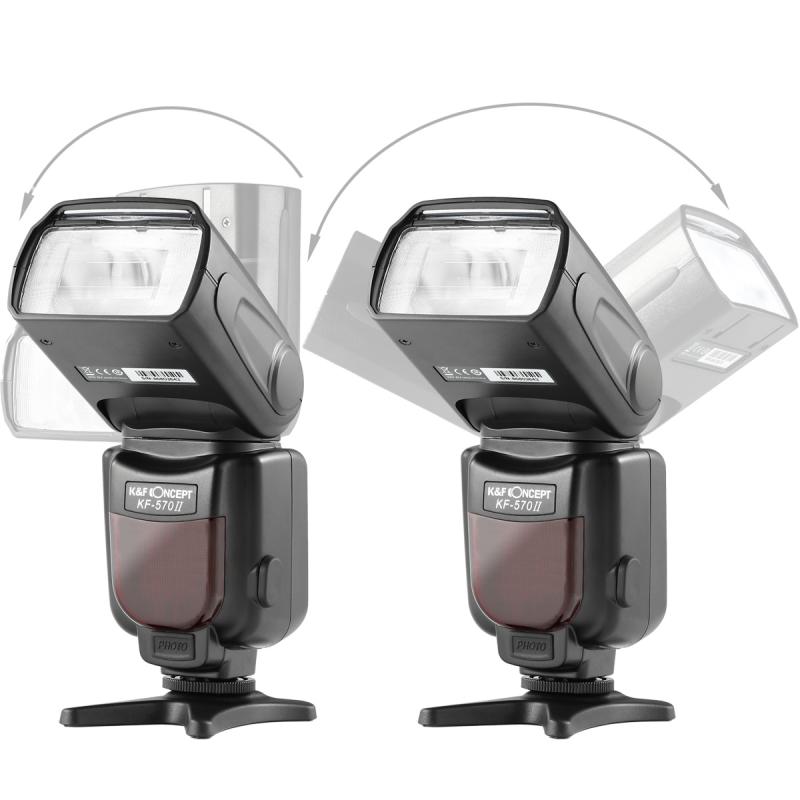
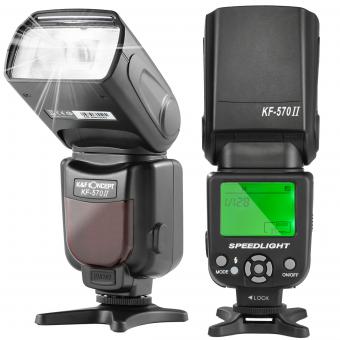
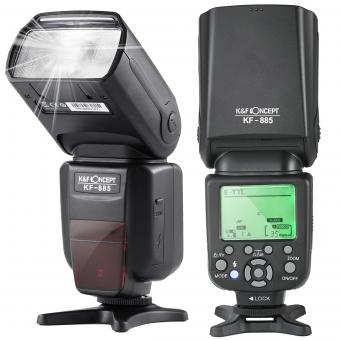
Before diving into the construction process, it's important to understand how a camera flash operates. A camera flash is essentially a device that produces a brief burst of light to illuminate a scene. This burst of light helps to capture clear and well-lit photographs, especially in low-light conditions. The key components of a camera flash include:
1. Power Source: Typically, a battery that provides the necessary energy to produce the flash.
2. Capacitor: Stores electrical energy and releases it quickly to produce the flash.
3. Flash Tube: A gas-filled tube that emits light when a high voltage is applied.
4. Trigger Circuit: Activates the flash at the right moment, usually synchronized with the camera's shutter.
Components Needed
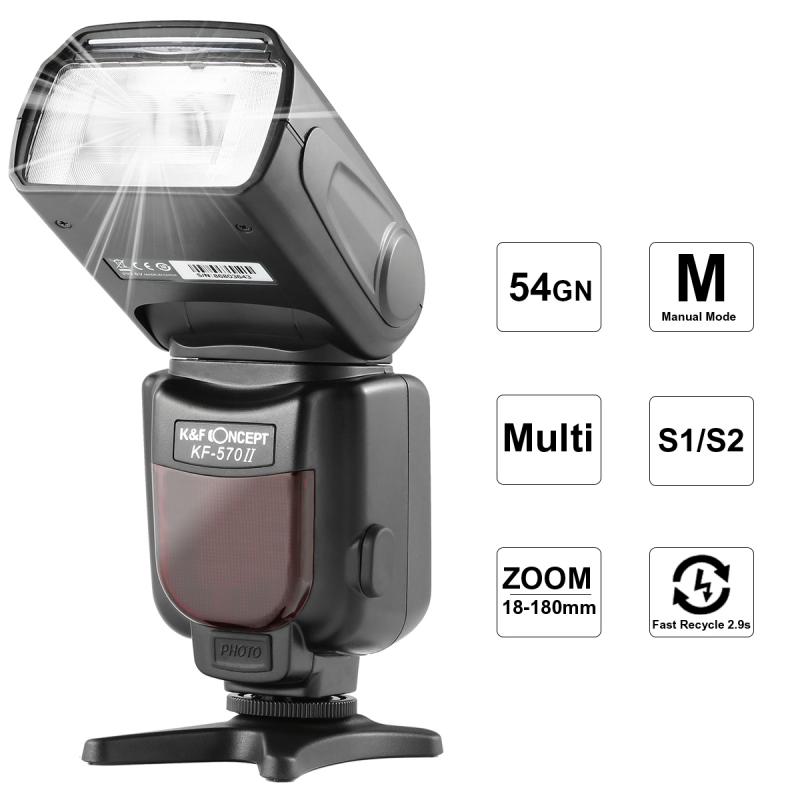
To build your own camera flash, you'll need the following components:
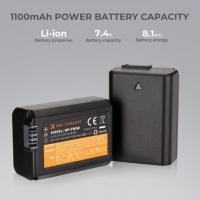
1. Battery: A suitable power source, such as AA batteries or a rechargeable battery pack.
2. Capacitor: A high-voltage capacitor, typically rated between 300-400 volts.
3. Flash Tube: A xenon flash tube, which is commonly used in camera flashes.
4. Trigger Circuit: A simple circuit to trigger the flash, which can be built using a transistor or a thyristor.
5. Resistors and Diodes: Various resistors and diodes to control the flow of electricity.
6. Switch: To turn the flash on and off.
7. Housing: A case to hold all the components together, which can be made from plastic or metal.
Step-by-Step Guide to Building a Camera Flash
Step 1: Assemble the Power Source
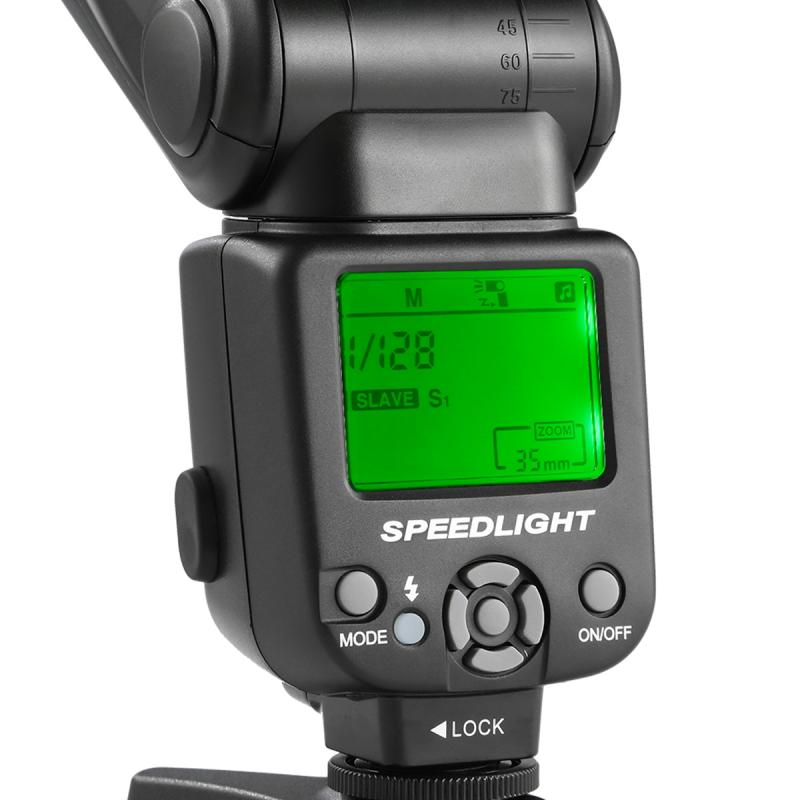
Start by selecting a suitable power source for your flash. AA batteries are a common choice due to their availability and ease of use. Connect the batteries in series to achieve the desired voltage. For example, four AA batteries in series will provide 6 volts.
Step 2: Connect the Capacitor
Next, connect the capacitor to the power source. The capacitor will store the electrical energy needed to produce the flash. Ensure that the capacitor is rated for the voltage you are using. For a typical camera flash, a capacitor rated between 300-400 volts is ideal.
Step 3: Install the Flash Tube
The flash tube is the component that emits the light. Connect the flash tube to the capacitor. When the capacitor discharges, it will release a high voltage through the flash tube, causing it to emit a bright burst of light. Make sure to handle the flash tube carefully, as it is fragile and can be damaged easily.
Step 4: Build the Trigger Circuit
The trigger circuit is responsible for activating the flash at the right moment. You can build a simple trigger circuit using a transistor or a thyristor. The trigger circuit should be connected to the camera's shutter mechanism so that the flash is synchronized with the camera's exposure.
Step 5: Add Resistors and Diodes
To control the flow of electricity and protect the components, add the necessary resistors and diodes to the circuit. These components will help regulate the voltage and current, ensuring that the flash operates safely and efficiently.
Step 6: Install the Switch
Install a switch to turn the flash on and off. This switch will allow you to control when the flash is activated, making it easier to use the flash in different photography scenarios.
Step 7: Assemble the Housing
Finally, assemble all the components into a suitable housing. The housing should be sturdy and provide adequate protection for the components. You can use plastic or metal to build the housing, depending on your preference and the tools available.
Testing and Troubleshooting
Once you have assembled your camera flash, it's important to test it to ensure that it works correctly. Here are some steps to follow:
1. Check the Connections: Ensure that all the connections are secure and that there are no loose wires.
2. Test the Flash: Turn on the flash and take a test photograph to see if the flash fires correctly. If the flash does not fire, check the trigger circuit and the connections to the flash tube.
3. Measure the Voltage: Use a multimeter to measure the voltage across the capacitor and the flash tube. This will help you identify any issues with the power supply or the capacitor.
4. Adjust the Components: If the flash is not working as expected, you may need to adjust the values of the resistors and diodes to achieve the desired performance.
Safety Considerations
Building a camera flash involves working with high voltages, which can be dangerous if not handled properly. Here are some safety tips to keep in mind:
1. Use Insulated Tools: Always use insulated tools when working with high-voltage components to prevent electric shock.
2. Discharge the Capacitor: Before handling the capacitor, make sure to discharge it to avoid accidental shocks. You can discharge the capacitor by connecting a resistor across its terminals.
3. Work in a Safe Environment: Ensure that your workspace is clean and free of any conductive materials that could cause short circuits.
4. Follow Proper Procedures: Always follow proper procedures and guidelines when working with electrical components to ensure your safety and the safety of others.
Building your own camera flash can be a rewarding project that enhances your understanding of photography and electronics. By following the steps outlined in this guide, you can create a functional camera flash that meets your specific needs. Remember to prioritize safety and take the time to test and troubleshoot your flash to ensure it works correctly. With patience and attention to detail, you'll be able to build a reliable and effective camera flash that enhances your photography skills.


