How To Make A Handheld Camera Stabilizer?
In the realm of videography and filmmaking, smooth and stable shots are essential for producing professional-looking footage. Whether you're a novice filmmaker or an experienced videographer, creating a handheld camera stabilizer can greatly enhance the quality of your shots. In this article, we will delve into the intricacies of building your own handheld camera stabilizer, providing clear and detailed steps, the necessary materials, and the benefits that come with crafting this useful tool. Let’s get started!
Understanding the Basics of Camera Stabilization
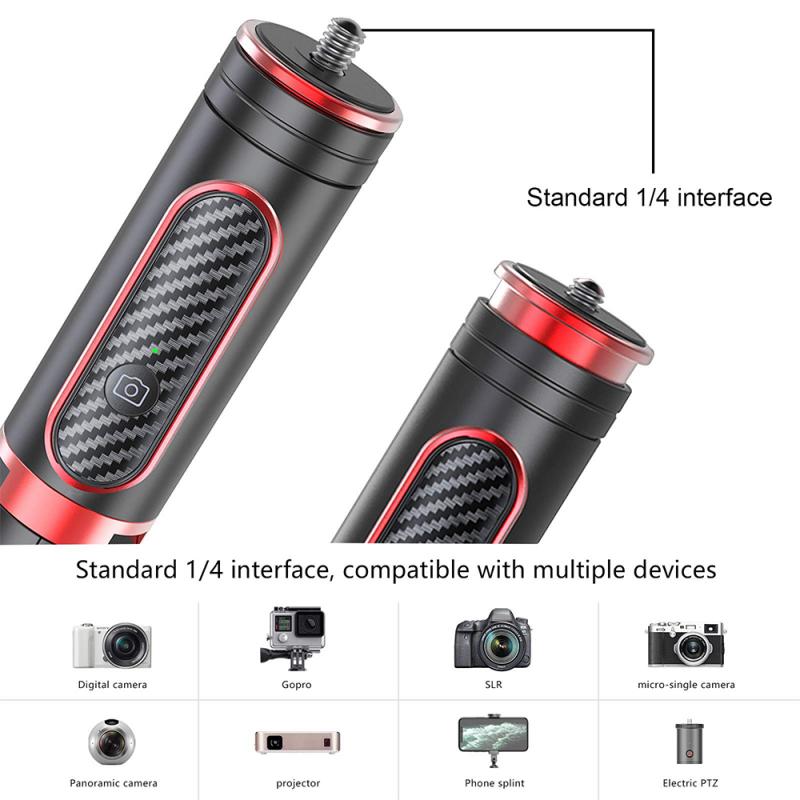
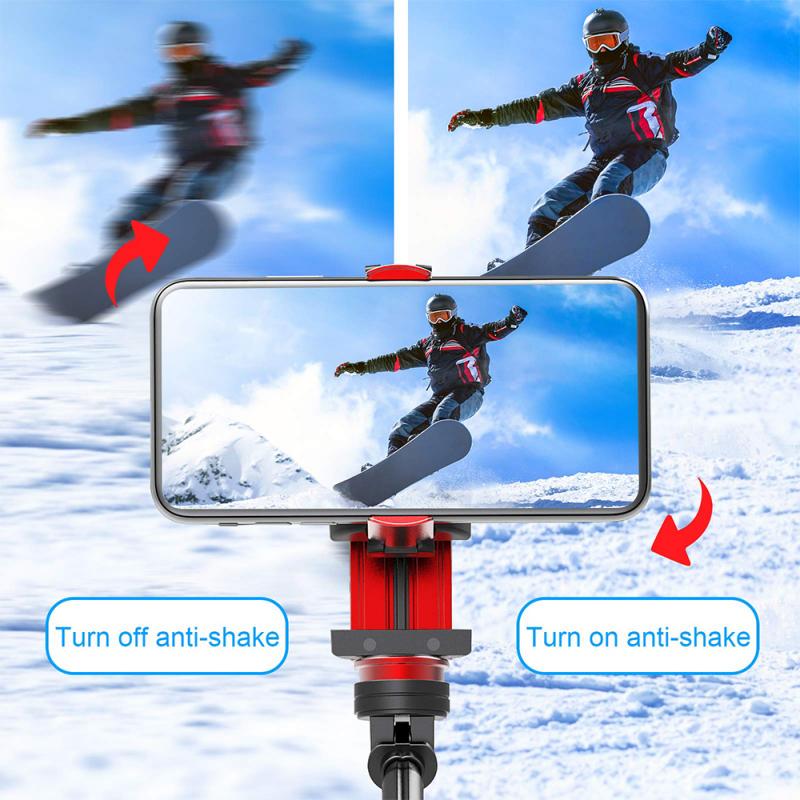
Camera shakes and jitters are common problems that degrade the quality of video footage. A camera stabilizer combats these issues by providing a stable platform, typically by balancing the camera on multiple axes. Commercial stabilizers can be expensive, making DIY stabilizers an attractive alternative, both from a financial standpoint and for those who enjoy a bit of hands-on project work.
Materials Needed for a DIY Handheld Camera Stabilizer
Before diving into the construction process, it’s crucial to gather all necessary materials. The list below includes both common household items and some specialized components that can be found in hardware stores or ordered online:
1. PVC Pipes and Fittings: These form the frame of the stabilizer.
2. Weight Plates or Metal Washers: These provide the necessary counterbalance.
3. Gimbal Bearings or Swivel Joints: These allow for smooth motion.
4. Grip Handles: For comfortable handling.
5. Bolt and Screw Set: To secure different parts tightly.
6. Rotary Tool or Pipe Cutter: For shaping and adjusting the PVC pipes.
7. Drill and Drill Bits: For creating holes for screws and bolts.
8. Epoxy or Strong Adhesive: To ensure certain parts remain firmly attached.
Step-by-Step Guide to Building Your Stabilizer
Step 1: Designing the Frame
Start by envisioning the shape of your stabilizer. A typical design includes a central handle with side extensions that hold the weights and camera mount. Sketch your design to use as a blueprint.
Step 2: Cutting the PVC Pipes
Using a rotary tool or pipe cutter, cut the PVC pipes according to your sketch. Common dimensions include a central piece for the handle (about 12 inches), two side arms (6-8 inches each), and additional short pieces for holding the weights and the camera mount.
Step 3: Assembling the Frame
Begin by assembling the central handle and side arms with PVC fittings. Use elbow joints for the side arms to create perpendicular extensions from the handle. Make sure all connections are snug, using epoxy or strong adhesive to reinforce, if necessary.
Step 4: Attaching the Grips and Mounts
Attach the grip handles to the central piece to ensure comfort while holding the stabilizer. These can be specialized foam grips or even bicycle handle grips.
For the camera mount, affix a flat piece (such as a small wooden or metal plate) to the top of the central handle. Drill a hole in the center of this plate to accommodate a screw that matches the tripod mounting threads on your camera.
Step 5: Adding the Gimbal Mechanism
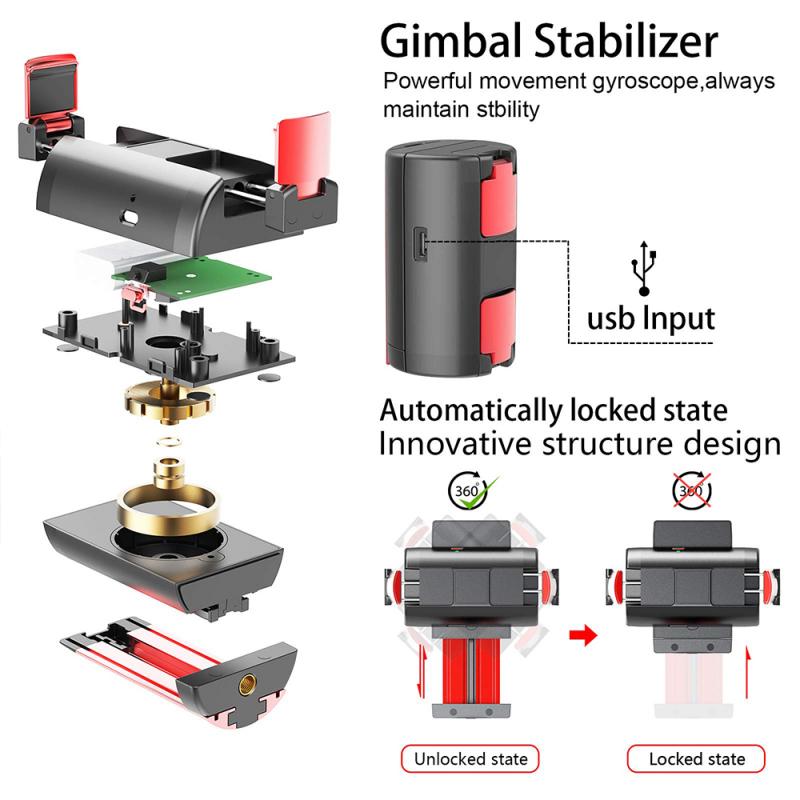
The gimbal mechanism is crucial for smooth motion. Attach swivel joints or gimbal bearings between the camera mount and the central handle, as well as between the handle and the extension holding the weights.
Step 6: Balancing the Weights
Attach the weight plates or metal washers to the ends of the side arms. The objective is to balance the stabilizer so that the camera remains level when you let go of it. Adjust the placement and number of weights until the equilibrium is achieved.
Step 7: Fine-Tuning and Testing
Once everything is assembled, test the stabilizer by attaching your camera and walking around while filming. Notice any unwanted shifts or shakes and adjust the weight distribution or mounting points accordingly.
Advantages of a DIY Stabilizer
Building your own handheld camera stabilizer comes with several perks:
1. Cost-Effectiveness: The materials are relatively inexpensive compared to commercial stabilizers.
2. Customization: You can tailor the stabilizer to your specific camera and shooting needs.
3. Experience: You gain practical knowledge and skills in both engineering and videography.
4. Repairability: If something breaks, you'll have the know-how to fix it yourself rather than relying on costly repairs.
Tips for Using Your Stabilizer
1. Practice Steady Movements: Even with a stabilizer, your footage depends on your ability to move smoothly. Practice walking and panning shots to improve.
2. Check Balance Regularly: Ensure the stabilizer remains perfectly balanced, particularly if you change your camera setup or add accessories.
3. Use in Various Conditions: Test your stabilizer in different environments to understand its performance range, such as in low-light conditions or windy outdoor settings.
Creating a handheld camera stabilizer can be a rewarding project that significantly enhances the quality of your video footage. By following the steps outlined in this guide, you can construct a functional and effective stabilizer tailored to your specific needs. Beyond the immediate benefits of improved camera stability, this project also offers valuable insights into the principles of balance and motion, which are foundational to many aspects of filmmaking and videography. So gather your materials, follow the steps, and take your video production capabilities to a new level with your very own DIY handheld camera stabilizer.

