How To Make A Trail Camera Mount?
How to Make a Trail Camera Mount: A Step-by-Step Guide for DIY Enthusiasts
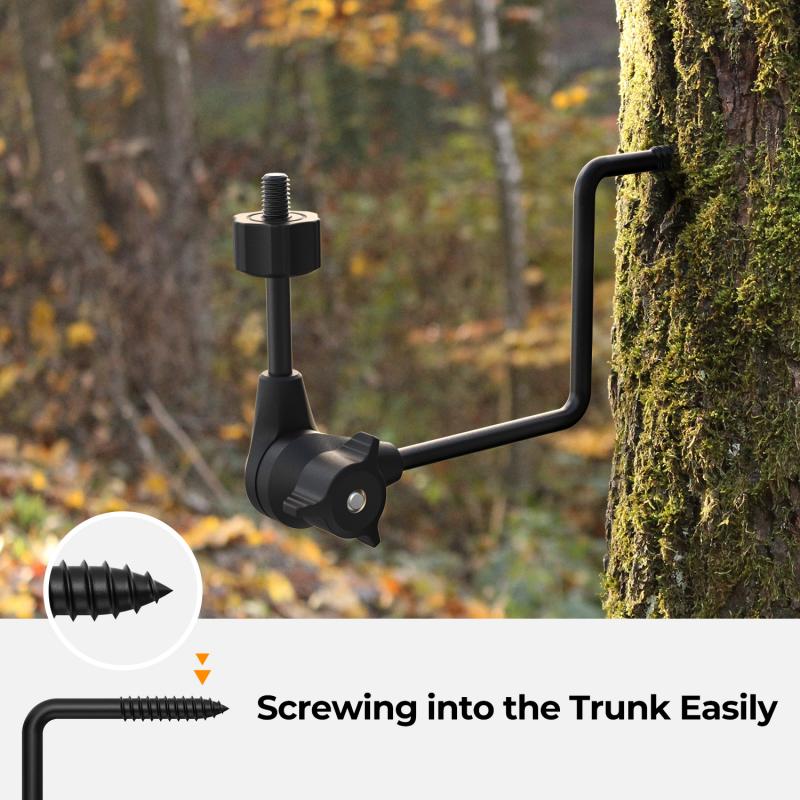
When setting up a trail camera, the most important factor is often where and how it is mounted. A properly mounted camera ensures accurate shots, security, and longevity of your equipment. While most trail cameras come with mounting kits, creating a custom, DIY trail camera mount can be a rewarding and cost-effective option. In this guide, we’ll walk you through the steps to make your own trail camera mount, ensuring it’s secure, functional, and adjustable.
Why Make Your Own Trail Camera Mount?
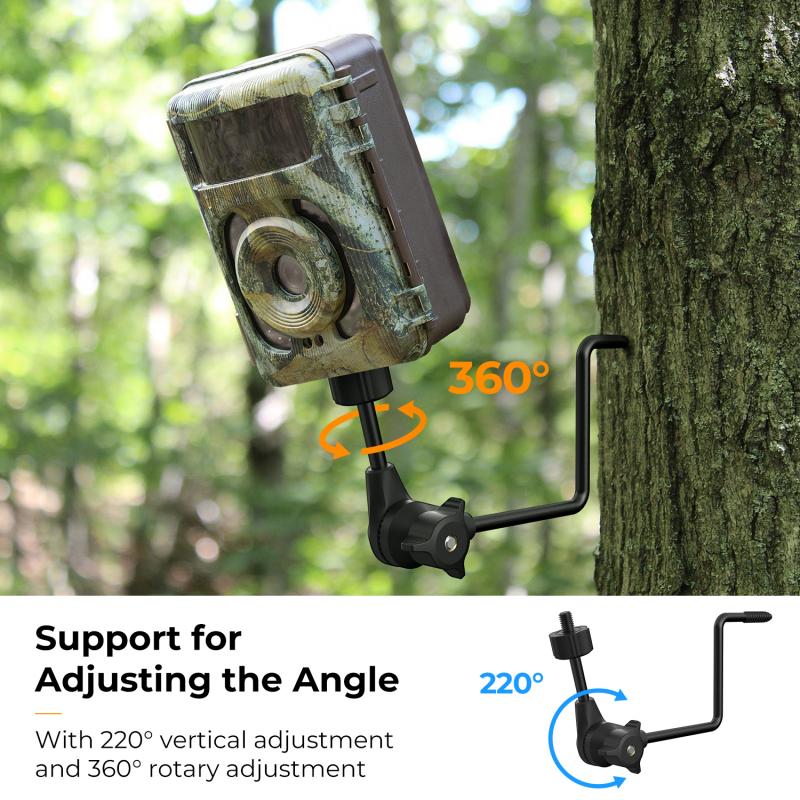
Before diving into the process, let’s look at why you might want to create a custom mount for your trail camera:
1. Customization: Commercial mounts may not fit your specific needs or camera setup. A DIY mount allows you to adjust it to your preferences in terms of height, angle, and stability.
2. Cost-Effectiveness: Buying a pre-made mount can be pricey, especially if you're setting up several cameras. A homemade mount can often be made for a fraction of the cost using materials you already have.
3. Flexibility: A custom mount can be designed to fit a variety of surfaces and environments. Whether you're mounting your camera to a tree, fence post, or other surface, you can make a mount that suits your specific setup.
4. Sturdiness and Security: Sometimes, the mounts that come with cameras can be flimsy, leading to camera movement or even theft. A homemade mount can be designed to be more robust and secure.
Now that we understand the benefits of making your own trail camera mount, let’s dive into the process.
Materials You Will Need
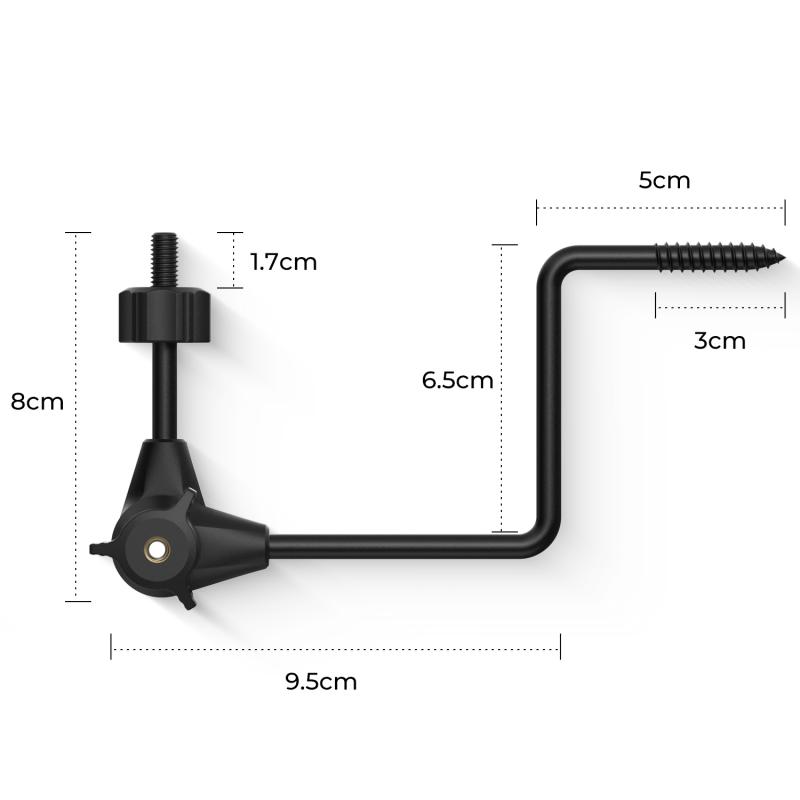
To make a functional and durable trail camera mount, you’ll need the following materials:
- Wood (Plywood, MDF, or treated lumber are ideal)
- Metal bracket or pipe (for mounting flexibility and sturdiness)
- Screws and bolts (for securing the camera and mount)
- Drill with various drill bits (for holes and screw placement)
- Saw (to cut the wood and metal)
- Angle brackets (to provide stability)
- Rope or bungee cords (for adjustable mounting)
- Paint or weather-resistant coating (optional, for durability)
Step 1: Measure and Design the Mount
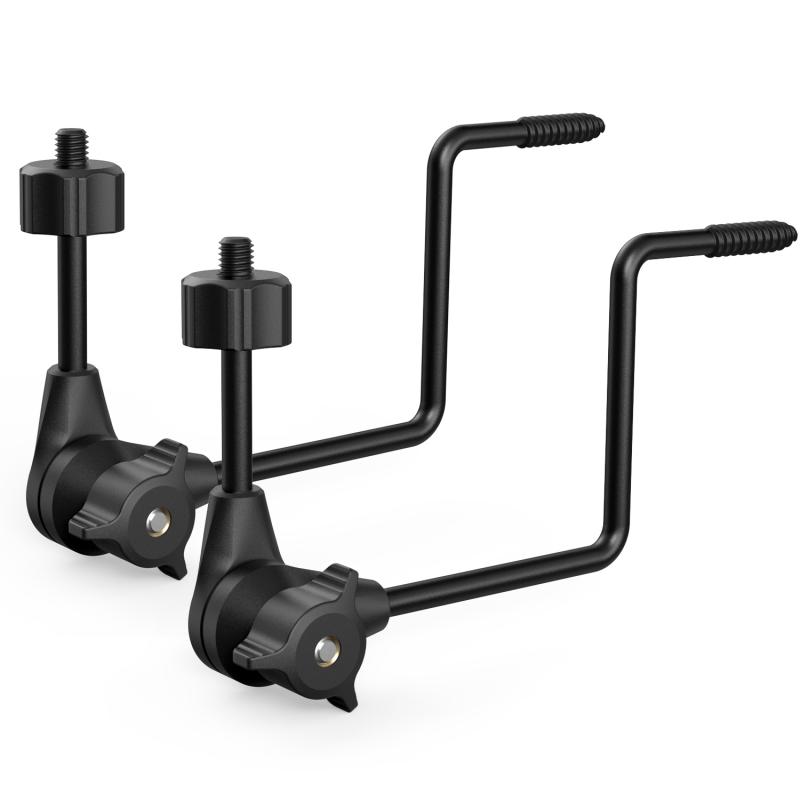
Before cutting any materials, plan out your mount’s design. The first thing to consider is where you want to place your trail camera. The camera should ideally be mounted about 3 to 4 feet above the ground for optimal wildlife tracking, with the lens facing the area you want to monitor.
Here are the key design elements:
- Height and Angle: Decide on the mounting height. Too high, and you might miss your targets; too low, and the camera may capture the ground or have a limited field of view. A slight downward tilt of 10-20 degrees can provide the best field of vision for animals.
- Mounting Surface: Will you be mounting the camera to a tree, a metal pole, or a wooden fence? This affects the type of materials and mounting hardware you’ll need.
- Stability and Adjustability: Your mount should allow you to adjust the camera’s angle easily, but also keep it secure enough to avoid shifting due to wind or animal interaction.
Once you’ve planned out the design and measurements, it’s time to move on to cutting and assembling the components.
Step 2: Cut the Base and Brackets
Using a saw, cut your wood to the desired base size. The base should be sturdy enough to hold the camera in place without wobbling. A piece of plywood or MDF measuring around 8-10 inches square should suffice for most standard trail cameras.
Next, cut metal brackets or use metal pipe for additional support. If you’re using a metal pipe, it will act as a stand, helping to secure the camera in an upright position. If you’re opting for wood, you can cut a few smaller pieces to act as angle supports for a sturdier, more stable mount.
If you’re using angle brackets to hold the camera at the right angle, position them around the edges of the wood base. This will allow you to attach the camera securely and at a slight tilt.
Step 3: Drill Holes for Mounting
The next step is drilling holes in the base and any other components. Make sure to measure carefully and drill holes where you can secure both the camera and the mount to the tree, pole, or other surface.
For most trail cameras, the mounting system consists of a screw hole or a small metal strap. Use a drill bit that fits these holes comfortably. If the camera doesn’t have a specific mounting thread, you can attach a metal bracket with screws to the back of the camera to help secure it to the mount.
If you’re mounting the camera to a tree or post, ensure you drill holes large enough to accommodate bolts or screws, allowing you to secure the camera firmly in place.
Step 4: Assemble the Mount
Now that all the pieces are cut and drilled, it’s time to assemble the mount.
1. Attach the Camera: Use screws or bolts to attach your trail camera to the wood or metal base. If you’re using an adjustable bracket, this is the time to fix the camera in place and adjust the angle to your preference.
2. Secure the Mounting Surface: If you’re attaching the mount to a tree or post, use long screws or heavy-duty bolts to fasten the mount securely. If you’re using a metal pipe, ensure it is well anchored in the ground or to a stable object to prevent movement.
3. Stabilize with Brackets: If you have additional angle brackets or metal supports, use them to reinforce the stability of the mount. These will ensure that the camera doesn’t shift over time or in response to environmental conditions.
4. Add Adjustable Features: If you’d like your mount to be adjustable, you can use a bungee cord or rope to attach the mount to a tree or pole. This allows you to move the mount easily without needing to unscrew anything. This is particularly useful if you plan to move the camera frequently.
Step 5: Test and Adjust
Once the camera is securely mounted, perform a quick test to make sure everything is in place. Adjust the camera’s angle as needed and check the stability of the mount. If there’s any wobbling, reinforce the connections or add more supports to keep the mount steady.
It’s also a good idea to test the camera’s field of view. Walk around the area to ensure that the camera’s lens covers the desired field, adjusting the tilt and position until you’re satisfied with the coverage.
Step 6: Weatherproofing (Optional)
If you’re using wood, consider applying a weather-resistant coating or outdoor paint to protect the mount from the elements. This will extend the life of your mount and keep it looking new even after exposure to rain, snow, or sun.
Step 7: Set Up and Monitor
Finally, place your trail camera in the desired location and make sure it’s securely fastened. With the mount in place, your camera should be set up for optimal performance. Regularly check on the camera to ensure it’s functioning properly and hasn’t been disturbed by wildlife or environmental factors.
Tips for a Successful DIY Trail Camera Mount
- Use Strong Materials: If you’re in an area with heavy wildlife, consider using metal brackets or reinforced wood to prevent animals from knocking over or damaging your camera.
- Weatherproofing Is Key: Whether you use a coating or a protective case, keeping your mount and camera safe from the elements is crucial for durability.
- Visibility and Stealth: Make sure your mount doesn’t attract unwanted attention from humans or animals. Camouflage your mount with surrounding foliage if necessary.
Making your own trail camera mount is a rewarding DIY project that gives you control over the setup and ensures your camera is securely positioned for optimal functionality. With careful planning, the right materials, and a bit of time and effort, you can create a custom mount that fits your needs perfectly. Whether you’re monitoring wildlife, securing property, or capturing outdoor footage, a solid trail camera mount is essential for getting the best results. Happy mounting!














There are no comments for this blog.