How To Make A Underwater Housing For Cameras?
Creating a custom underwater housing for cameras can be a rewarding project for diving enthusiasts, professional photographers, and hobbyists. This DIY approach not only saves money but also allows for customization specific to your camera model and shooting requirements. While the project requires careful planning and precision, it's entirely feasible with the right tools and materials. Here's a step-by-step guide to crafting your own underwater camera housing.
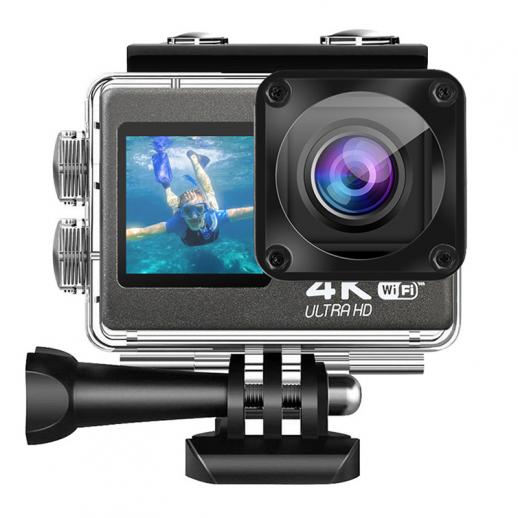
Introduction to Underwater Housing
Underwater housings are specially designed enclosures that protect cameras from water, pressure, and potential damage while allowing photographers to use their equipment underwater. Commercial options are often expensive and may not fit all camera models. Making your own underwater housing can be more economical and tailored to your needs.
Materials Needed
Before diving into the construction process, gathering the right materials is essential. Here's a list of what you'll need:
1. Acrylic Sheets: Opt for thick, clear acrylic sheets for the housing body. Thickness should ideally be between ¼ inch to ½ inch for adequate strength.
2. O-Rings: Necessary for sealing the joints and preventing water ingress.
3. Marine Epoxy: Provides a strong, waterproof bonding for the acrylic sheets.
4. Stainless Steel Bolts and Nuts: Resist corrosion and provide strong joints.
5. Silicone Grease: Used to lubricate the O-rings for a better seal.
6. A Drill and Dremel Tool: For cutting and shaping the acrylic sheets.
7. Clamps: To hold pieces in place while the epoxy cures.
8. Measuring Tools: Tape measure, ruler, and calipers for precision.
9. Plastic Pipe and Cap: Used for housing the lens port.
10. Rubber or Foam Padding: To secure the camera inside the housing.
Step-by-Step Guide
1. Design the Housing
Begin by designing the housing around your camera model. Measure the dimensions of your camera, including height, width, thickness, and lens protrusion. Consider adding extra space for buttons, dials, and any accessories you intend to use underwater. Sketch the design to visualize the layout.
2. Cut the Acrylic Sheets
Using a jigsaw or a Dremel tool, cut the acrylic sheets according to your design sketches. Ensure the cuts are smooth and accurate. You’ll need pieces for the front, back, sides, top, and bottom of the housing.
3. Assemble the Basic Structure
Join the acrylic pieces using marine epoxy. Apply the epoxy along the edges and hold the sheets together using clamps. Let it cure as per the manufacturer's instructions. It’s crucial to achieve a watertight seal.
4. Add the Lens Port
To create the lens port, take the plastic pipe and cut it to the appropriate length to fit your camera’s lens. Attach an acrylic sheet to one end of the pipe using epoxy and secure it with clamps until it’s fully cured. Then, drill a hole in the front panel of the housing corresponding to the pipe's diameter and fix the pipe into the hole using epoxy and bolts for extra security.
5. Seal the Edges with O-Rings
Place O-rings along the edges where the housing pieces join. Apply a thin layer of silicone grease to the O-rings to enhance their sealing capability. Ensure each edge is well-sealed to prevent any water entry.
6. Create Access Points for Camera Controls
Mark the positions of the camera buttons and dials on the housing. Drill holes at these points and install waterproof push buttons that can trigger the controls. Make sure these buttons are properly sealed with O-rings and marine epoxy.
7. Mounting the Camera Inside the Housing
Use rubber or foam padding to create a snug fit for the camera inside the housing. This padding will help minimize movement and reduce the risk of damage. Secure the camera in place, ensuring it’s centered and the lens aligns with the lens port.
8. Testing for Leaks
Before taking your housing underwater, it’s imperative to test it for leaks. Place a paper towel inside the housing and submerge it in a tub of water for at least an hour. Check for any signs of water ingress. If the paper towel stays dry, your housing is likely watertight. If not, reassess and reinforce the seals.
9. Final Adjustments
Once you’re confident there are no leaks, perform a final fit check of your camera. Ensure all control buttons are accessible and functional. Make any necessary adjustments to the padding or button placements.
Tips for Successful Underwater Photography
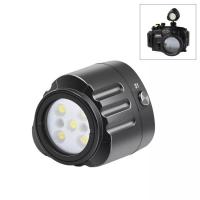
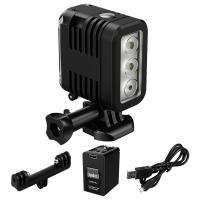
1. Prioritize Lighting: Underwater environments often lack sufficient lighting. Consider using underwater lights or strobes to enhance image quality.
2. Manual Mode: Learn to use your camera’s manual mode to adjust shutter speed, aperture, and ISO settings underwater, where auto settings may not perform well.
3. Memorize Camera Controls: Familiarize yourself with your camera's buttons and dials, as reading them underwater can be challenging.
4. Practice Buoyancy Control: Good buoyancy control is crucial for stable shots and avoiding damage to marine life.
5. Monitor Battery and Storage: Make sure your camera has a fully charged battery and ample storage space before diving.
Building your own underwater housing for cameras is a meticulous yet gratifying task. It offers the freedom to tailor the housing to your specific camera model and needs while being cost-effective. Remember to prioritize safety and thoroughness to ensure your housing functions seamlessly underwater. With careful planning and execution, you’ll be ready to capture stunning underwater images and videos. Happy diving and shooting!














There are no comments for this blog.