How To Make A Usb Web Camera Wireless?
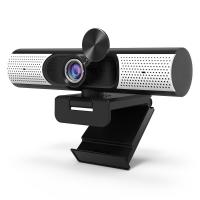
In today's rapidly advancing technological world, the idea of creating a wireless environment for our devices has become not just a luxury, but often a necessity. One such transformation that many people are interested in is converting a USB web camera into a wireless camera. This can enhance flexibility, mobility, and convenience in several scenarios, such as in surveillance, video conferencing, and creative projects. In this article, we will delve deeply into the step-by-step process of making a USB web camera wireless, the required equipment, potential challenges, and useful tips for success.
Understanding the Basics
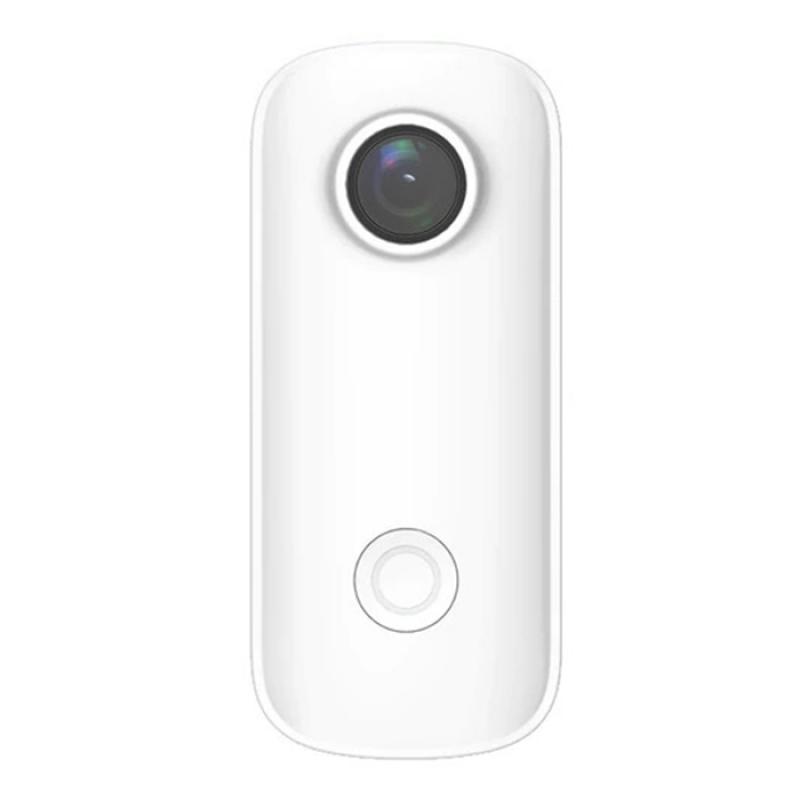
Before getting into the technicalities, it's vital to understand the basic concept. A USB web camera is designed to connect directly to a computer via a USB port. Making this camera wireless means enabling it to send video signals through a WiFi network instead of a physical cable. This can be done using various methods, such as connecting it to a wireless router, using a WiFi dongle, or even integrating it into a more extensive home automation system.
Equipment Needed
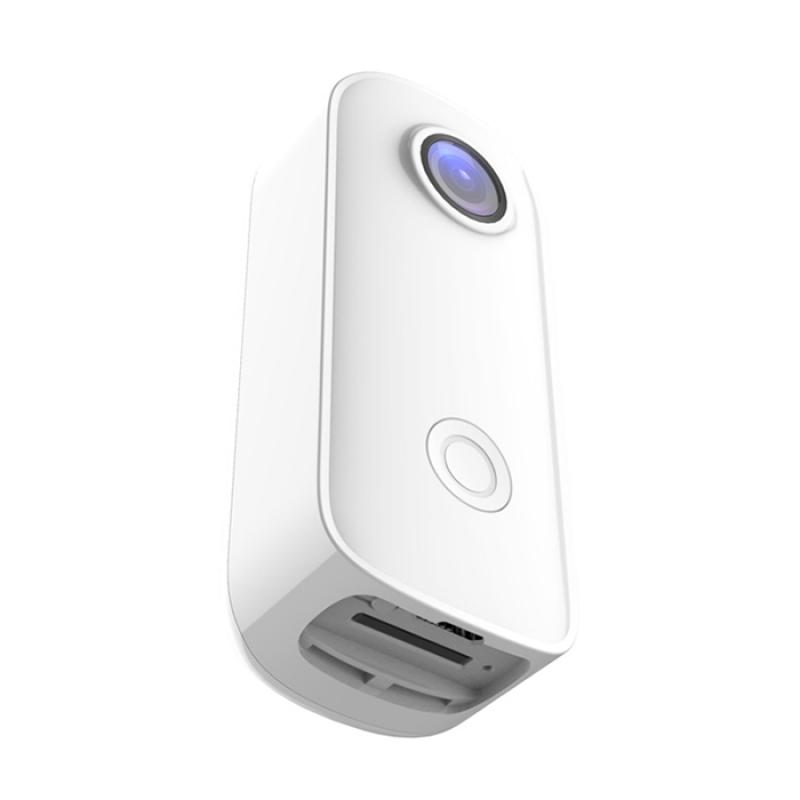
1. USB Web Camera: The primary device you will be converting.
2. WiFi Router: A router to connect the camera to your wireless network.
3. WiFi Dongle or Adapter: Depending on your camera, this device can help in connecting to the WiFi network.
4. Computer: For initial setups and configurations.
5. Power Adapter: To keep the camera powered on.
6. Software: Necessary drivers and possibly third-party applications for video transmission.
Step-by-Step Process
Step 1: Setting Up the WiFi Network
Ensure that you have a stable and secure WiFi network. The camera’s video feed will be transmitted over this network, so a reliable and fast internet connection is essential.
1. Configure Your Router: Set up your router for the best performance. Make sure it’s placed centrally in your home or office to provide optimal signal strength.
2. Security Settings: Implement WPA3 or at least WPA2 encryption to prevent unauthorized access.
Step 2: Powering the Camera
Most USB web cameras require power to operate, which traditionally comes from the connected computer. Since we are making the camera wireless, you will need an external power source.
1. Choose a Power Adapter: Find a suitable power adapter that matches the power requirements of your camera.
2. Connecting the Adapter: Plug the camera into the power adapter. If using a portable power bank, ensure it can supply power for the duration you intend to use the camera.
Step 3: Configuring the WiFi Connection
Depending on the type of camera, use a WiFi dongle or any built-in wireless capability.
1. WiFi Dongle: If your camera doesn’t have a built-in WiFi capability, use a WiFi dongle to provide the necessary connectivity.
2. Software Installation: Install necessary drivers and software either on the camera (if it supports) or on your computer to manage the connectivity.
Step 4: Establishing the Connection
Connect the camera to your WiFi network so that it can start transmitting data wirelessly.
1. Scanning for Networks: Use the software or the camera’s interface to scan and find your WiFi network.
2. Entering Credentials: Enter your network’s SSID (network name) and password.
3. Connecting: Once the credentials are verified, the camera should connect to the WiFi network.
Step 5: Streaming Video Wirelessly
Now that your camera is connected to the WiFi, you need to set it up to stream the video feed to your device.
1. IP Address: Find out the camera's IP address on the network. This can usually be done via the router’s admin settings.
2. Streaming Software: Use streaming software that supports IP cameras. Many free and paid options are available, such as OBS Studio, VLC Media Player, or dedicated camera apps.
3. Add Camera Source: In the streaming software, add the camera's IP address as a video source.
4. Adjust Settings: Configure the video settings for quality, bandwidth, and frame rate according to your needs.
Troubleshooting Common Issues
Connectivity Issues
1. Weak Signal: Ensure your WiFi signal is strong enough where your camera is positioned.
2. Interference: Reduce interference from other electronic devices by changing the WiFi channel on your router.
Power Consumption
1. Insufficient Power Supply: Make sure your power adapter provides enough current to avoid the camera shutting down intermittently.
2. Power Cable Length: Use a cable length that doesn’t result in power loss, or consider using a powered USB hub.
Software Configuration
1. Unsupported Formats: Ensure your streaming software supports the camera’s video format.
2. Driver Issues: Keep drivers and software updated to prevent compatibility issues.
Practical Uses for a Wireless USB Web Camera
The transformation of a USB camera to a wireless one opens up a plethora of practical applications:
1. Home Security: Use your wireless camera for home surveillance by setting it up at key entry points.
2. Remote Monitoring: Place the camera in a location hard to reach with traditional cabling for remote monitoring.
3. Video Conferencing: Use it in dynamic work environments where cameras need to be repositioned based on meeting room layouts.
Converting a USB web camera to wireless is a project that can save you money and provide immense functional flexibility. With the right equipment and a systematic approach, you can eliminate the hassle of cables and take advantage of wireless technology to better suit your needs.
By following the outlined steps carefully and being aware of potential issues, you can successfully make your USB web camera wireless, opening up a range of new possibilities for its use. This not only enhances convenience but also allows you to utilize your environment more efficiently without the constraints of wired connections.











-200x200.jpg)