How To Make A Video With Low Light?
Low-light video shooting is a common challenge faced by videographers and content creators. When natural light or scene lighting conditions are not optimal, it requires specific strategies and tools to achieve clear, vibrant footage. In this article, we will discuss several methods to create impressive videos in low-light environments, ensuring professional-quality output.
Understanding the Importance of Lighting in Videography
Lighting is one of the most crucial factors in videography. It affects not only the clarity of the footage but also the mood and overall quality of the video. Inadequate lighting can result in grainy, dull, and indistinguishable videos. Knowing how to leverage low-light conditions to your advantage can produce stunning results and enrich the storytelling element of your content.
Preparation and Equipment
The first step in shooting low-light videos is preparation. Ensuring you have the right equipment and understanding the settings and capabilities of your camera can significantly improve the quality of your footage.
1. Camera Selection
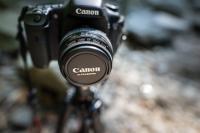
High-end cameras with large sensor sizes are crucial for low-light videography. Full-frame cameras are often preferred as they capture more light, producing less noise in dark environments. Cameras with high ISO sensitivity allow for better performance under low light conditions without sacrificing image quality.
2. Lens Choices
Selecting an appropriate lens can dramatically enhance low-light video. Fast lenses with wide apertures (e.g., f/1.2, f/1.4, or f/1.8) let in more light, making them perfect for such scenarios. Prime lenses are generally faster than zoom lenses and are typically used for low-light shooting.
3. Tripods and Stabilization
In low-light situations, slow shutter speeds are often necessary to allow more light to hit the camera sensor, and any camera shake can result in blurry footage. Using a tripod or stabilizer helps maintain steady shots, reducing the risk of motion blur.
Optimizing Camera Settings
Knowing how to adjust your camera settings effectively can compensate for poor lighting. Here are some essential settings to consider:
1. ISO Sensitivity
Increasing the ISO sensitivity amplifies the sensor's response to light, making the footage brighter. However, too high an ISO can introduce noise, so finding a balanced setting that minimizes noise while providing adequate exposure is key.
2. Aperture
A wider aperture (lower f-number) allows more light to reach the camera sensor. While this will produce a shallow depth of field, it can help maintain focus on the subject by blurring the background.
3. Shutter Speed
A slower shutter speed permits more light to enter the camera, brightening the video. However, slow speeds can cause motion to blur, so it must be balanced with the subject's movement to maintain clarity.
4. Frame Rate
A lower frame rate enables each frame to be exposed for a longer period, allowing more light to be captured. However, this may not be suitable for all types of video, such as those with fast motion.
Lighting Techniques and Modifications
Supplementing natural or existing light with artificial sources or modifiers can dramatically improve low-light video quality. Here are some techniques:
1. External Lighting
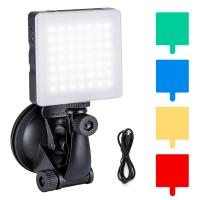
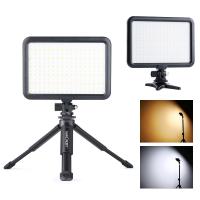
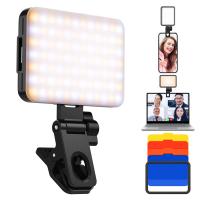
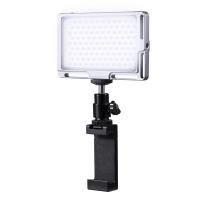
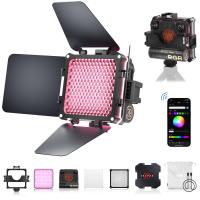
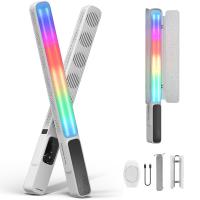
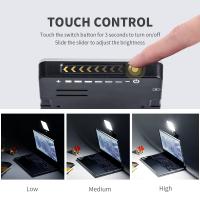
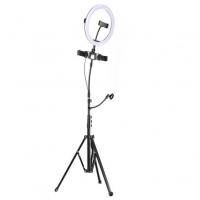
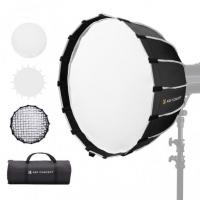
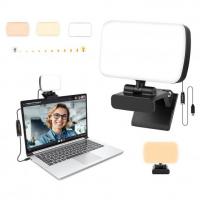
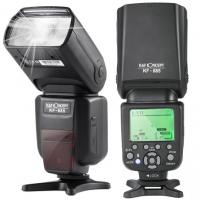
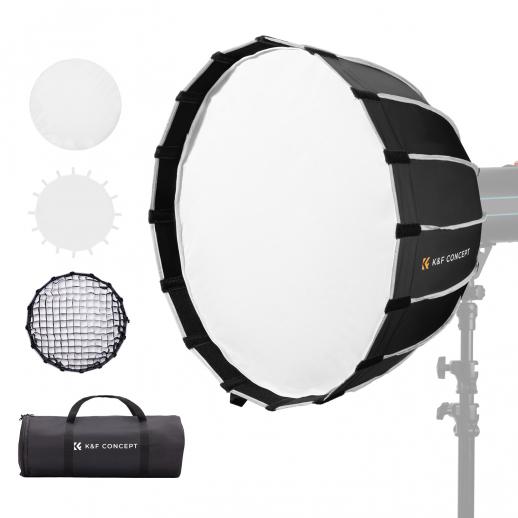
Use external lights such as LED panels, softboxes, or portable lights to illuminate your subject. These lights should be positioned creatively to avoid harsh shadows and create a visually pleasing scene.
2. Reflectors
Reflectors can bounce available light onto the subject, filling in shadows and adding more detail to the frame. They are especially useful in diffusing light and reducing the stark contrast between light and dark areas.
3. Practical Lights
Utilize existing practical lights such as lamps, streetlights, or fairy lights within the scene to enhance the ambiance. Placing practical lights strategically can add depth and interest to your video.
4. Light Modifiers
Diffusers and softboxes help soften the light, reducing harsh shadows and creating a more even illumination. Gels can adjust the color temperature, matching the lighting mood of your scene.
Post-Production Adjustments
Even with the best efforts during shooting, some adjustments might still be needed in post-production. Effective editing can enhance your low-light footage significantly:
1. Exposure and Brightness
Use video editing software to adjust exposure and brightness settings. Careful enhancement can bring out details without excessively increasing noise.
2. Noise Reduction
Apply noise reduction filters to minimize graininess caused by high ISO settings. Most advanced editing software includes noise reduction tools that maintain clarity while reducing unwanted artifacts.
3. Color Grading
Adjusting the color palette can correct any discrepancies in lighting temperatures and improve the overall mood of the footage. Creating consistent and appealing colors will add to the professional quality of your video.
4. Sharpness and Contrast
Enhancing sharpness and contrast can make the subjects stand out more clearly against the background. These adjustments should be done subtly to avoid unnatural looks.
Creative Tips and Final Thoughts
Creativity and experimentation play pivotal roles in shooting low-light videos. Here are some final tips to consider:
1. Embrace Shadows
Use shadows to your advantage by creating a dramatic or mysterious effect. Not every part of the frame needs to be perfectly lit; sometimes, shadows can enhance visual storytelling.
2. Use a Low-Light Profile
Some cameras come with low-light profiles or profiles specifically designed to handle low-light situations. These settings optimize the camera performance for dark environments.
3. Shoot in RAW
If your camera allows, shoot in RAW format. This gives you more flexibility in post-production to make necessary adjustments without deteriorating image quality.
4. Practice and Experiment
Finally, practice shooting in different low-light conditions and experiment with various settings and techniques. Experience is the best teacher, and over time, you’ll develop a better understanding of what works best for your specific needs.
In conclusion, creating high-quality videos in low-light conditions is undoubtedly challenging but entirely feasible with the right knowledge and tools. By preparing adequately, optimizing camera settings, employing effective lighting techniques, and making thoughtful post-production adjustments, you can produce professional-grade low-light videos that stand out.


