How To Make An Mp3 Audio Recording?
Creating high-quality MP3 audio recordings has become an essential skill in today’s digital age, whether for podcasting, voiceovers, music recording, or simple voice memos. This guide delves into the practical steps and best practices for making MP3 audio recordings, ensuring you're equipped to produce clear, professional-sounding audio.
Understanding the Basics

1. Choose Your Equipment:
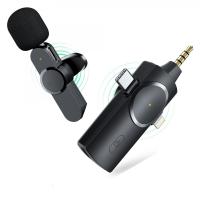
The first step towards making an MP3 recording involves selecting the appropriate equipment. At a minimum, you will need:
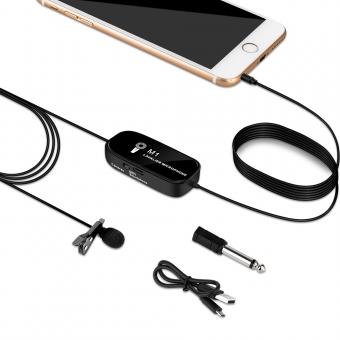
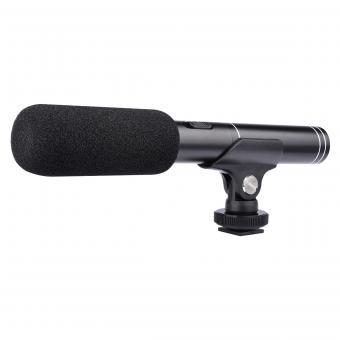
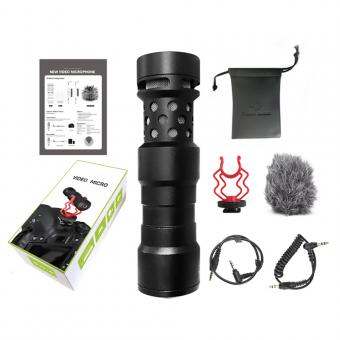
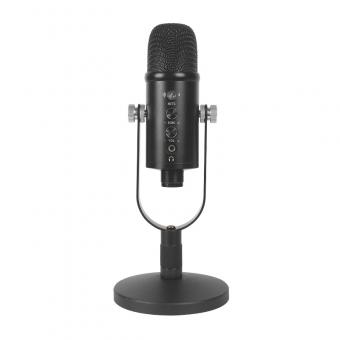
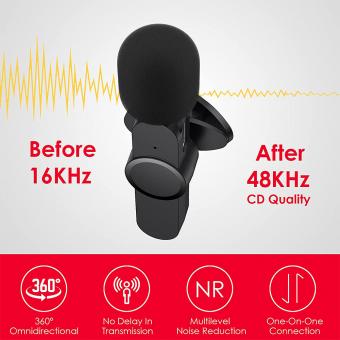
- Microphone: The type of microphone you select will greatly impact the quality of your recording. Condenser microphones are well-regarded for their sensitivity and accuracy, making them ideal for vocals and speech. Dynamic microphones, on the other hand, are sturdy and often less expensive, suitable for general use.
- Audio Interface: If you're using a high-quality microphone, an audio interface is crucial to convert analog sound signals into digital data. These devices connect to your computer via USB or Thunderbolt and usually offer superior sound quality compared to built-in computer audio hardware.
- Headphones: Monitoring your recording in real-time with a pair of closed-back headphones helps avoid audio bleed and capture an accurate representation of your voice.
2. Set Up Your Recording Environment:
- Acoustic Treatment: A quiet, non-reverberant space is ideal for recording. Using foam panels, blankets, or even pillows can minimize echo and absorb background noise.
- Minimize Background Noise: Turn off unnecessary electronics, close windows, and let the people around you know you're recording to avoid interruptions.
Preparing Your Software
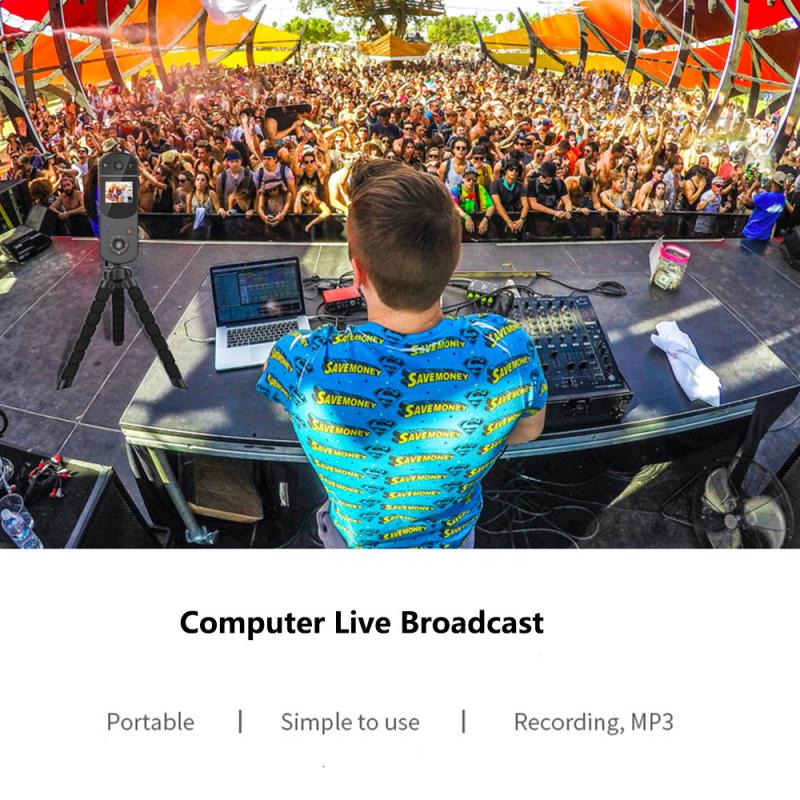
1. Select Recording Software:
There are many digital audio workstations (DAWs) available that allow you to record, edit, and export MP3 files. Some popular options include:
- Audacity: A free, open-source DAW that is user-friendly and ideal for beginners.
- Adobe Audition: A professional-grade audio editing software with extensive features for detailed audio work.
- GarageBand: A free DAW for Mac users which is intuitive and capable of producing high-quality recordings.
2. Configure Your Settings:
- Sample Rate and Bit Depth: For spoken word, a sample rate of 44.1 kHz and a bit depth of 16 bits is standard. Music recordings might benefit from higher settings.
- MP3 Bitrate: Bitrate determines file size and quality. Common bitrates for MP3s range from 128 kbps (medium quality) to 320 kbps (high quality).
Recording Process

1. Microphone Placement:
Proper microphone placement can drastically improve recording quality. Position the microphone 6-12 inches from your mouth, angled slightly to reduce plosives (such as "p" and "b" sounds). Using a pop filter can further minimize these noises.
2. Test Levels and Monitor:
Before you start, conduct a test recording to set proper gain levels. The goal is to keep the input level high enough to avoid noise but not so high as to cause clipping (distortion). Monitoring with headphones will allow you to hear issues as they occur.
Recording Techniques
1. Speak or Perform Clearly:
Maintain a consistent volume and distance from the microphone. Articulate your words to ensure clarity, especially when recording speech. For musical recordings, stay consistent with your playing or singing dynamics.
2. Use Multiple Takes:
Don't hesitate to record multiple takes, especially for longer projects or sections with errors. This gives you options to choose the best performance during the editing phase.
Editing Your Recording
1. Clean Up Your Audio:
- Noise Reduction: Tools like noise gates or noise reduction effects can help eliminate background hum or hiss.
- EQ and Compression: Equalization (EQ) can enhance or reduce certain frequencies, while compression controls dynamic range for a more polished sound.
- Editing Out Mistakes: Cut out unnecessary silences, coughs, or mistakes to keep your recording clean and professional.
Exporting Your MP3
1. Export Settings:
Make sure your software’s export settings match your desired MP3 quality. Generally, 128 kbps is sufficient for speech, while 192-320 kbps is preferable for music.
2. Tagging Your MP3:
Include metadata such as artist name, album, year, and genre. This information can be added in most DAWs during the exporting process and is useful for organizing and identifying files later.
Final Tips
1. Practice Makes Perfect:
The more you practice recording and editing, the better you will become. Experiment with different settings, techniques, and equipment to find what works best for you.
2. Stay Updated:
Audio technology evolves rapidly, with constant improvements and new tools. Stay informed about the latest trends and updates in the industry to keep your recordings up to date.
In conclusion, creating an MP3 audio recording involves careful planning, the right equipment, and a series of detailed steps from setup to final export. By understanding the basics of your equipment, setting up an ideal recording environment, choosing suitable software, and employing good recording and editing techniques, you can produce high-quality recordings that meet professional standards. Whether for a podcast, music, or any other type of audio project, following these steps will ensure your MP3 recordings are clear, crisp, and polished.

